
Clarity Matters Blog Tutorial: How To Build A Scene Using Clarity Masks
Hello hello! Grace here.
I hope this finds you well, safe, and enjoying your Sunday.
We are joined again this weekend by a lovely member of our Clarity design team, Tina Morris.
Tina has kindly put together a step-by-step blog for us. I’ll hand you over to our teacher!

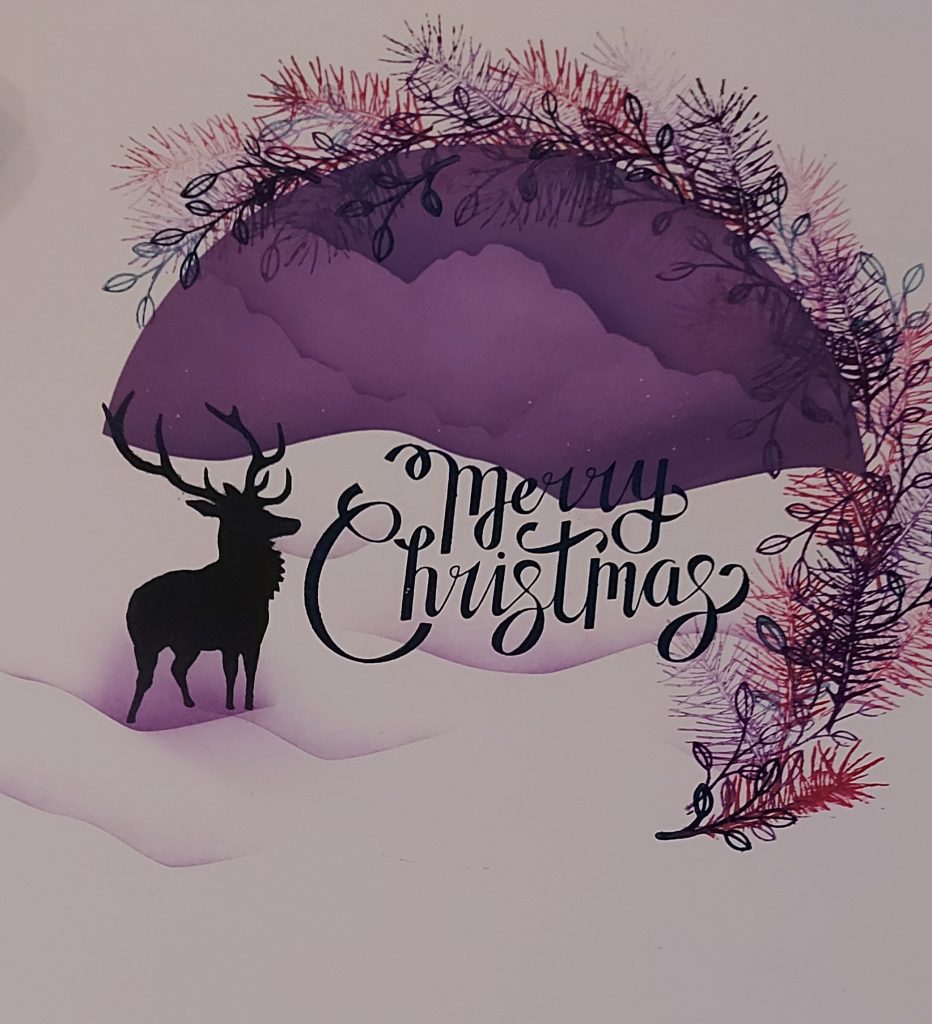
This is where we are headed….

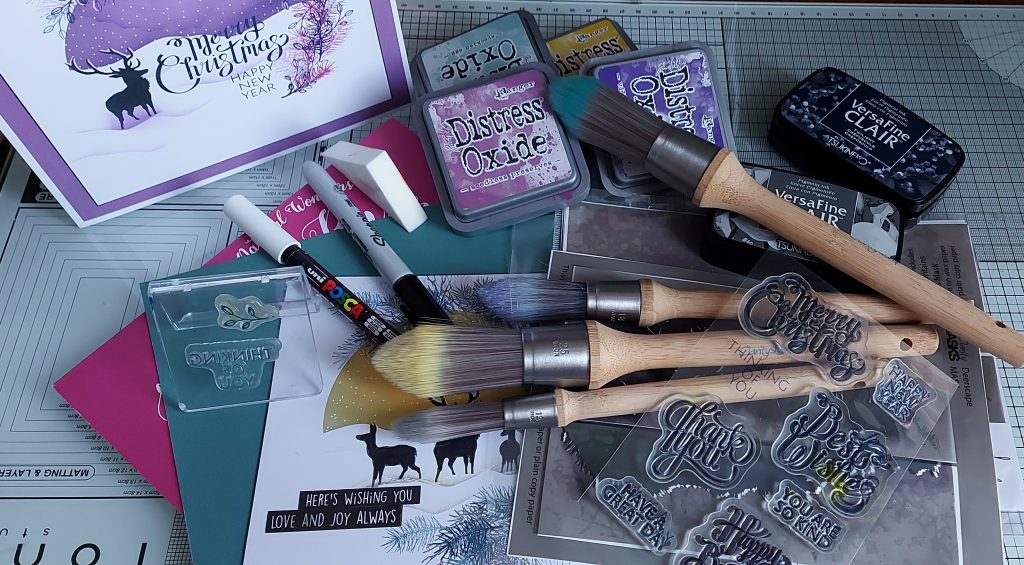
Ingredients
Blank Masks – ACC-MA-30363-A5
Nested Circles Die Set (ACC-DI-30667-66)
Deerscape Mask (ACC-MA-30721-A5)
Mountains & Hills Mask (ACC-MA-30148-XX)
Winter Foliage Accessories A6 Stamp Set (STA-JN-1024-A6)
OR
Barbara’s Bijou Entwined Winter Wreath Stamp Set (STA-FL-11530-A6)
KISS by Clarity Bijou Ribbon Sentiments A6 Stamp Set (STA-WO-11506-A6)
Black Archival Ink Pad (INK-AR-50030-XX)
Shadow Grey Ink Pad (INK-AR-50500-XX)
Fossilized Amber Distress Oxide Ink Pad (INK-DO-50409-XX)
Seedless Preserves Distress Oxide Ink Pad (INK-DO-50425-XX)
Iced Spruce Distress Oxide Ink Pad (INK-DO-50414-XX)
Villainous Potion Distress Oxide Ink Pad (INK-DO-50502-XX)
Stencil Brushes (On Pre Order) (ACC-BR-30006-XX)
Spot on Sponges (ACC-MG-30537-XX)
Ultra Fine White Posca Pen (POSCAWHITEFINE)
Rainbow River Companion Paper (ACC-CA-31341-88)
Roll-a-Tape Glue Runner (ACC-MS-31065-XX)
White 7×7 Card Blanks (ACC-CA-30619-77)
Black Sharpie
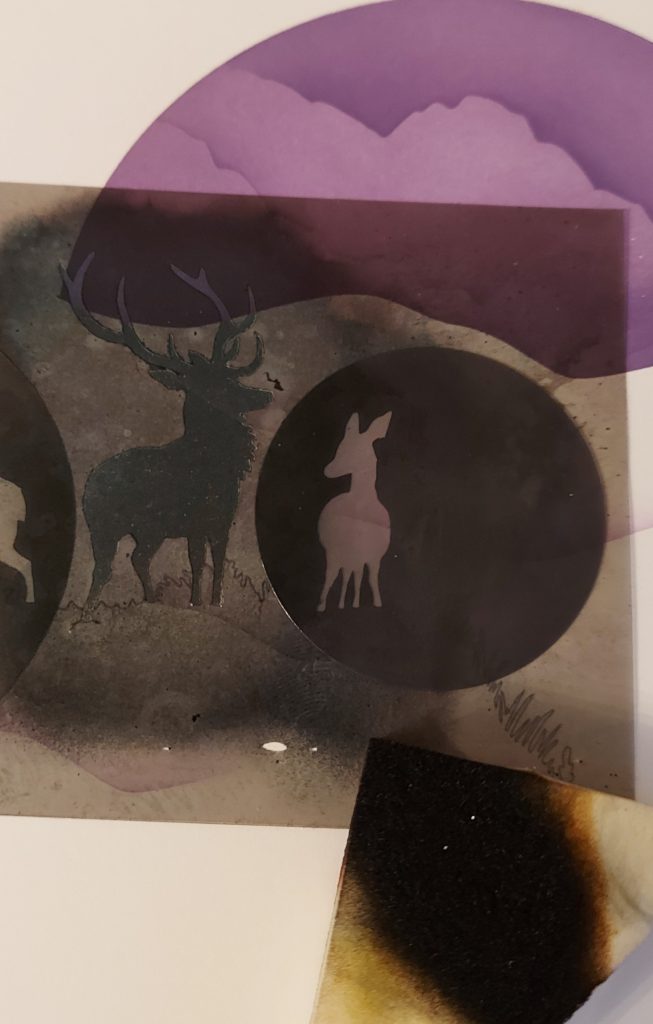
Step 1. Gather all your ingredients, and vital for this project, tissue or a cloth, as you will be prone to fingerprints appearing on your work where you don’t particularly want them.
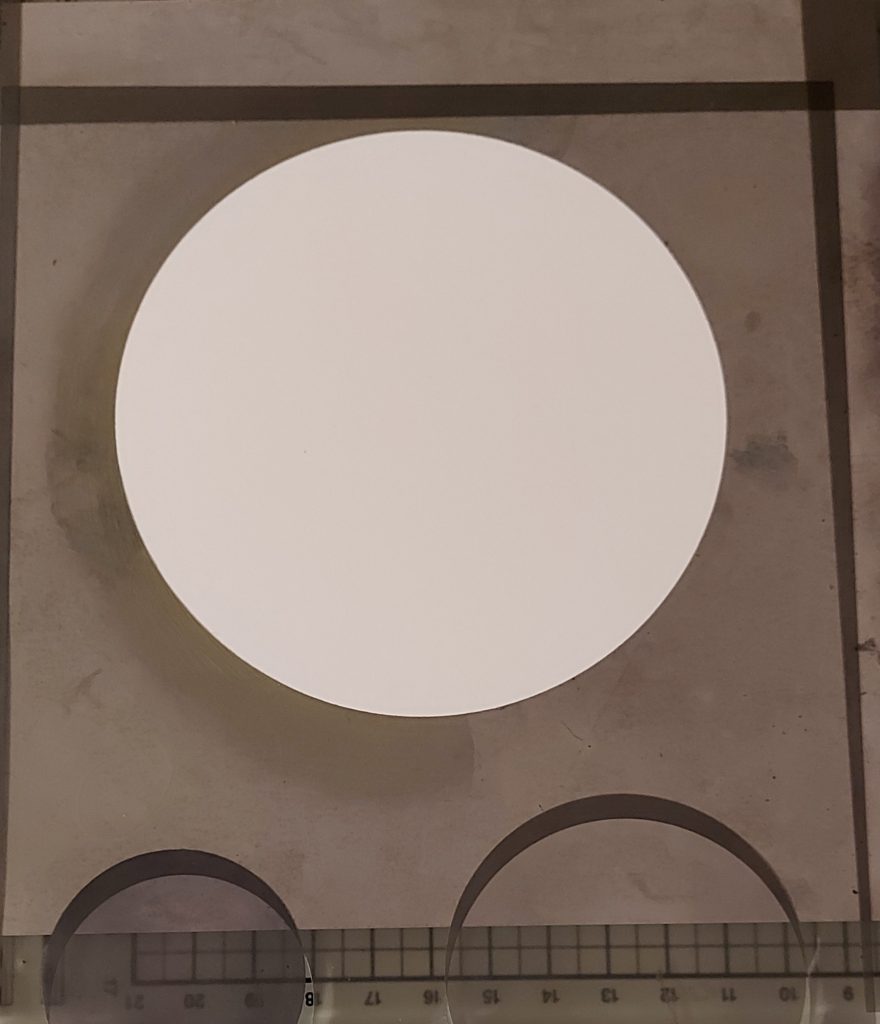
Step 2. If you don’t already have a large circle mask or stencil to use.
Follow the below:
Using the blank masking product, remove this from its carrier sheet and attach to an a4 piece of copy paper, choosing one of your circle dies cut a large circle from the middle of the piece. Carefully remove from the copy paper and place back on your carrier sheet. You have created your own circle aperture mask to the size you felt most appropriate for your project.
Using your new mask, or circle stencil, place the circle in the middle of the 7×7 clarity stencil card. Mask off any area outside the mask with either masking tape or any of the blank masks you have.
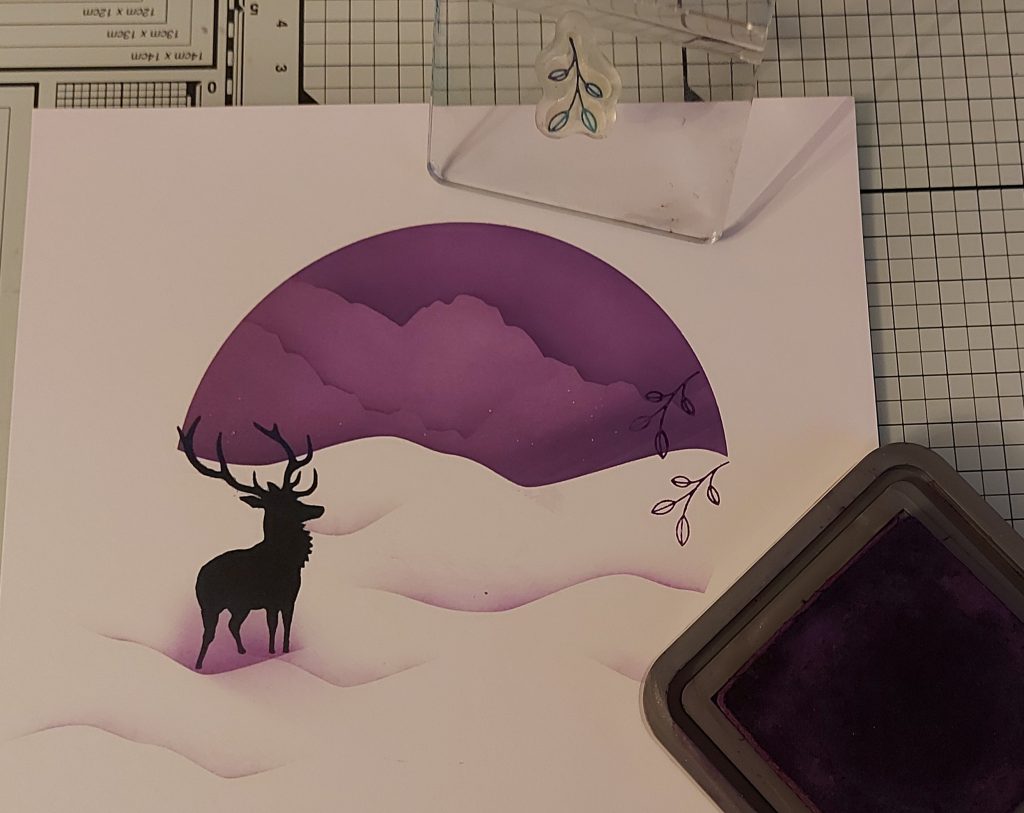
Step 3. Choose a landscape mask with some kind of hill, the smooth ones are best for snow. Place this about 3/4 of the way up the circle
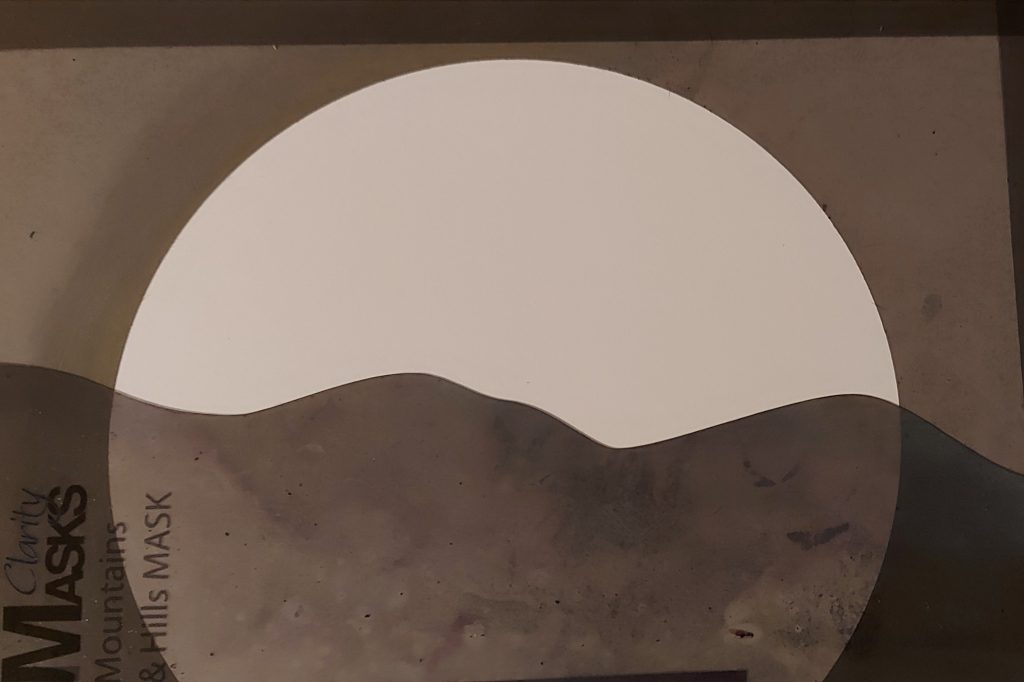
Step 4. With either your brush, loaded with colour (Distress oxide) or your spot on sponge, brush/pounce from the hill mask upwards, as you want the darkest area to be above the hill line

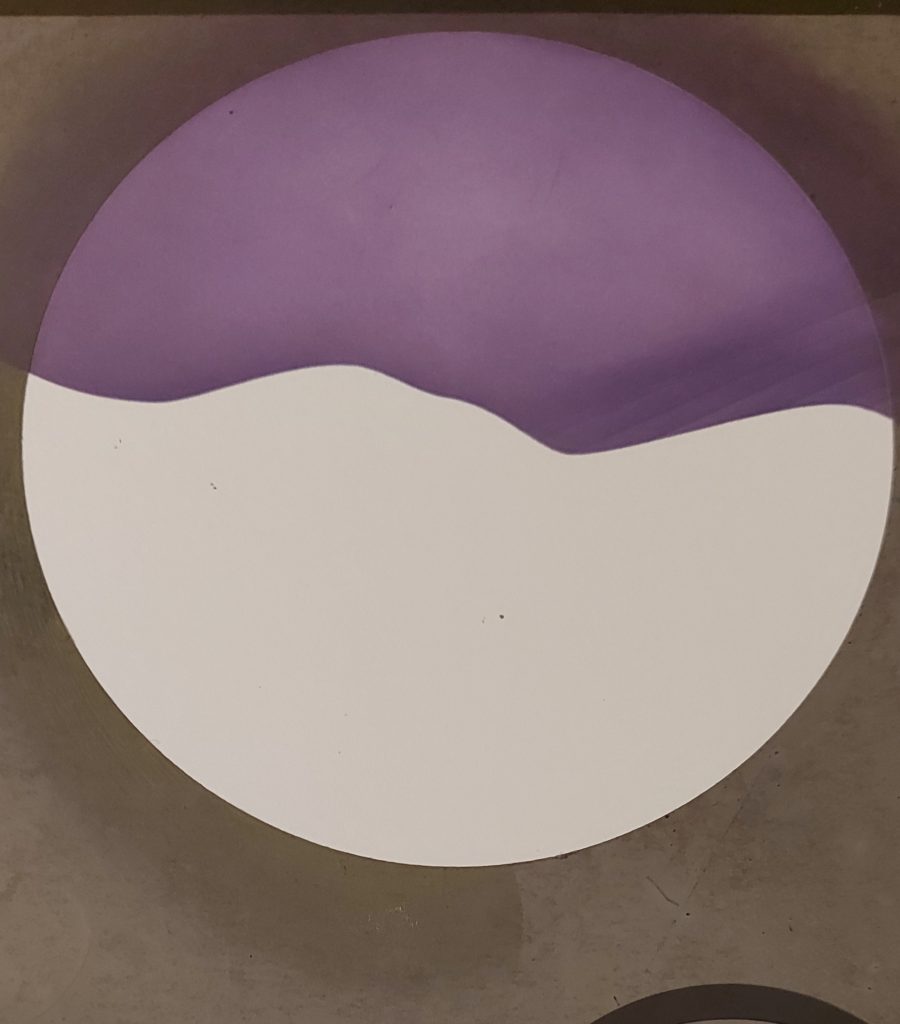
Step 5. Darken the areas around the circle leaving the middle lighter. You can re-apply colour until you get a good blend or the depth of colour you really like. Do not remove the snow mask yet. The example photo is to show how crisp your line should be.
Step 6. Using a mountain mask, place this within the sky’s colour and again brush away from the mask paying particular attention to the line of the mountain mask, again where you want the deepest colour. Reapply for a further mountain range.
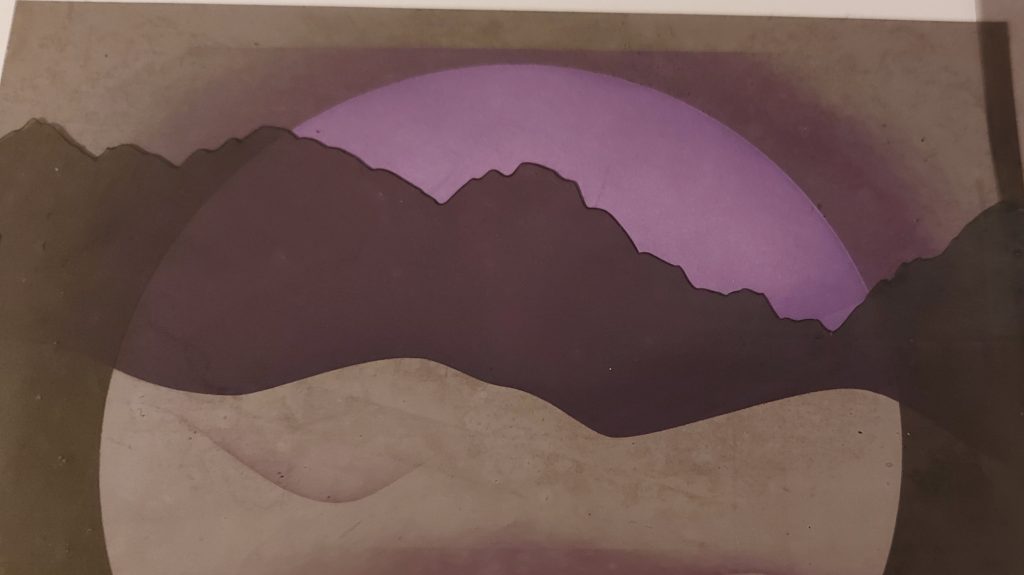
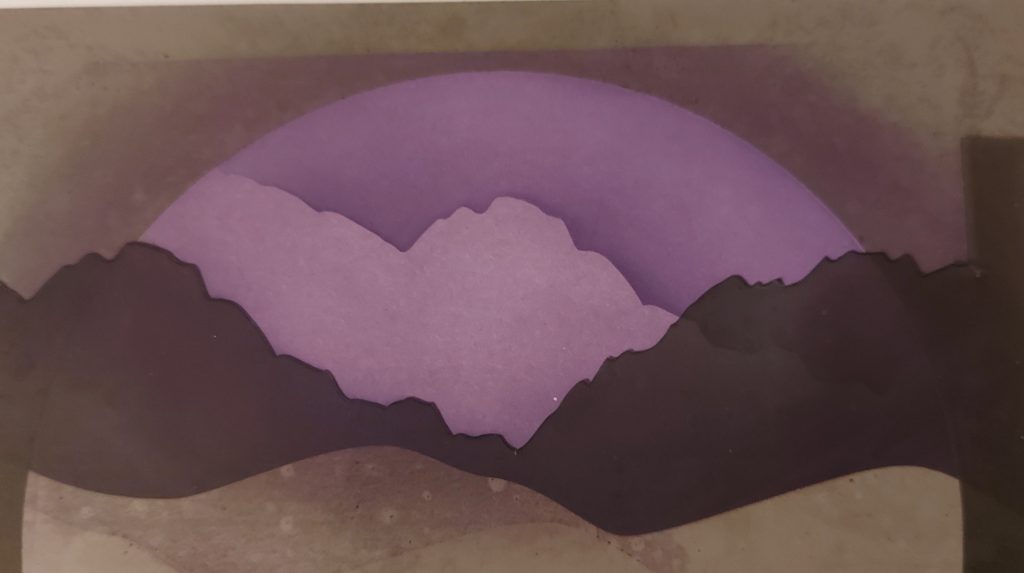
Step 7. Remove the mountain and snow (hill) mask. At this point you want to add some snow banks within the white area of the circle, these should be much lighter so remove any really dark ink from your brush on copy paper, or if you have a brush that is quite dry with colour use this. You only want to apply the ink millimetres over the edge of the hill mask. A spot on sponge might give you more control at this point. Don’t over egg it! you can add but you can’t take it away!
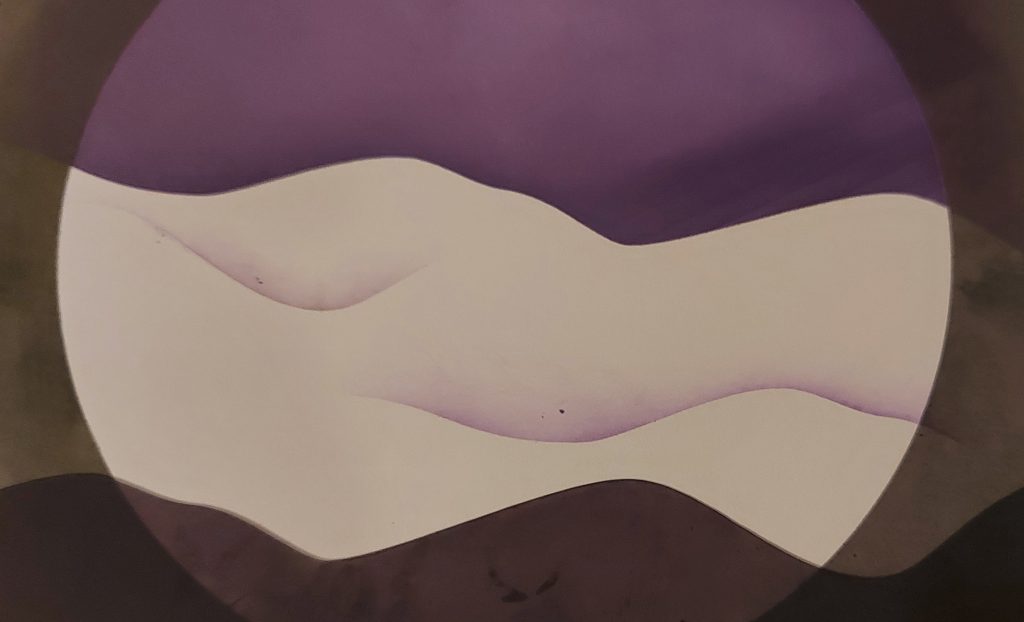
Step 8. Remove the circle mask.
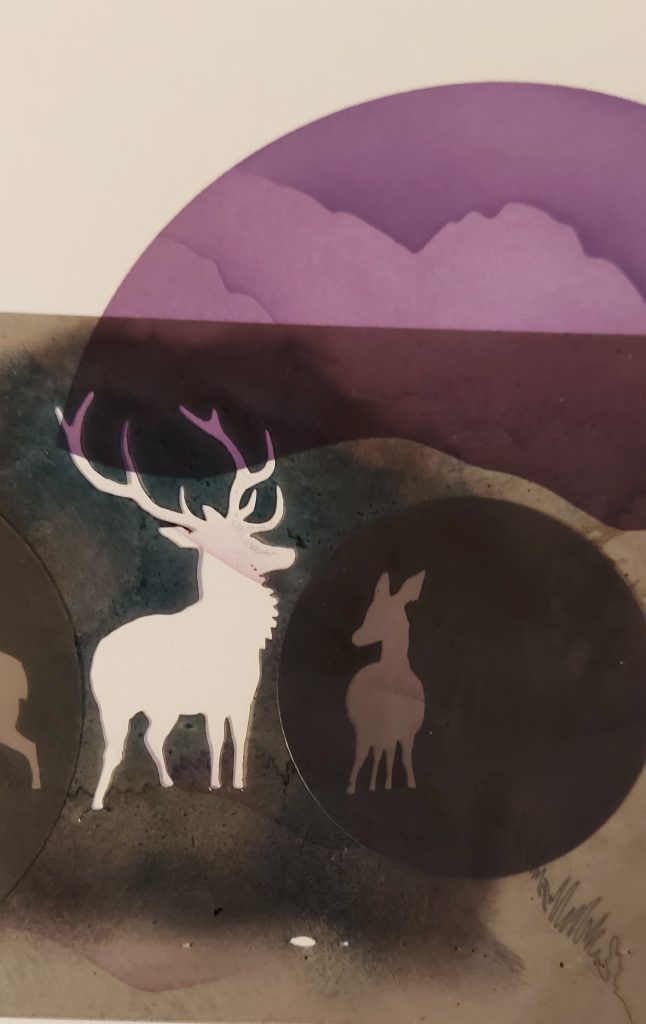
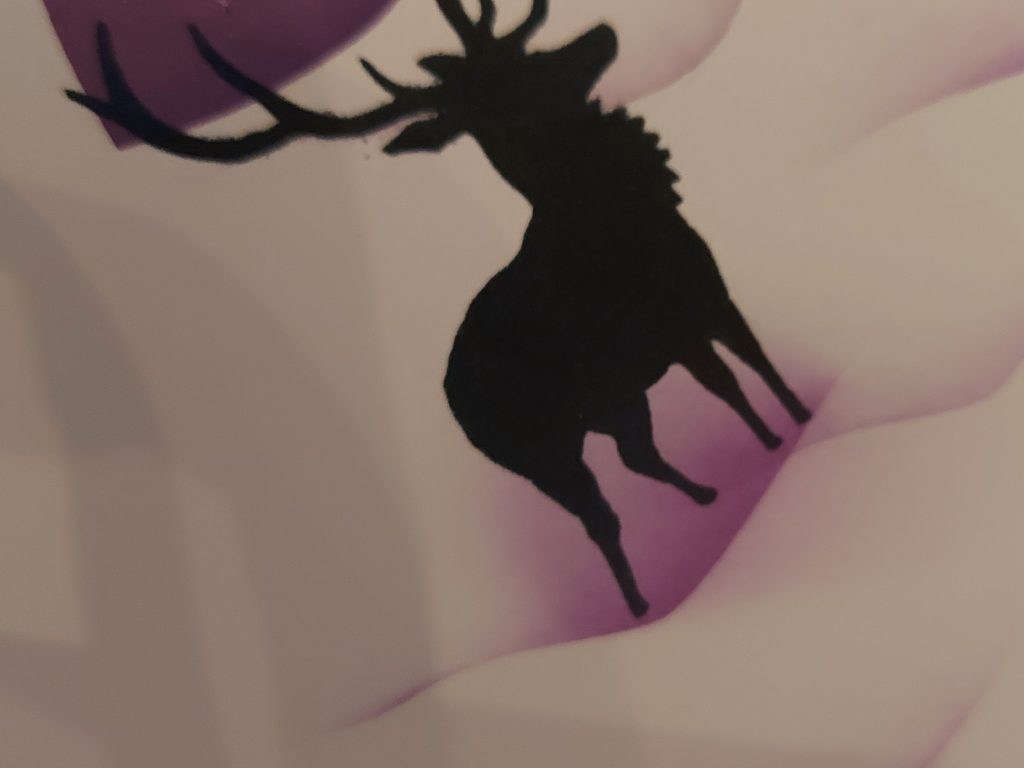
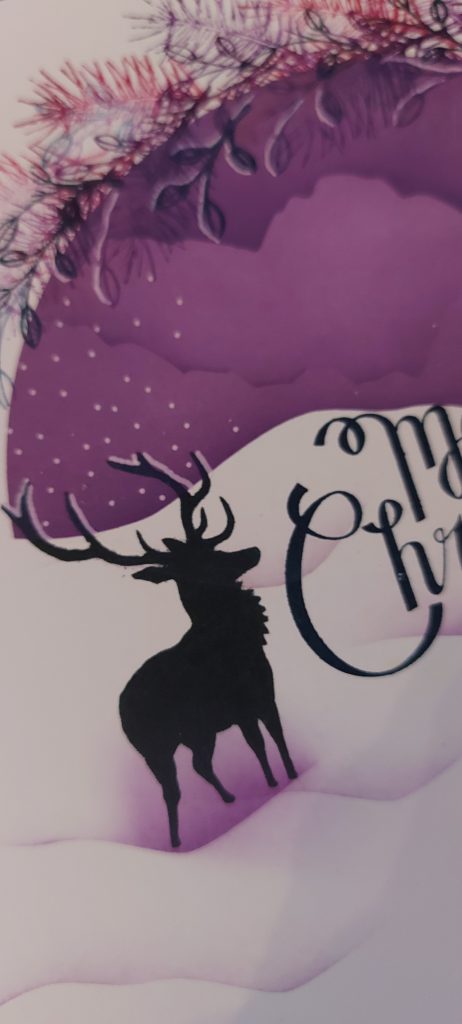
Step 9. Take your stag mask and compose where you think the stag would sit well within your composition, landscape. With the spot on sponge dab until you have a really dark deer/stag, ensure you have masked off the others if you are only using the one within your project. Give the stag some ground, and a darker patch underneath so he’s not floating in the snow.
Step 10. Take the colours you have used, apply to your foliage stamps, ferns leaves, whatever you have chosen. Ink your stamp with the oxide and use 1st and 2nd generation stamping to go around the circle (choose which side best suits you and leave a 1/4 of the circle unstamped.)
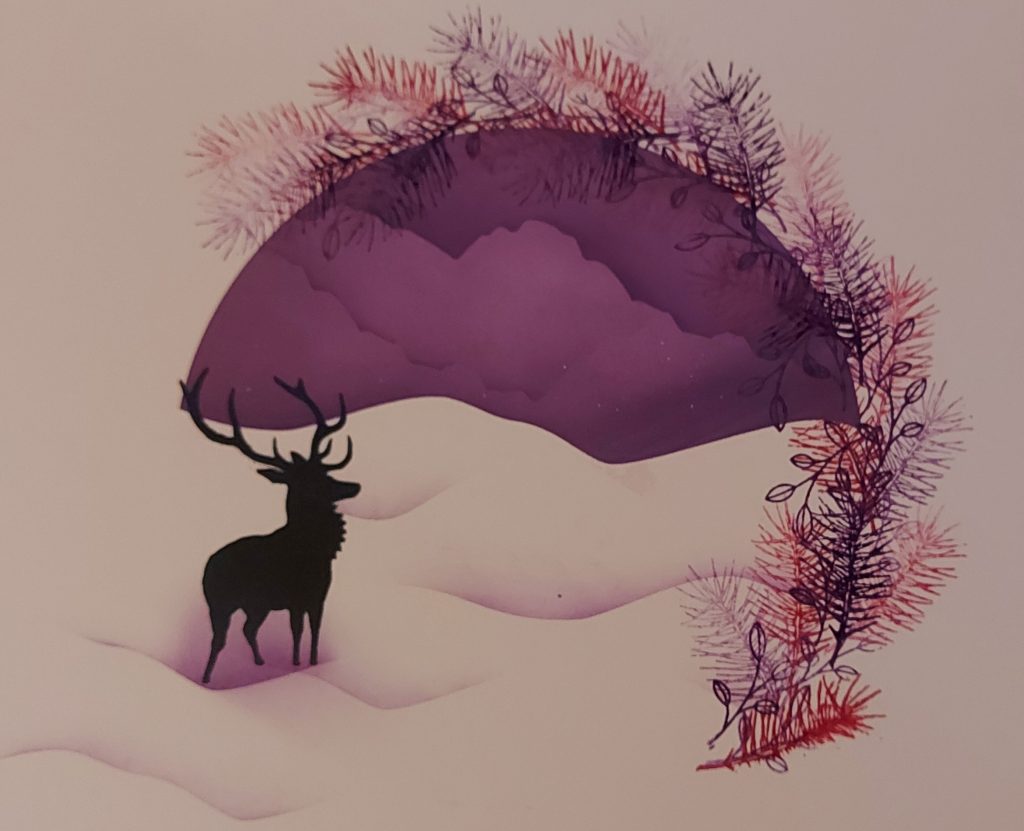
Step 11. Take the colours you have used, apply to your foliage stamps, ferns leaves, whatever you have chosen. Ink your stamp with the oxide and use 1st and 2nd generation stamping to go around the circle (choose which side best suits you and leave a 1/4 of the circle unstamped.)
Step 12. Choose your sentiment. Stamp, ink up and place in the appropriate area to balance your project. Or choose a sticker from any of books and plant your sentiment
Step 13. Now if you, like me, have managed to get an inky splodge around the edge of your card, here is where you cut your 7×7 down to a smaller size (removing any inky splodges). I cut mine to 6×6. Choose from your companion papers a matching colour/shade, and cut this down to just shy of your 7×7 card blank. I just eyeball mine. But if you are using a cutter 6.75×6.75 is a fair representation.

Step 14. Edge your work with the black sharpie, to make this pop from your background companion paper, especially if you have fluked it and the Distress ink matches your background perfectly.

Step 15. Mount all three layers, and there you have it, your deer/stag Christmas Circle landscape wreath.

I hope you have enjoyed this project. You can also use any of the trees, the wee folk, animals etc to make your little scene. I would love to see your designs, if you have been inspired by this Claritymatters blog. Tina xx
Wow, another amazing project from Tina. Change the sentiment, colours and it is perfect for all year round. Everything that Tina has used can be found over on the Clarity website HERE
Looking at the week ahead…
Sunday 3rd December:
Clarity Classics with Barbara on Create & Craft – 3pm-5pm – 2hrs
Tuesday 5th December:
Groovi Tuesday with Paul – 10am Live on Facebook & YouTube
Wednesday 6th December:
One Day Special with Paul on Create & Craft – 6pm & 9pm
Thursday 7th December:
One Day Special with Paul on Create & Craft – 10am & 2pm
No SHAC this week as Mum is coming over to visit, so I better get my skates on and tidy up the apartment!
Oh and don’t forget, our annual Penguin Hunt kicked off over on the Clarity website on Friday – click HERE to join in the fun. Oh we do love the annual Clarity Christmas hunt!

Travel gently, friends.
Lotsa love, Grace & Tina xoxo
Clarity – The Home of Art, Craft, and Well-Being.
Brilliant step by step Tina, for us non stampers a godsend! Happy weekend both of you and enjoy your time with your mum Grace xx
Great step by step Tina, I will add it to my to do list as I seem to have busy couple of weeks.
Looking forward to the show this afternoon, will sit & finish my cards as some need to go by tomorrow.
Have a great week Grace and everyone else stay warm and safe. We had snow last night but thankfully it has gone this morning xx
Lovely Card Tina, will try this out for my Christmas cards, thank you. xx
Have a good time with your mum Grace. xx
I haven’ t had time in November to look at the Sunday blogs, but now that I have, this looks amazing. Definitely going to try.
A fantastic project Tina. I love your choice of colour.
Have a fabulous time next week Grace. I don’t know who will be the most excited….. you or your mum!
Love and hugs
Jane xxx
Lovely project, thank you. I do have a question though…..did you use the white posca pen to add highlights to the deer and foliage (it’s in the ingredients list) but I can’t find where you have used it. Hope everyone has a good week.
Lovely example of what can be achieved. Thank you Tina.
Thank you Tina for a great step by step, a lovely card. x
Beautiful scene, and I love the partial wreath too. Thanks for bringing more stamp and stencil projects for those of us who aren’t parchers!
I am new to stencilling and masking but love this and will give it a go when time permits. X