
Clarity Matters Blog Tutorial: How To Create A Background with Stencils & Mask off Part Of A Stamp
Hello hello! Grace here.
I hope this finds you well, safe, and enjoying your Sunday.
We are joined this weekend by a super talented and knowledgeable member of the Clarity design team, Jane Telford.
Jane has kindly put together a step-by-step blog for us.

How To Create A Background With Stencils And Mask Off Part Of A Stamp
I love this stamp of the Doodle Flowers by Tina. It is one of the NDC stamps and is still available to buy if you missed it. I also wanted to show how to create a pretty background using the Kiss Ring of stencils. Plus we were asked by the public to show masking off part of a stamp so that’s what I have done here.
This is where we are headed…
Ingredients
New Design Stamp Club Back Issue – 153 – Tina’s Doodle Grass (STA-BA-11145-XX)
Kiss Ring of Stencils Set 1 (STE-PA-00906-XX)
Word Chain 08 – Friendship Stamp Set (STA-WO-10055-XX)
Mixed Media Journaling A5 Stamp Set (STA-PA-10731-A5)
7×7 Stencil Card (ACC-CA-30095-77)
Low Tack Tape (ACC-AD-31211-XX)
Distress Ink Pad – Wilted Violet (INK-DP-50352-XX)
Distress Ink Pad – Crushed Olive (INK-DP-50076-XX)
Distress Ink Pad – Broken China (INK-DP-50072-XX)
Archival Ink Pad – Jet Black (INK-AR-50030-XX)
Perga Colours Exclusive (PER-CO-70060-XX)
Micron Pen Set Of 7 (ACC-PE-30778-XX)
Clarity Stencil Brushes (ACC-BR-30006-XX)
6×6 Card Blank (ACC-CA-30618-66)
A4 Paper
Black Sharpie Pen
Method
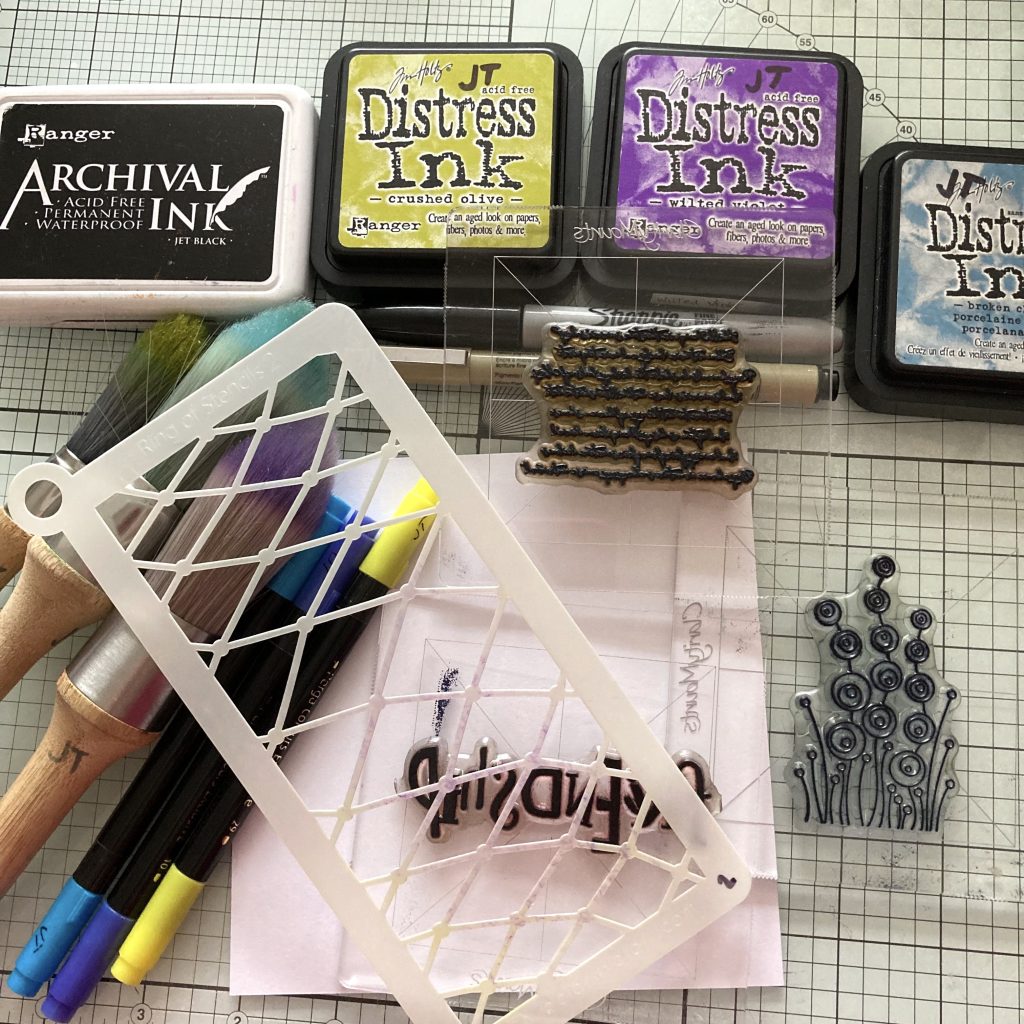
Step 1. These are all the things you’ll need.
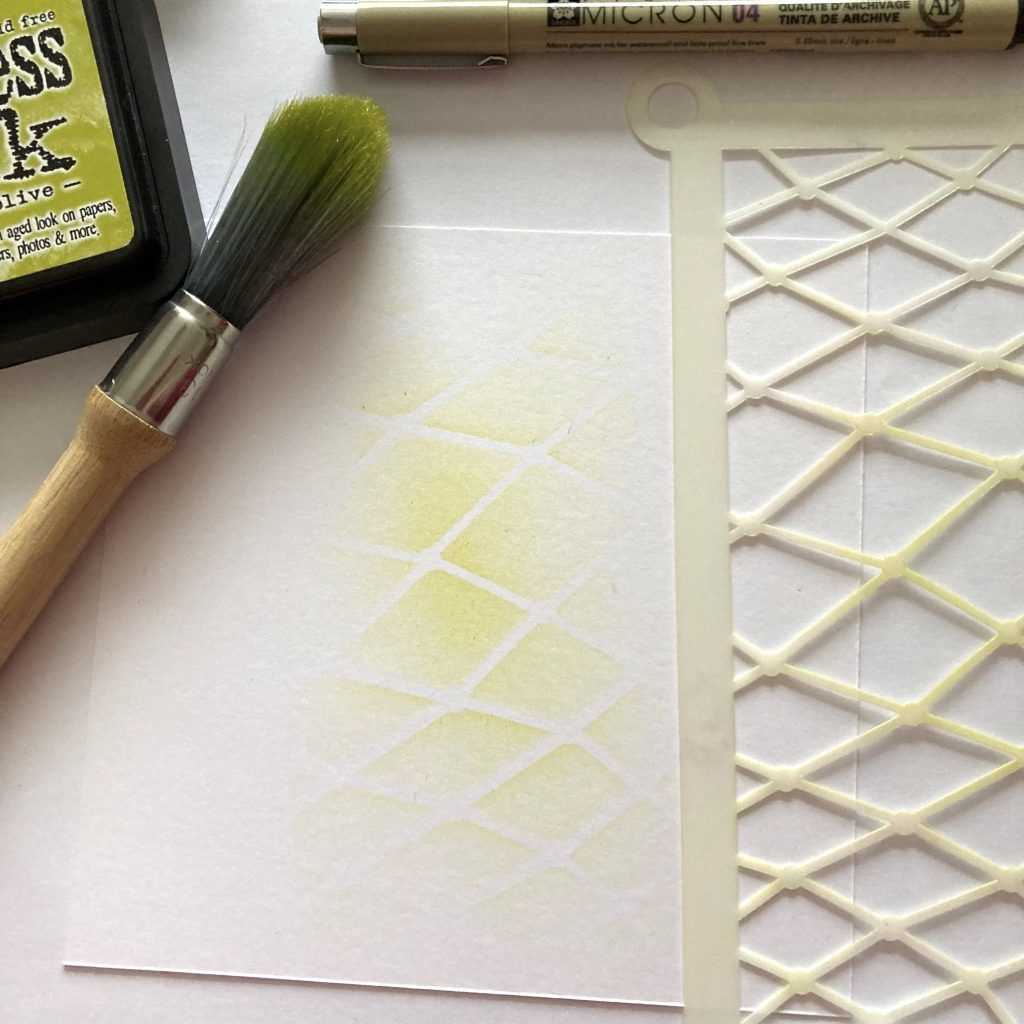
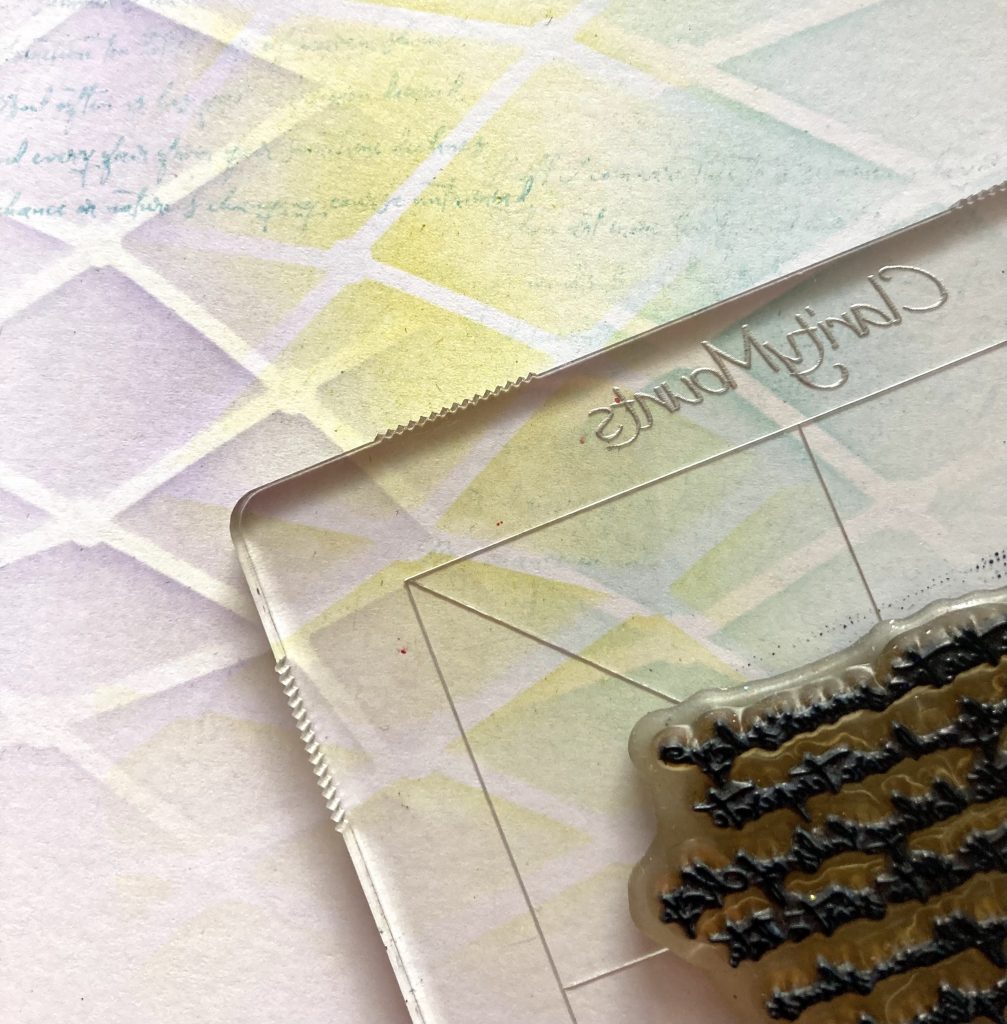
Step 2. Cut a piece of stencil card to 14×14 cm. Take the stencil off the ring and place it in the centre of the card. Brush some crushed olive ink from the centre out towards the edges but fade it as you go outwards. Try not to reach the edges of the stencil.
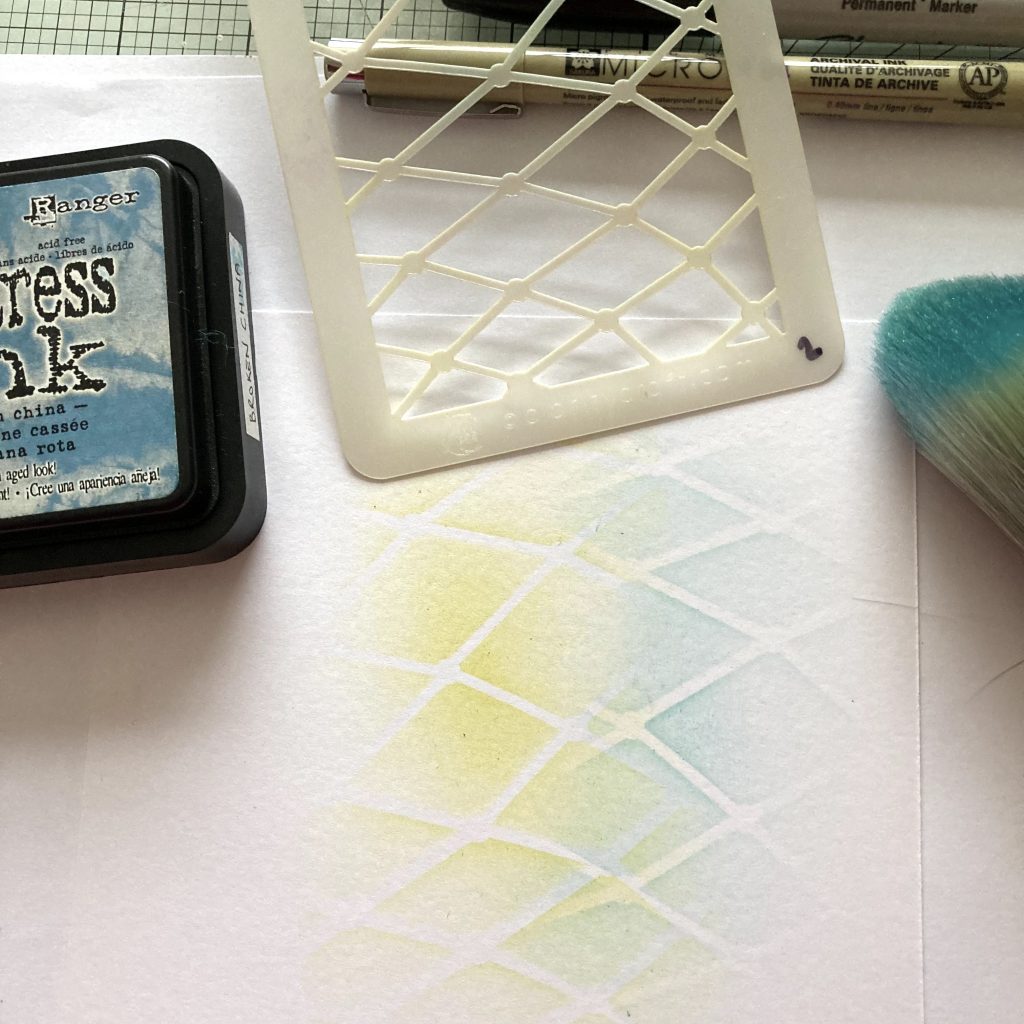
Step 3. Clean your stencil, then position it over the right-hand side of the card and brush blue ink in a similar way letting it overlap the crushed olive colour.
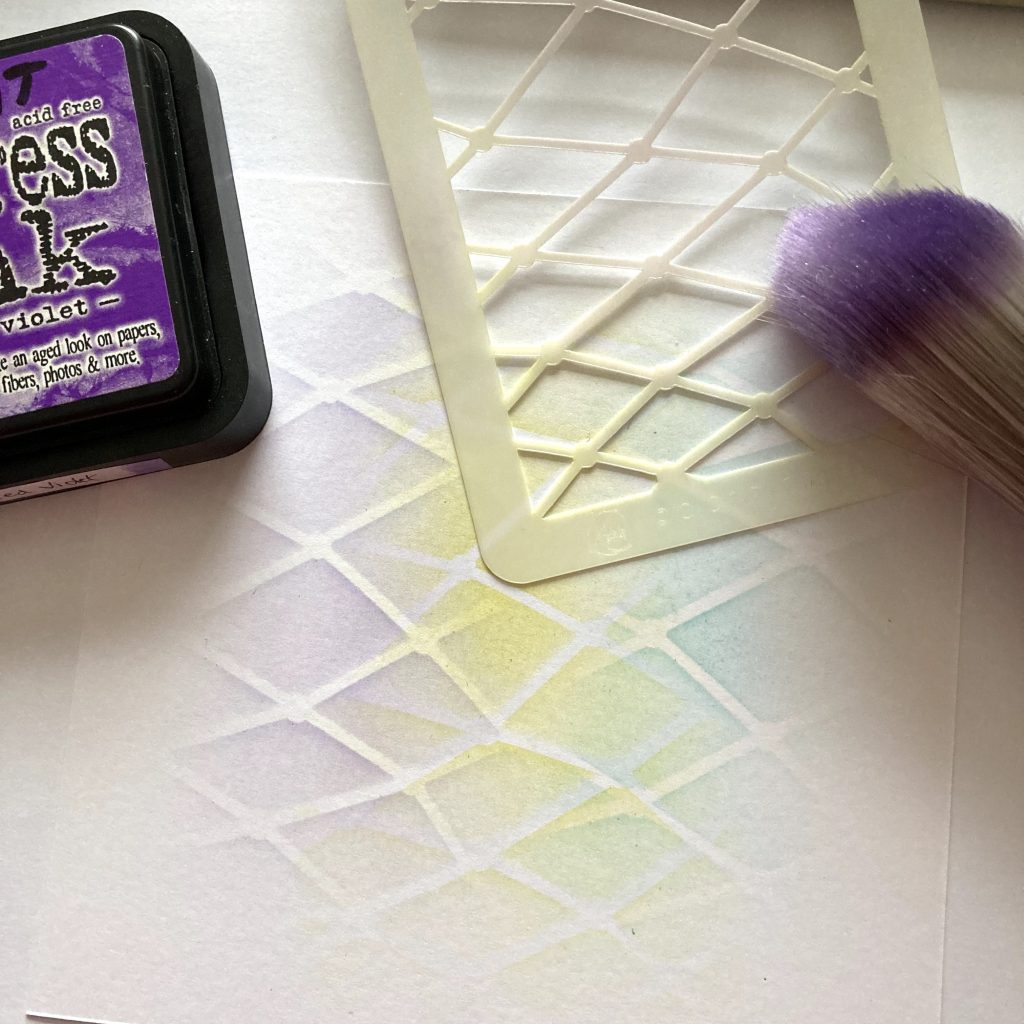
Step 4. Wipe your stencil, place the stencil over the left-hand side of the card and brush some purple ink overlapping the colours slightly. Clean the stencil and put it back on the ring.
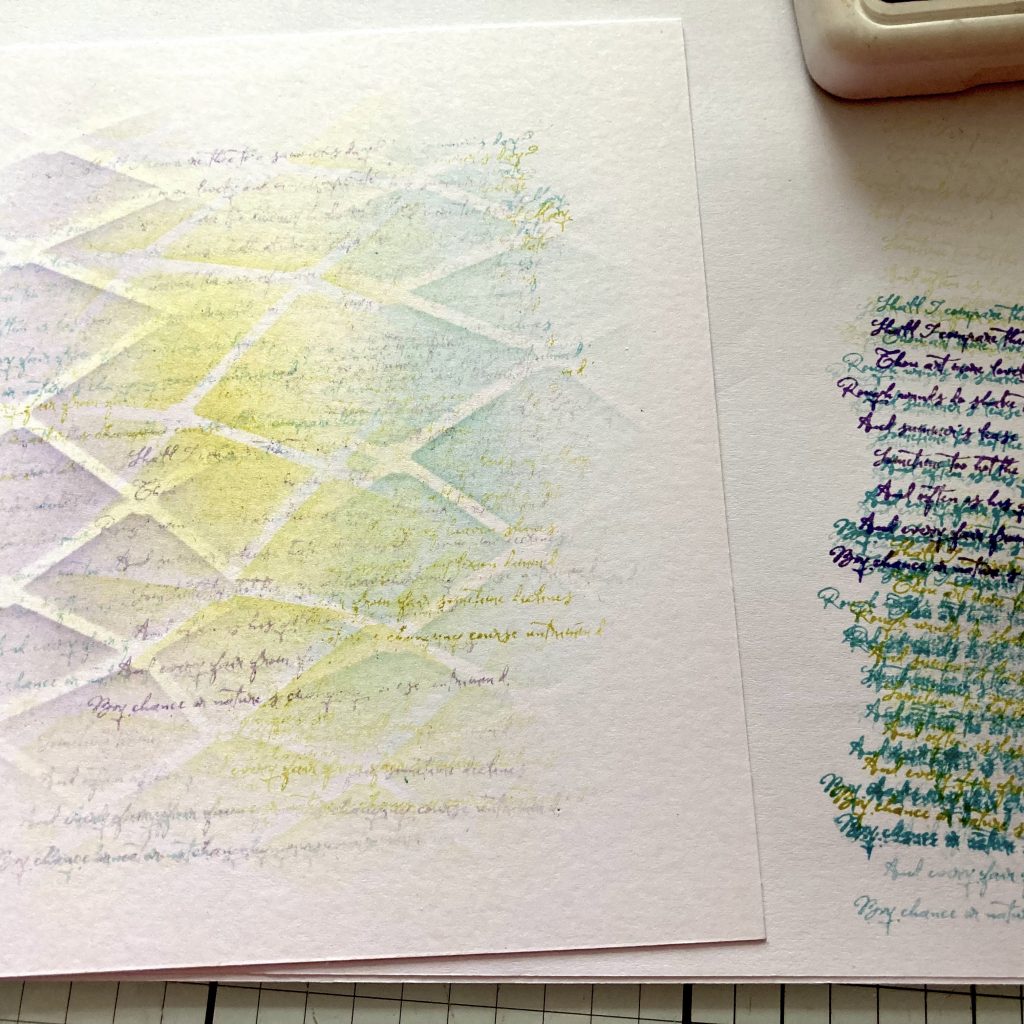
Step 5. Take the script stamp and using the same distress inks as you used for the background ink up the stamp and blot it on A4 paper then stamp it over the inked area. Use all three colours of inks until you are happy with the coverage.
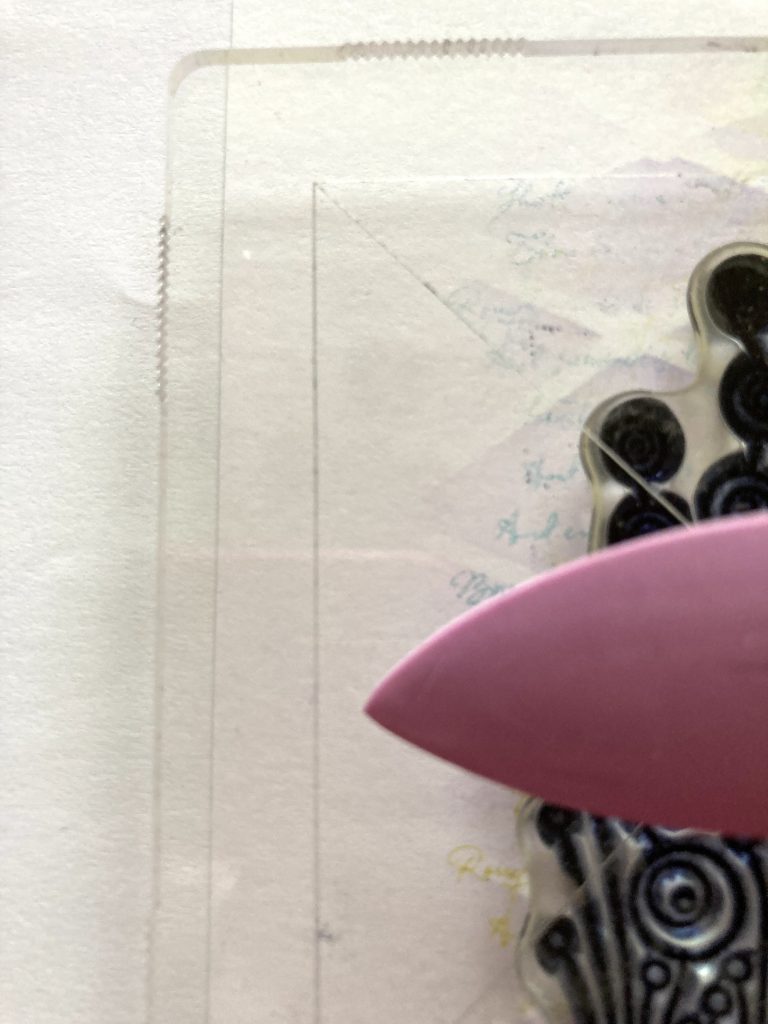
Step 6. Put the Doodle flower stamp onto the small mega mount and using archival black ink stamp it in position. To get it straight put it on the mount straight then use the lines on the mega mount to align it with the edge of the card.
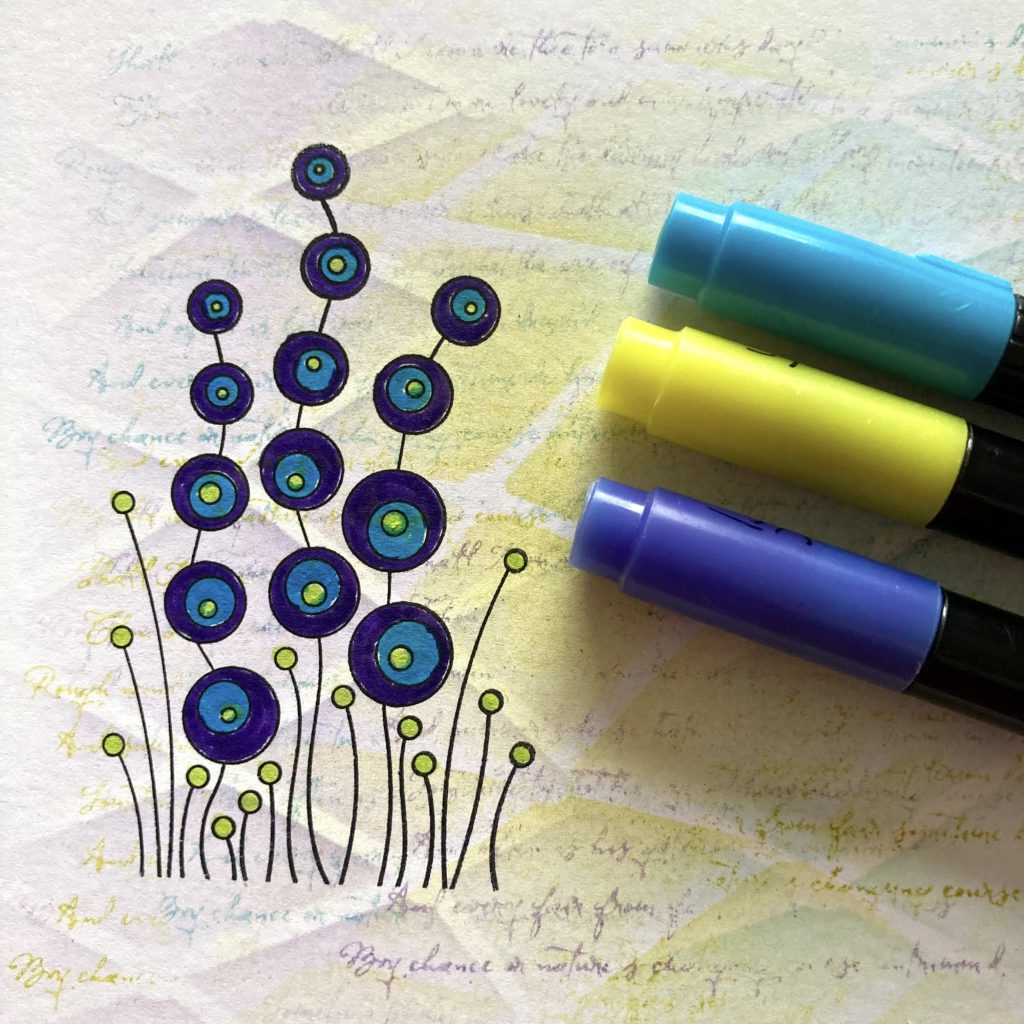
Step 7. Use the Perga Colours Nos. 10, 28, 29 to colour the doodle flowers.
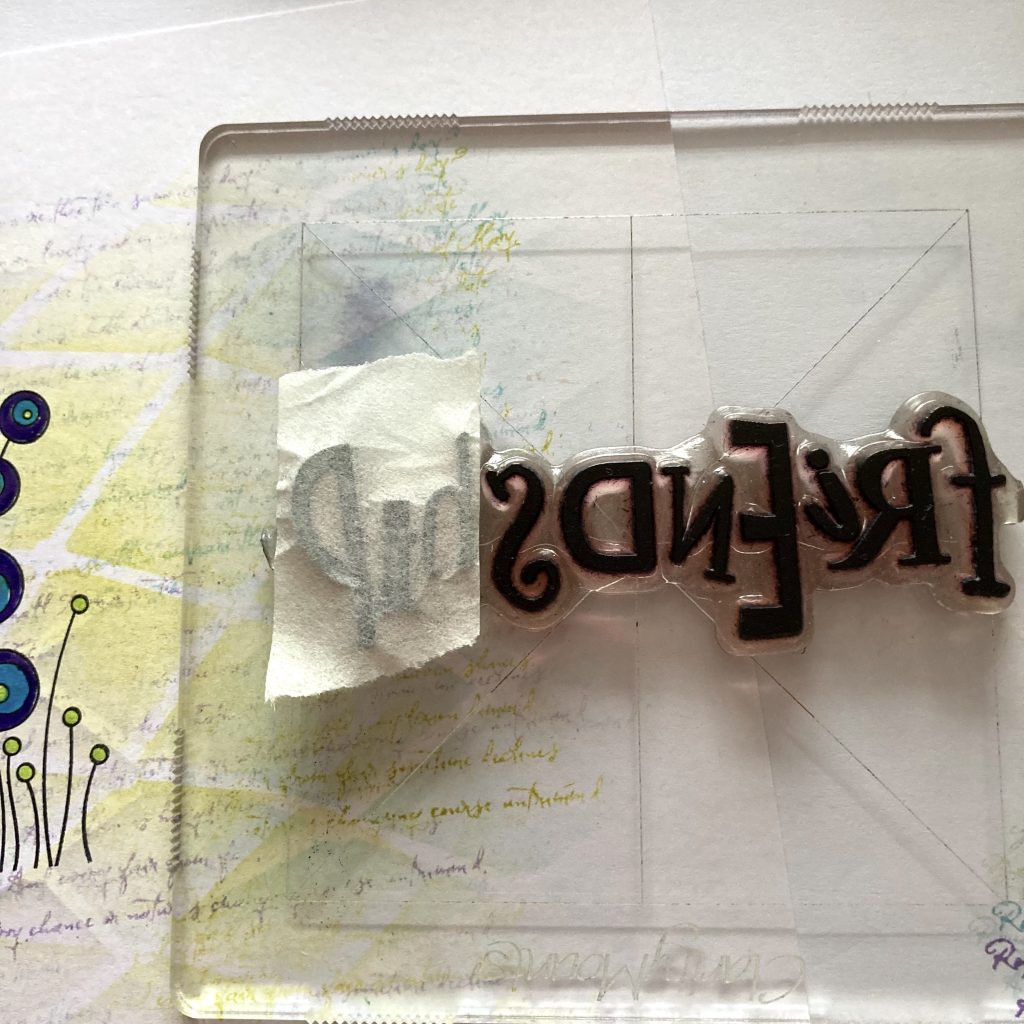
Step 8. Put the word stamp Friendship on the mega mount. Cover the last three letters with some low-tack tape. I use my fingernail to tuck it in between the S and the H. Tip. If you have used the full word recently it is a good idea to clean the stamp before you mask off a section as sometimes you will get a shadow from the old ink on the stamp.
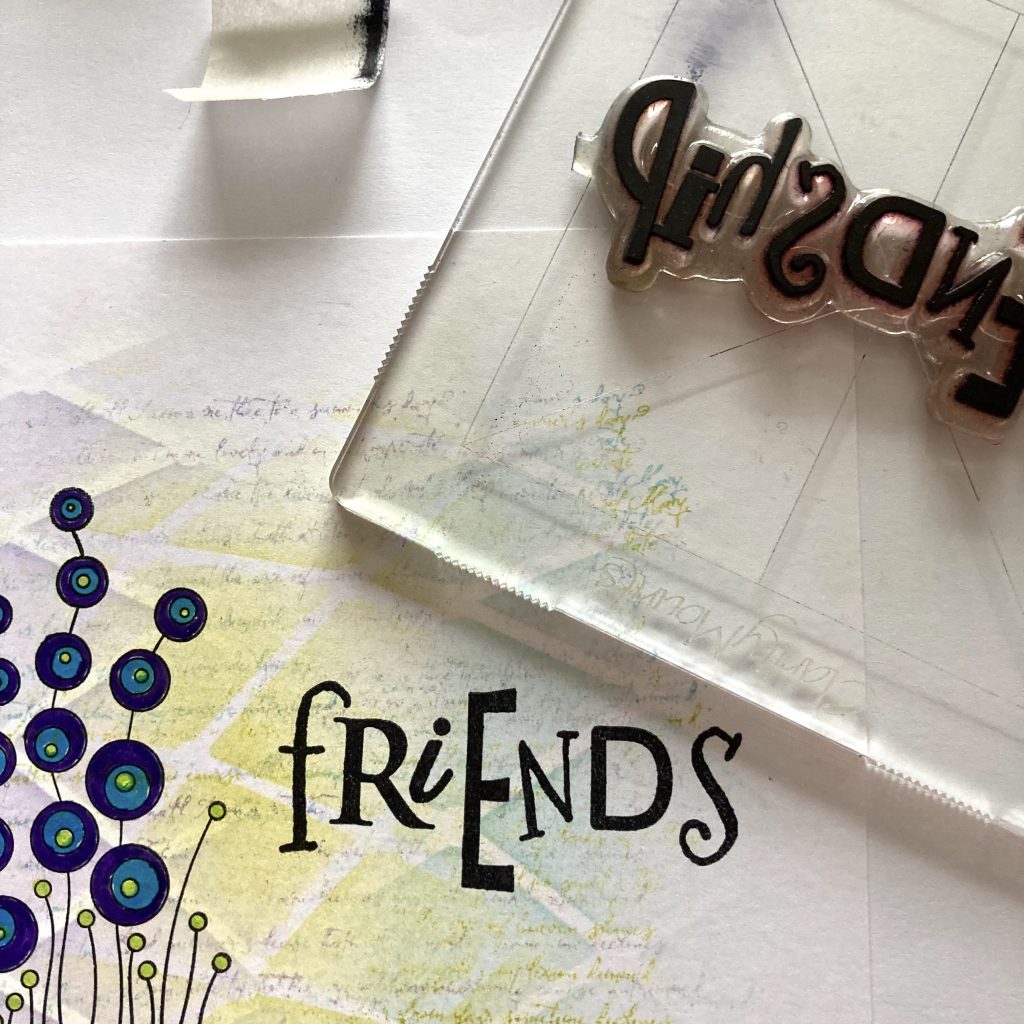
Step 9. Ink the stamp with a Black archival well. Remove the tape and quickly stamp the word into position.
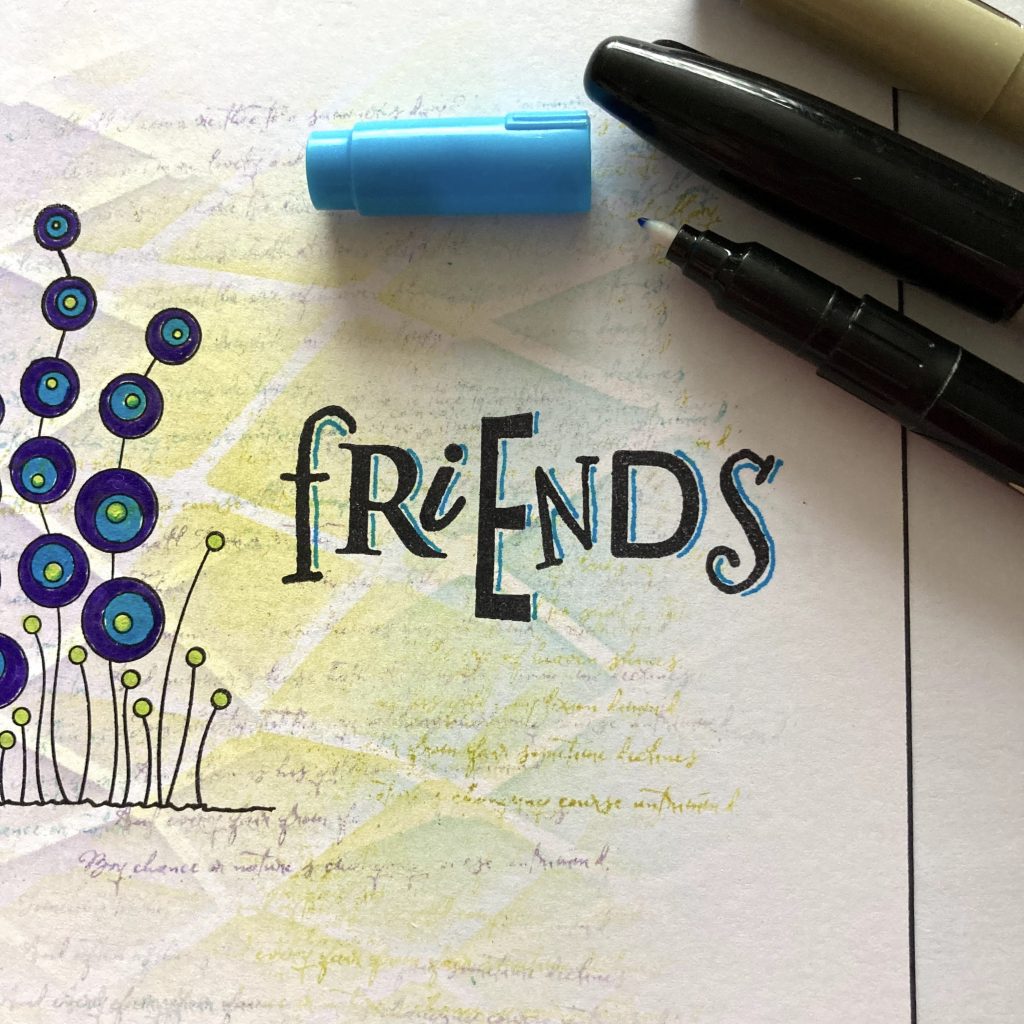
Step 10. Use a black micron pen to doodle a line under the flowers. Use the black Sharpie pen around the edge of the card. Use the fine end of the blue Perga Colour pen to add lines to the word.
Step 11. Adhere this to the front of a 6×6 card blank. The project is now complete.
What a beautiful project! I really ove this card. Thanks for sharing your tips and tricks with us, Jane!
Everything that Jane has used in this particular project can be found on the Clarity website in an ingredients list, HERE.
What’s coming up ahead? Let’s have a look…
Monday 20th November:
In The SHAC with Barbara – 10am Live on Facebook and YouTube
Tuesday 21st November:
Groovi Tuesday with Paul – 10am Live on Facebook and YouTube
Thursday 23rd November:
Crafting with Clarity with Barbara & Paul on Create & Craft – 3pm & 7pm
Friday 24th November:
Crafting with Clarity with Barbara & Paul on Create & Craft – 9am & 1pm
See you there!
Travel gently, friends.
Lotsa love, Grace & Jane xoxo
Clarity – The Home of Art, Craft, and Well-Being.
Love this project Jane, so helpful. Enjoy the rest of your weekend ladies xx
I love this project and will be using this as inspiration for a card for my friend who’s 60 soon. Thanks for bringing more stamp and stencil projects, as I’m an inky girl who has lost her mojo a bit! X
Thank you Jane for a great demonstration, I’ve learned a lot xx
Lovely project, thank you Jane. I too love these stamp, ink & stencil projects as I have loads of stencils but very rarely use them.
Love it. Just adding a different colour next to the word makes it really pop. I never think of doing something like that xx
Hi Grace & Jane, what a pretty card & a great step by step. Definitely going on the TDL. Wet & blustery here so a day to stay indoors in the warm & craft but first I must go round to mom’s to fill her pill box & empty the bins. I am going to stamp the elves on envelopes for her to colour in to make gift envelopes. They did a colouring session in her flat complex on Tuesday as a meditation/mindfulness session & she enjoyed it. I will post a picture when she has done them, just proves you are never too old to start or restart crafting !!
Have a good week everyone xx
Thank you, Jane. A simple, but effective design.
A word of warning – when you mask off part of a stamp, don’t forget to remove the tape before stamping on to your creation.
How do I know this? …….
Love
Roz.xxx
I really must get my NDC stamps out, thanks Jane for this lovely reminder.
Hope all is well with everyone.
A great step by step Jane, thank you. x
Love this Jane. Thank you