Clarity Matters Blog Tutorial: How To Use The Semi-Square Tool
Hello hello! Grace here.
I hope this finds you well & enjoying your weekend.
For those of you who follow Paul on his Groovi Tuesday sessions, you will know that on Tuesday 15th August he will start working his way through Linda Williams Mult-Needle Handbook Vol 2.
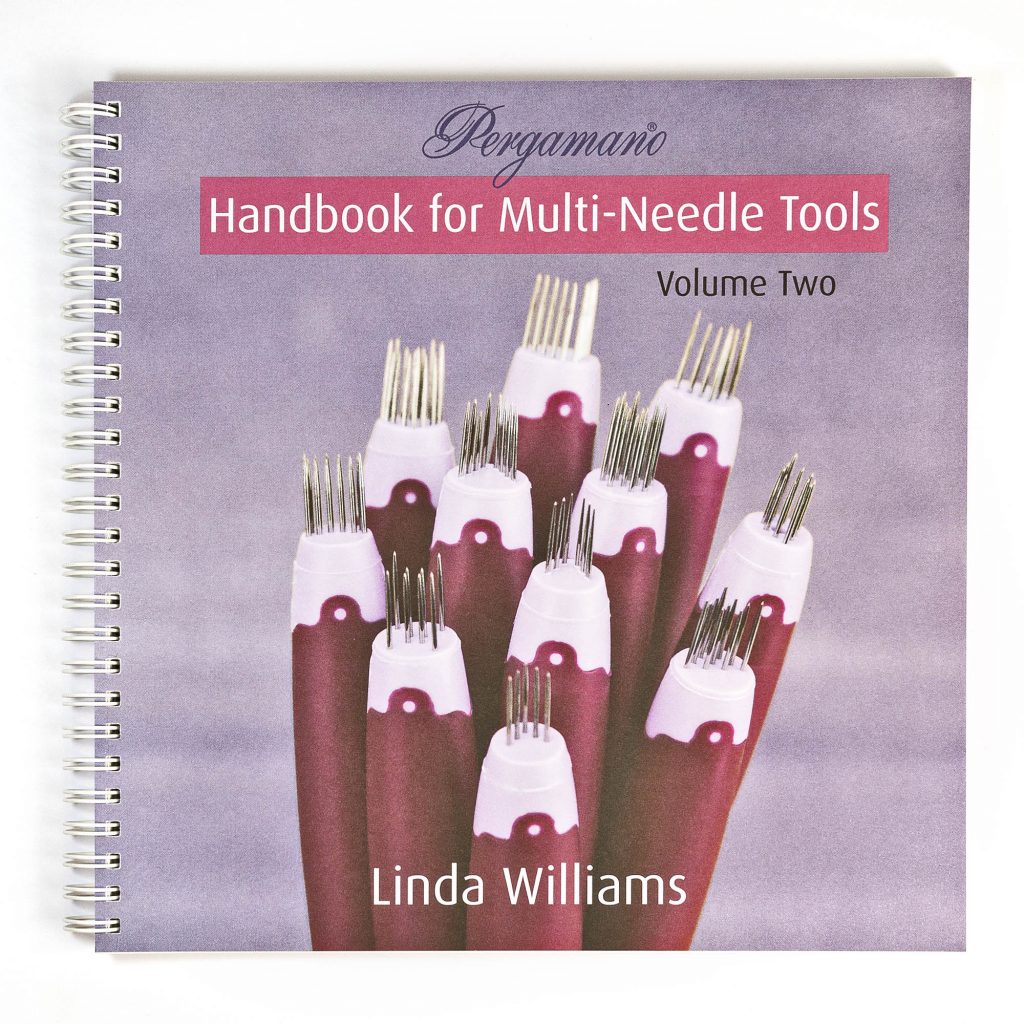
Available HERE.
If you don’t know what Groovi Tuesday is all about, then check out our fantastic YouTube page HERE and just search Groovi Tuesday.
Following each episode, the lovely Glynis has created a couple of step-by-step tutorials using the tool showcased by Paul. Ahead of that, the lovely Julie has offered up a beautiful design using the Semi-Square tool which is also covered in the book.
This weekend, we’re joined by the super-talented Julie Campbell. I’ll pass you over to our teacher…
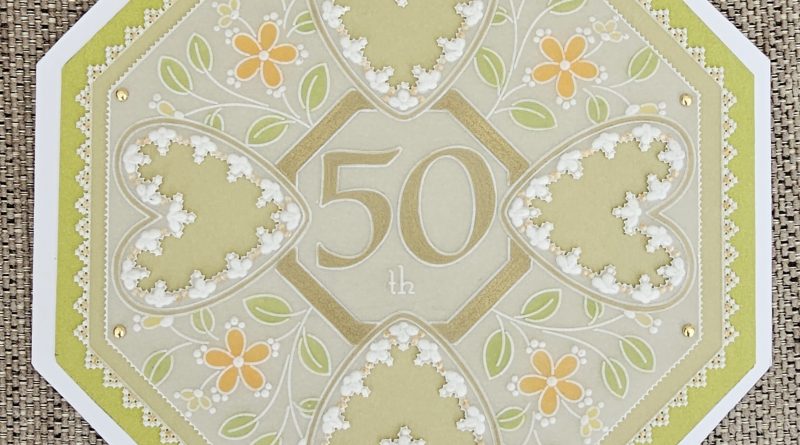
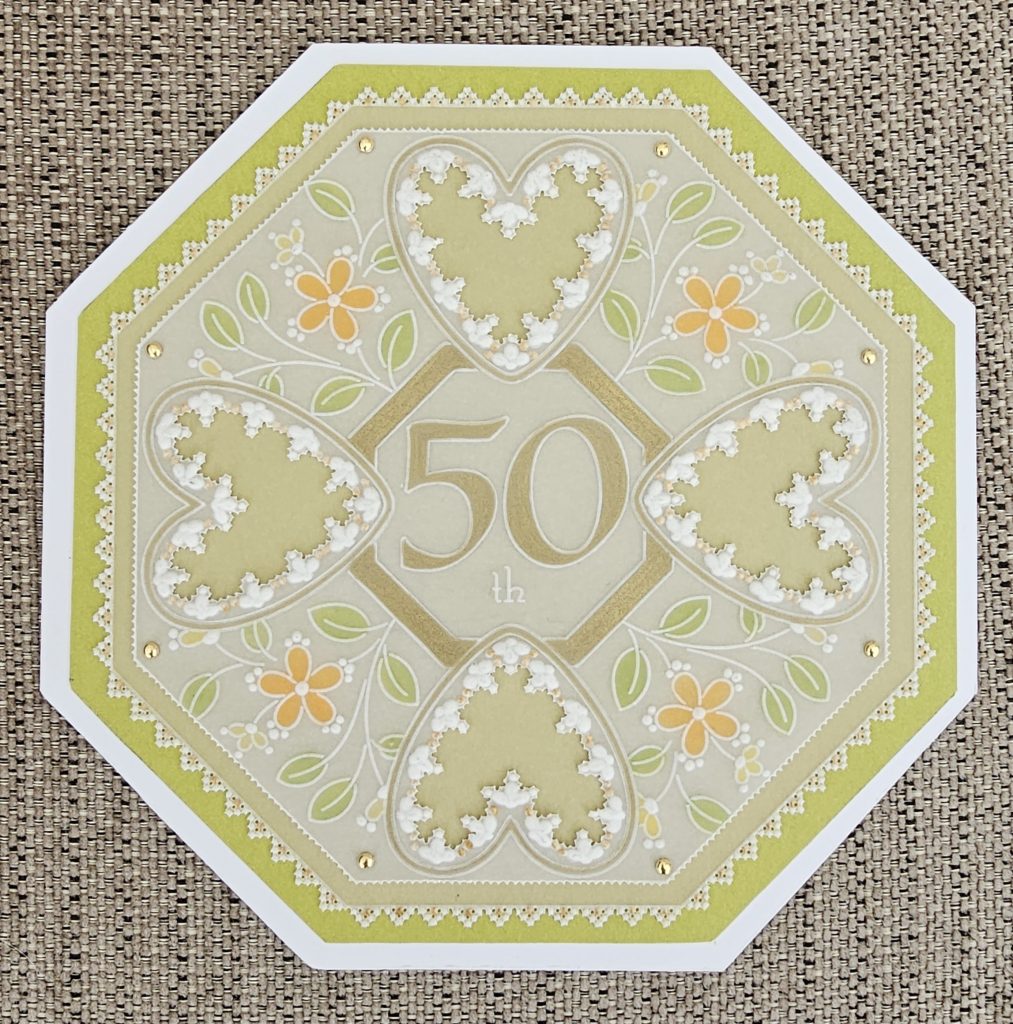
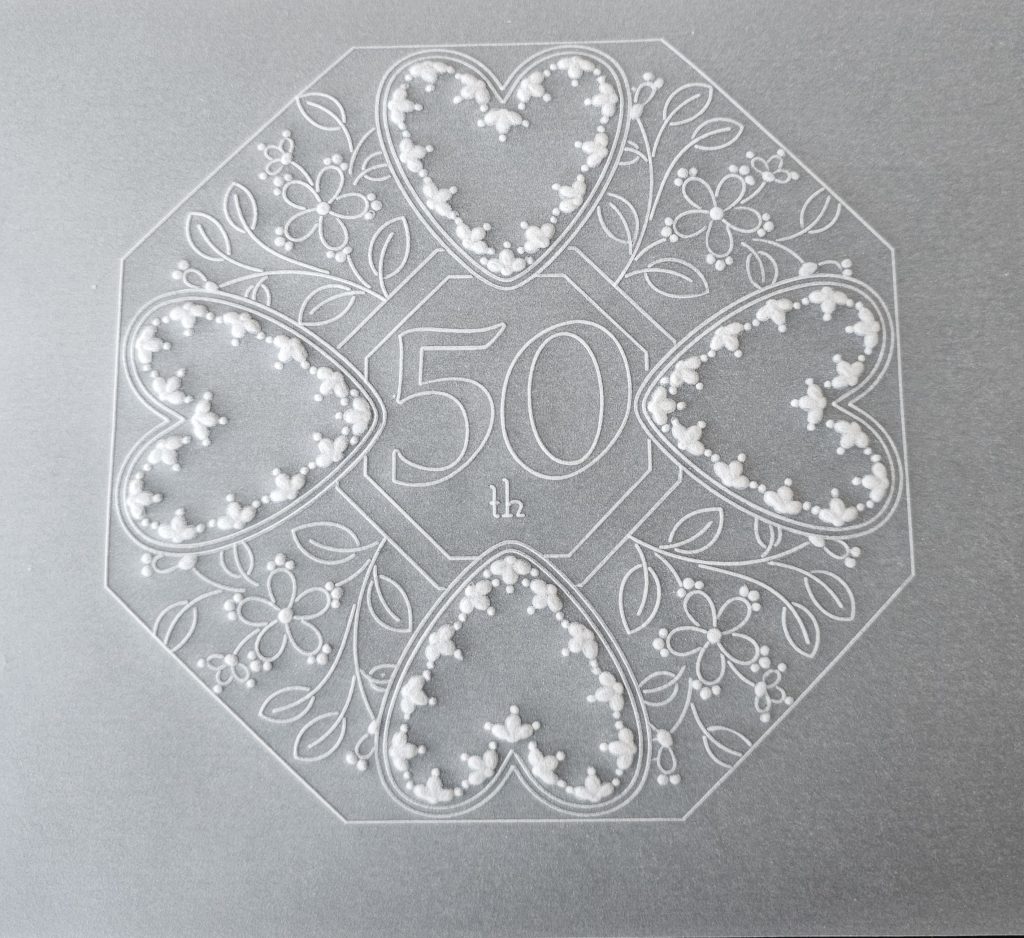
Golden Wedding Card
Ingredients
Nested Octagons A5 Sq Groovi Plate (GRO-PA-40119-03)
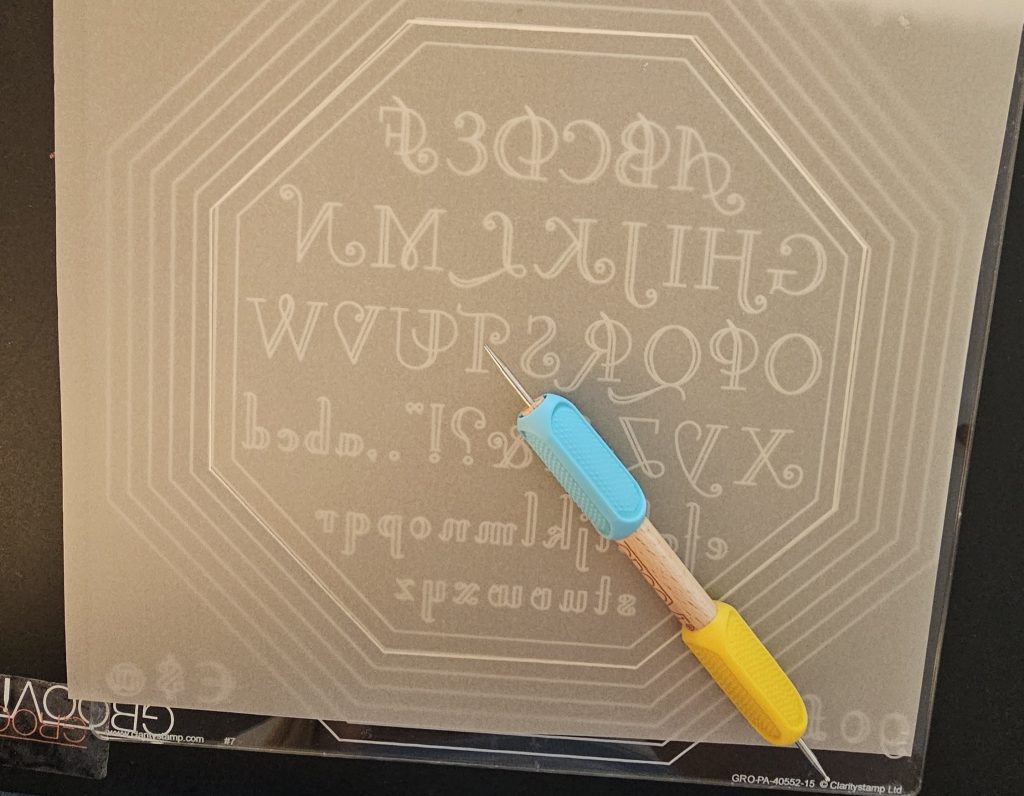
Octagon Extension & Art Deco Alphabet A4 Sq Plate (GRO-PA-40552-15)
Tina’s Heart Flowers Parchlet A6 Sq Groovi Baby Plate (GRO-FL-40987-01)
Floral Numbers 5 A6 Sq Groovi Plate (GRO-WO-41324-01)
Floral Numbers 0 A6 Sq Groovi Plate (GRO-WO-41319-01)
Numbers, Ovals & Tags A6 Sq Groovi Plate Inset (GRO-WO-40133-11)
Alphabet A5 Square Groovi Plate Mate (GRO-MA-40002-07)
Nested Squares Extension and Alphabet Plate (GRO-WO-40538-15)
Number 2 Bold Piercing Tool (PER-TO-70279-XX)
Ivory Parchment (GRO-AC-40399-A4)
Clear Parchment (GRO-AC-40024-A4)
Number 1 & 2 Embossing Tool (GRO-AC-40026-XX)
Semi-square Perforating tool (PER-TO-70021-XX)
Faber Castell Polychromos:
Earth Green Yellowish 168, Gold 250, Cadmium Orange 111, Naples’s Yellow 185
Snips or Scissors of choice for picot cutting
Pebeo Gold Acrylic Paint (ACC-PA-31303-XX)
Fine Artists Brush (PER-BR-70044-XX)
Indian Summer Companion Paper (ACC-CA-31338-88)
Gold Mini Brads (PER-AC-70274-XX)
7” x 7” White Card Blank (ACC-CA-30619-77)
Method
Working on the back of your parchment:
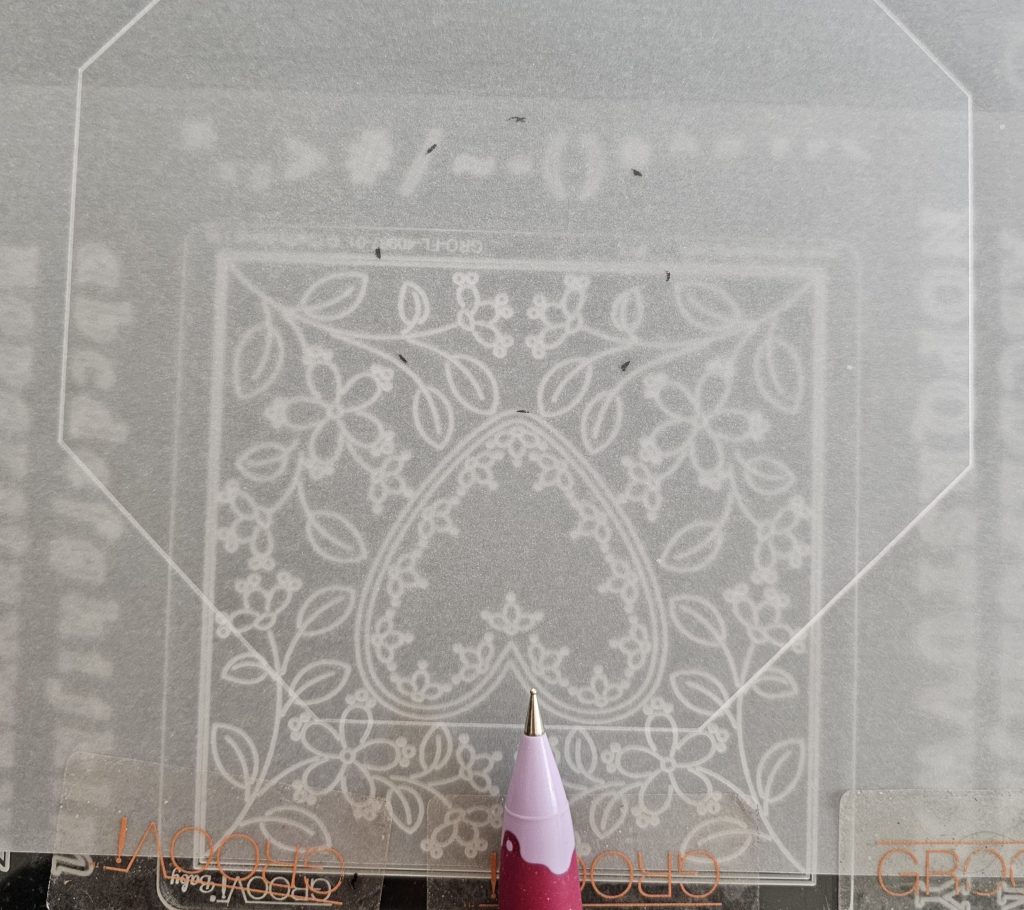
Step 1. Using the clear parchment and the number 1 embossing tool, trace the outside hexagon from the Octagon plate.
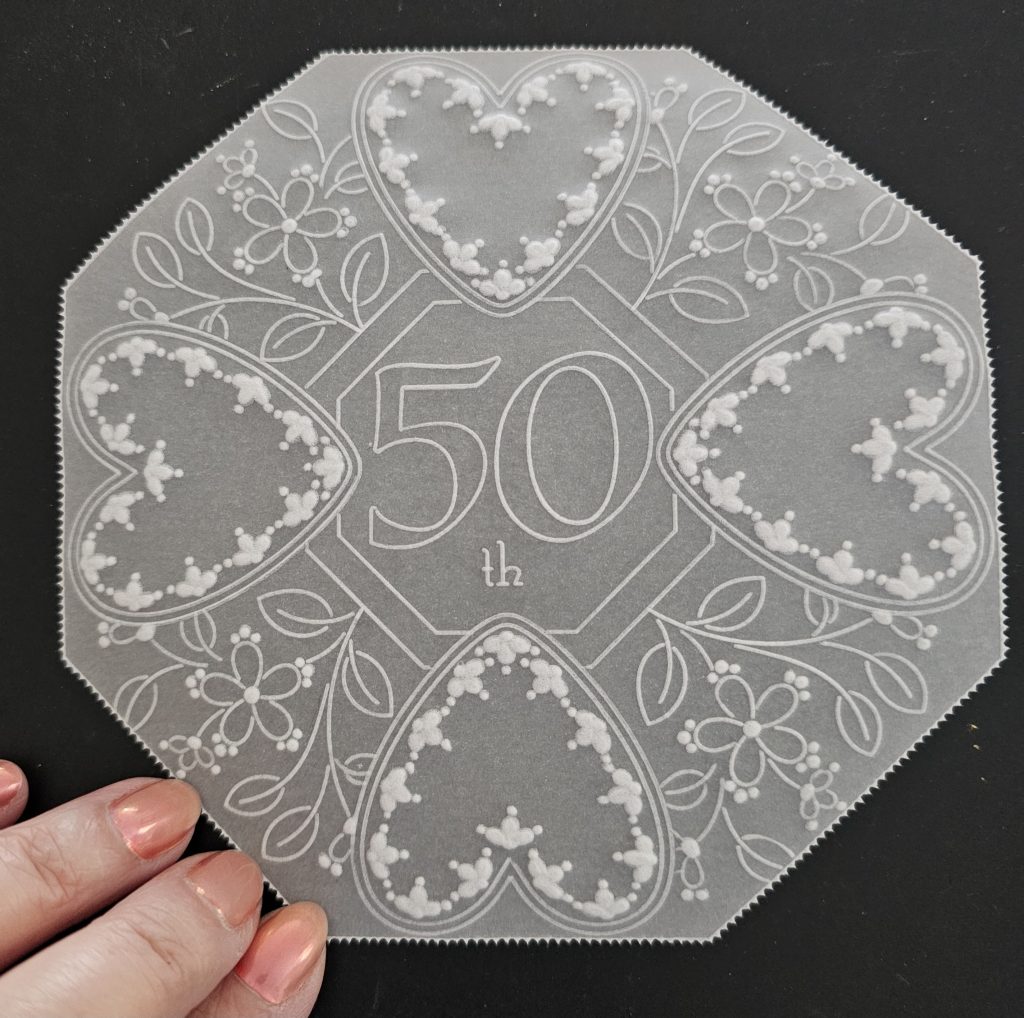
Step 2. Now trace four Hearts from Tina’s Heart Flowers Parchlet plate, making sure you space appropriately as in the photos below.
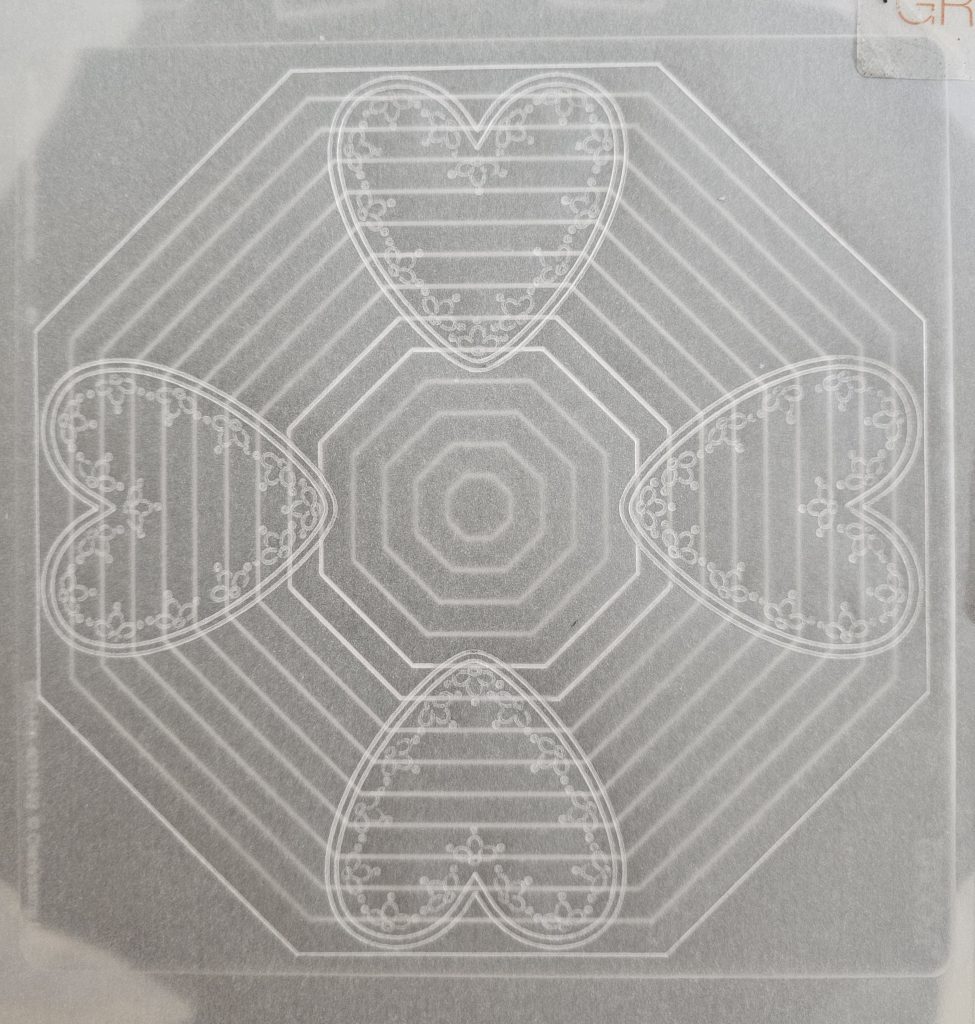
Step 3. Now using the Nested Octagons plate and the number 1 tool, emboss the 5th and 6th hexagon from the centre to create the inner hexagon on your project. Make sure you don’t emboss through your hearts.
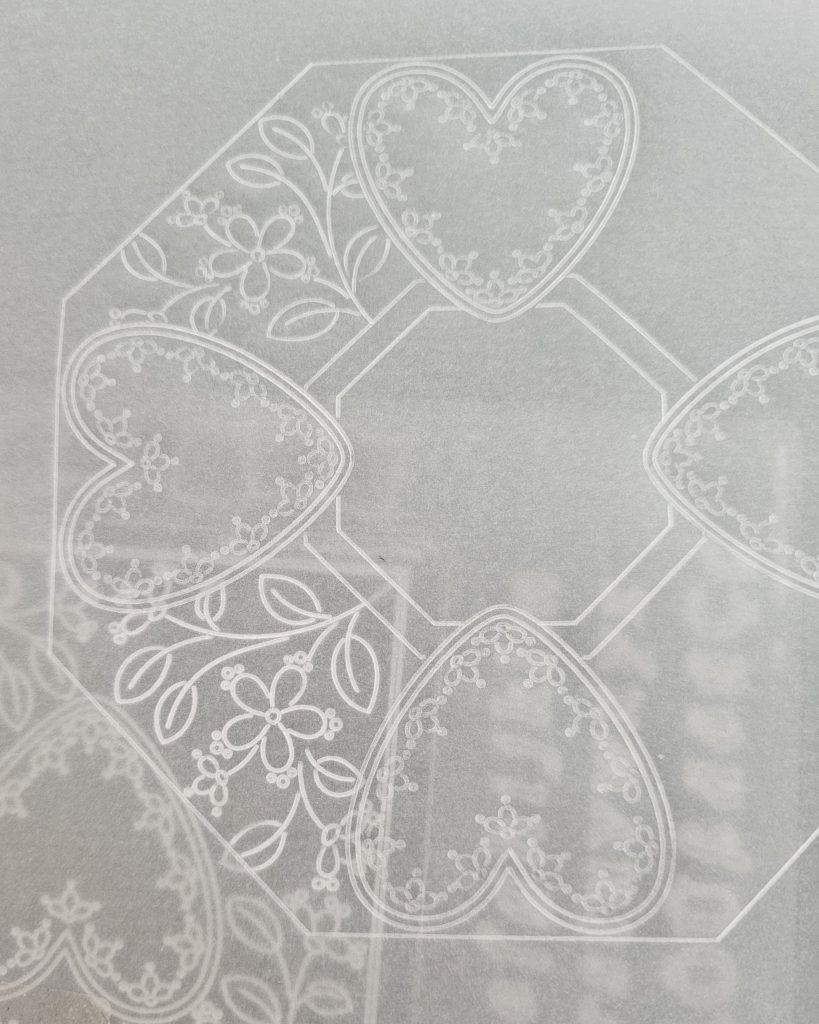
Step 4. Fill the bits between your four hearts with the flowers and leaves from Tina’s Heart Flowers Parchlet plate (or any other plate you feel would fit well with the hearts).
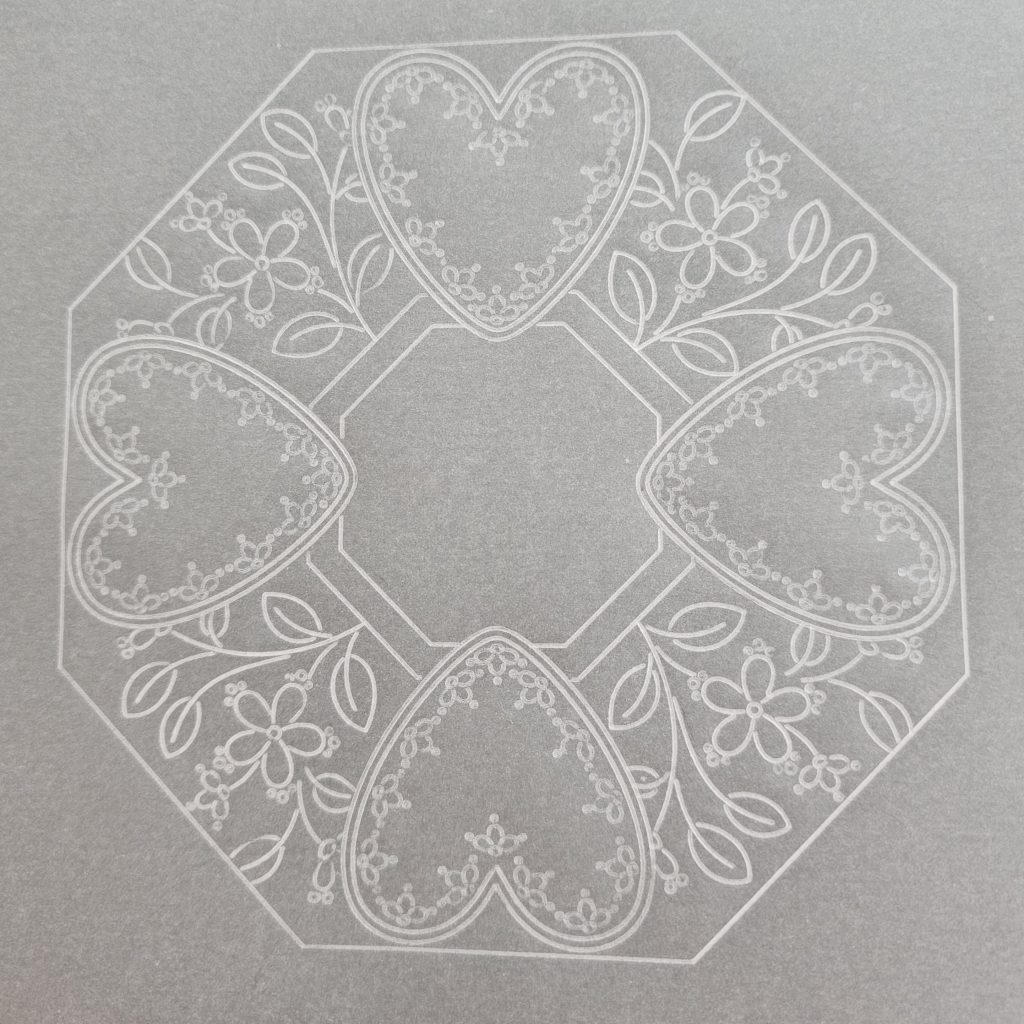
Step 5. Emboss all of your white work, remembering to rest to allow the parchment to recover.
Step 6. Inside the smaller centre hexagon, emboss the number 5 and the number 0 from plates GRO-WO-41324-01 and GRO-WO-41319-01.
Add the ‘th’ underneath, from plate GRO-WO-40538-15.
Step 7. Emboss and add white work to the designs inside each of the 4 hearts.
Working on the front:
Step 8. Using a number 2 bold piercing tool, pierce around the outside of the hexagon and picot cut away the waste from the front of your work.
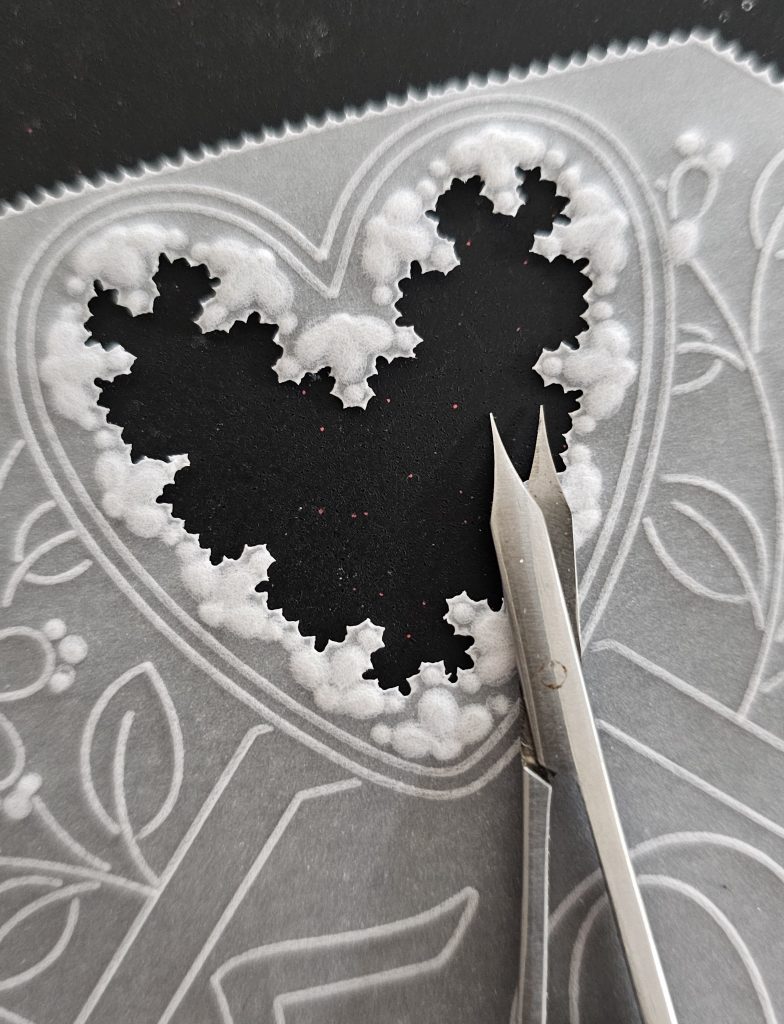
Step 9. With number 2 needle bold piercing tool (if you want to) pierce inside each of the hearts and once all of your work on the white parchment (including colouring and blending) is complete, picot cut away the parchment inside the hearts ensuring your scissors are over the waste (from the front of your work).
Now move onto the ivory parchment
Step 10. Working on the back of the ivory parchment using the nested hexagon plate GRO-PA-40552-15, emboss the 6th hexagon in from the outside of the plate with a number 1 ball tool.
Step 11. Now on the front using the Semi Square perforating tool, shallow perforate around the outside of the hexagon.
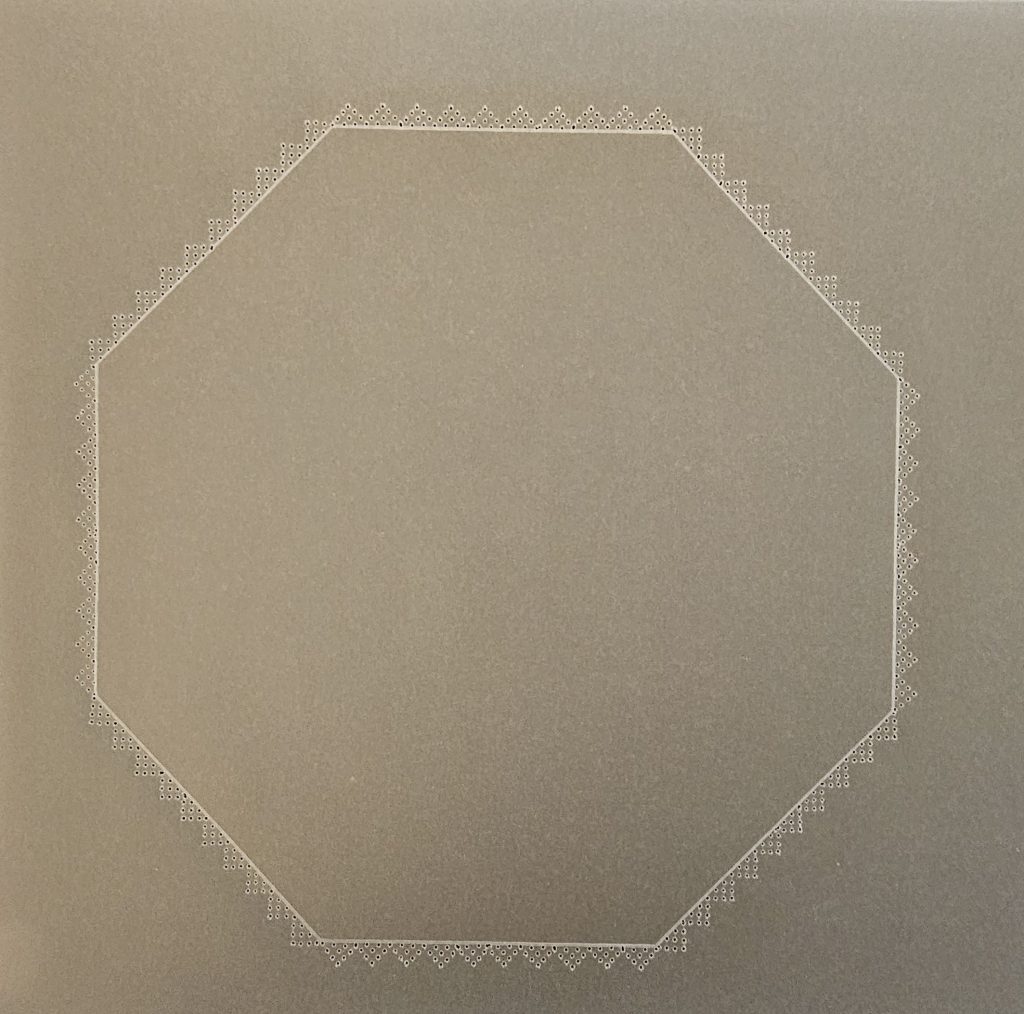
Step 12. Using number 1.5 embossing tool and working on the back, emboss small dots between the perforations (jpeg 172221)
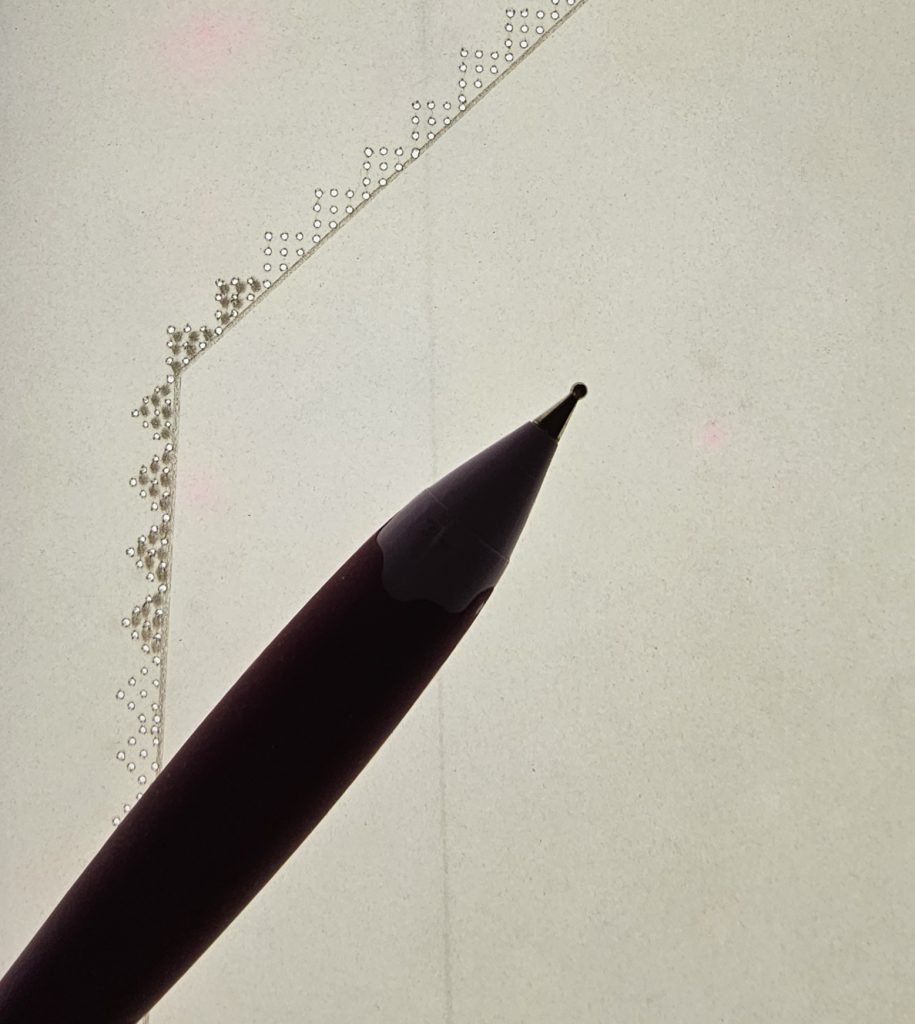
Step 13. Re-perforate from the front of your work with a number 1 perforating tool and then picot cut out the hexagon.
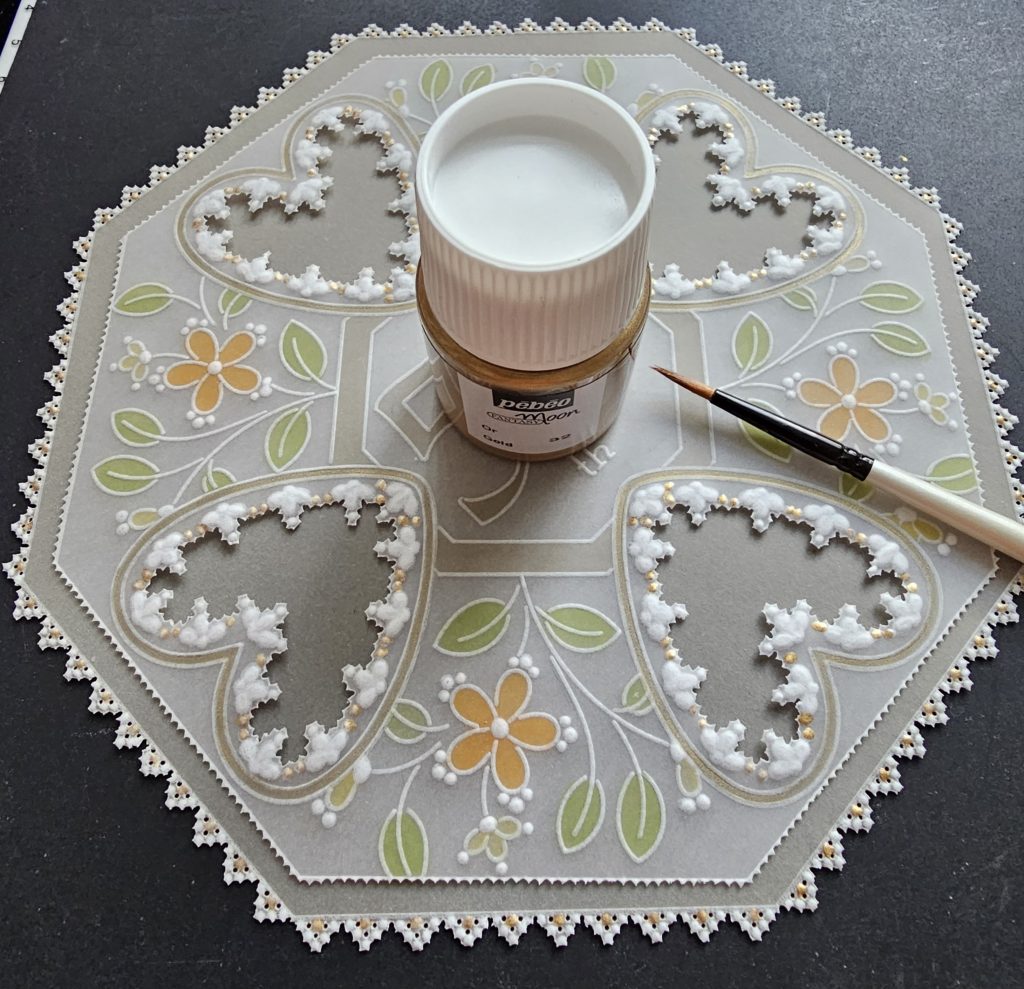
Step 14. Now working on the front of your artwork, using a very fine paintbrush and the Pebeo acrylic paint, put a dot of gold on the centre dot of each or the semi-square dots on the ivory parchment, and also on the clear parchment on the hearts as seen in the photo allow to dry thoroughly.
Step 15. Once all is dry, cut out a hexagon of whatever backing paper you choose, I have used Indian Summer Companion paper as I wanted to pick up the colour of the leaves, then attach both pieces of your parchment to the backing paper with gold mini brads.
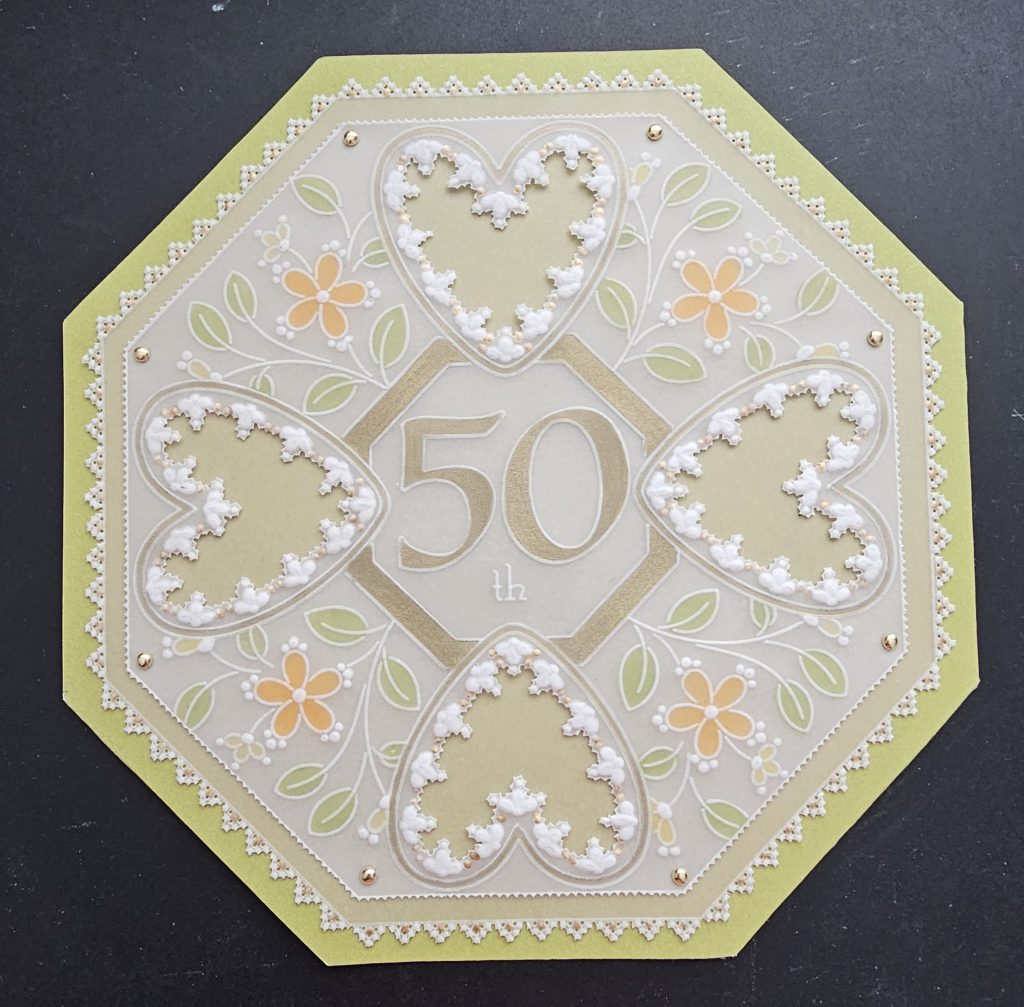
16. Finally attach all layers to a 7” x 7” card blank that you have cut off the corners to make a hexagon to match your artwork with equal spacing all round. Voila you have completed your artwork, have fun x

What a stunning project! Thank you, Julie, for sharing your tips and tricks with us.
Everything that Julie has used can be found on the Clarity website, in a specific list, HERE
Now, for the week ahead…
Due to our annual Summer Retreats taking place between the 8th & 11th August, there won’t be any SHAC or Groovi Tuesday episodes this week. Busy busy! However, the lovely Tina Cox will be on Create & Craft for The Pergamano Shows this Thursday 10th at 11am & 3pm
See you there! Travel gently, friends.
Lotsa love, Grace & Julie xoxo
Clarity – The Home of Art, Craft, and Well-Being.
Will have to try this project. I do not often use the multi needle tools, my ageing eyes make it a bit difficult to line up properly. The inspiration these blogs engender is motivating.
What a beautiful piece of artwork – thank you Julie for the tutorial – will be having a go at doing this
Have a good Sunday
Seta Xx
Beautiful project, thank you. Have a lovely day xx
What a lovely card which could be adapted for any anniversary, thank you Julie for sharing this step by step with us. It set me checking on what anniversary cards I needed as we were the first of our crowd to get married 50 years ago so our friends will be getting there in the not too distant future so I can be prepared xx
Love using the semi square tool for borders. Lovely card Julie, Thank you.
Beautiful card, thank you for the step by step. x