Clarity Matters Blog Tutorial: How To Stamp In To Masked Off Areas
Hello hello! Grace here.
I hope this finds you well, safe, and enjoying your Sunday.
We are joined this weekend by a talented member of our design team. You’ve likely seen her beautiful samples all over our TV shows and social media groups. It’s the one and only Shelagh Metselaar!
Shelagh has kindly put together a step-by-step blog for us.

Ingredients
KISS By Clarity – Tina’s Celebrate Your Day Flowers A7 Stamp Set (STA-FL-11549-A7)
Faber Castell Polychromo Pencils (ACC-PE-30797-XX)
Theuva Card (ACC-CA-30371-A5)
Low Tack Masking Tape (ACC-AD-31211-XX)
Pergamano Ruler (PER-AC-70278-XX)
Micron Pen (ACC-PE-30778-XX)
Abstract A5 Stencil (STE-PA-00096-A5)
Toscana (ACC-CA-30893-57)
Indian Summer (ACC-CA-30554-57)
Card Blanks (ACC-CA-30647-XX)
Method
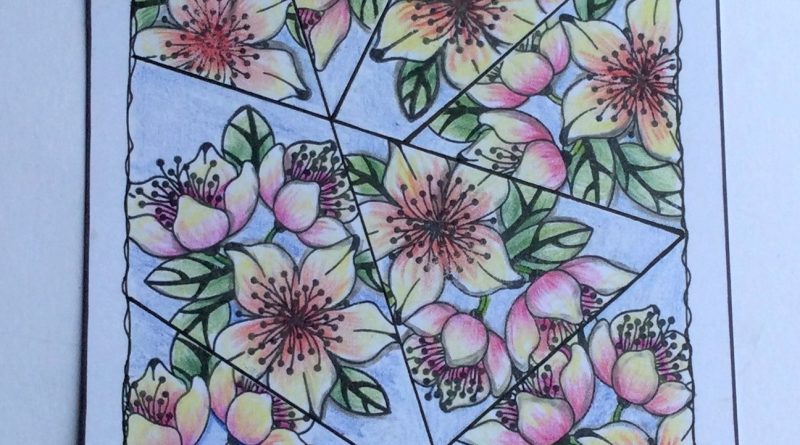
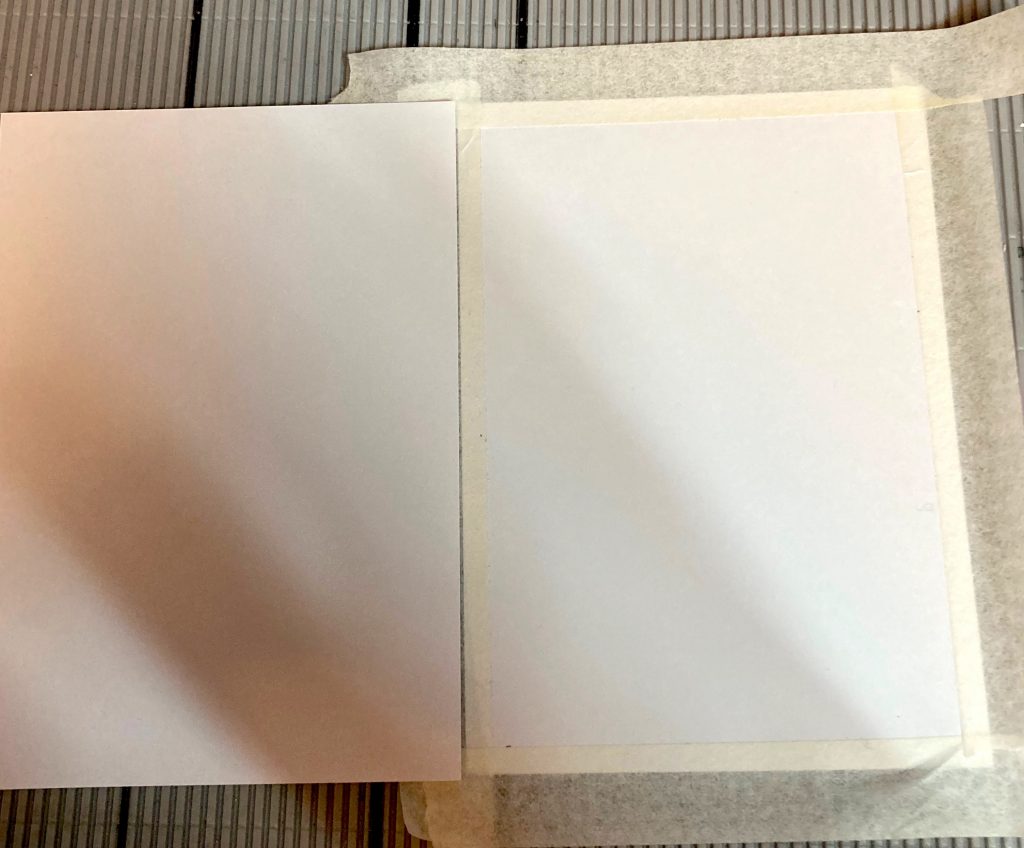
Step 1. Cut the Clarity A5 Theuva card in half to form an A6 card.
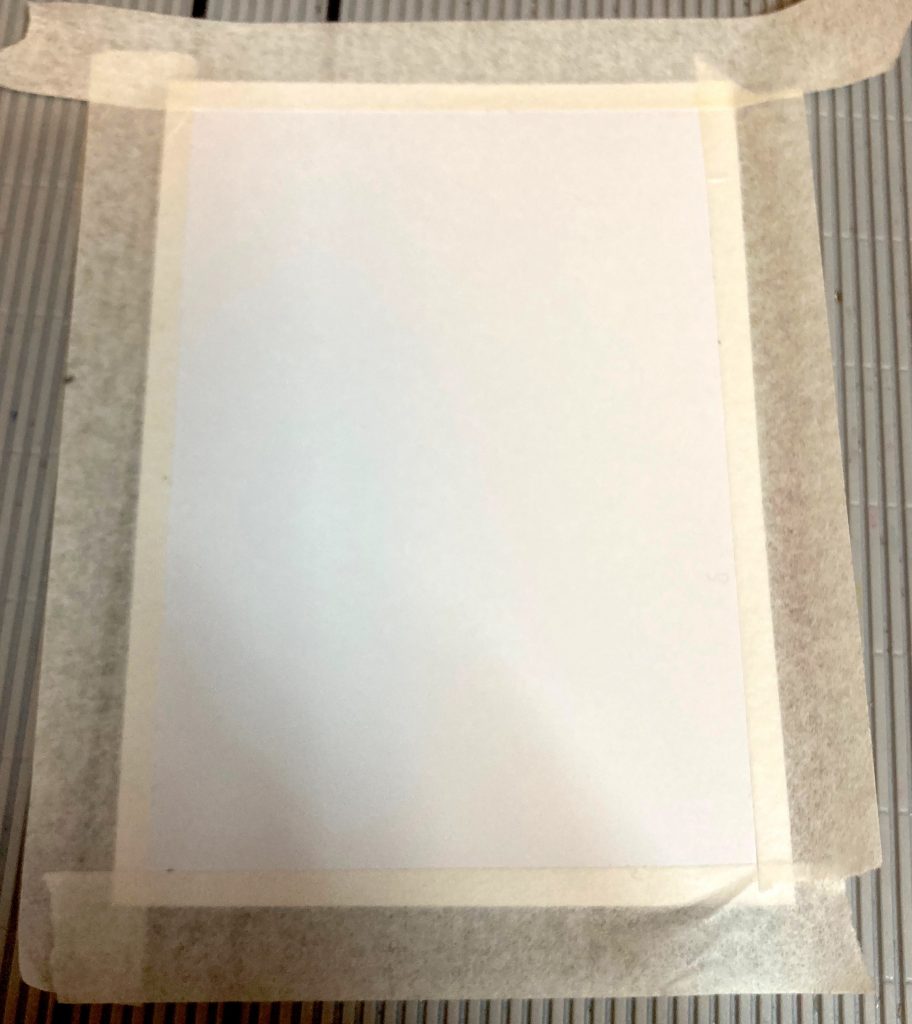
Step 2. Attach Clarity low tack tape on all four sides, masking off approximately 1/2 centimetres to create a border.
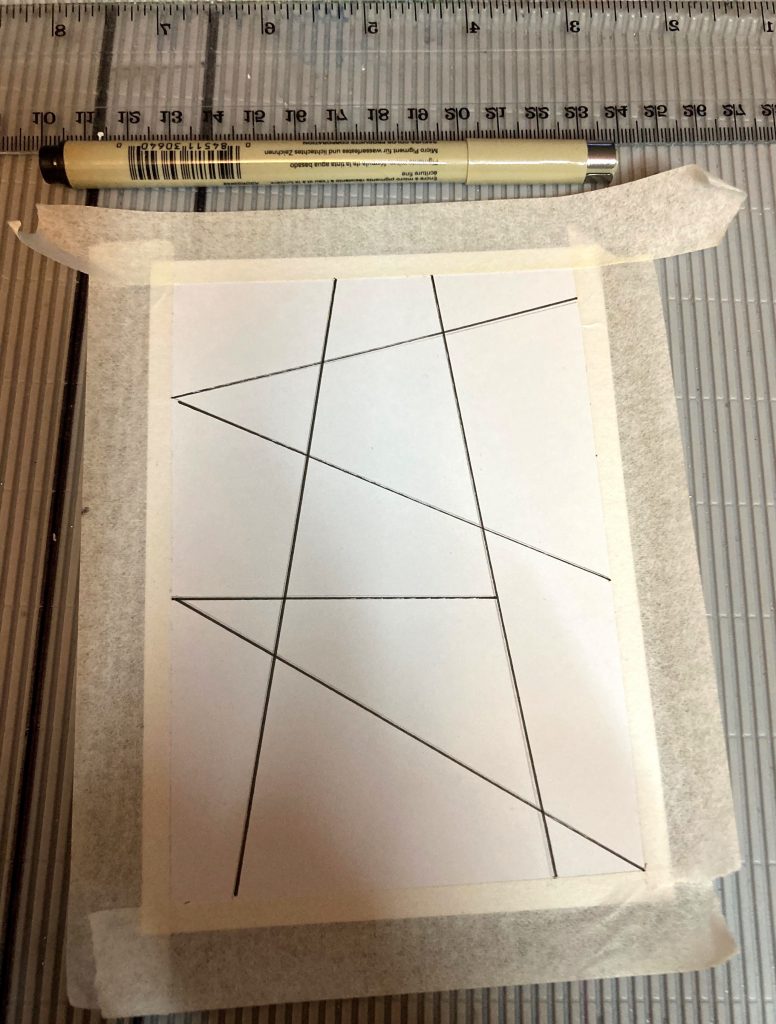
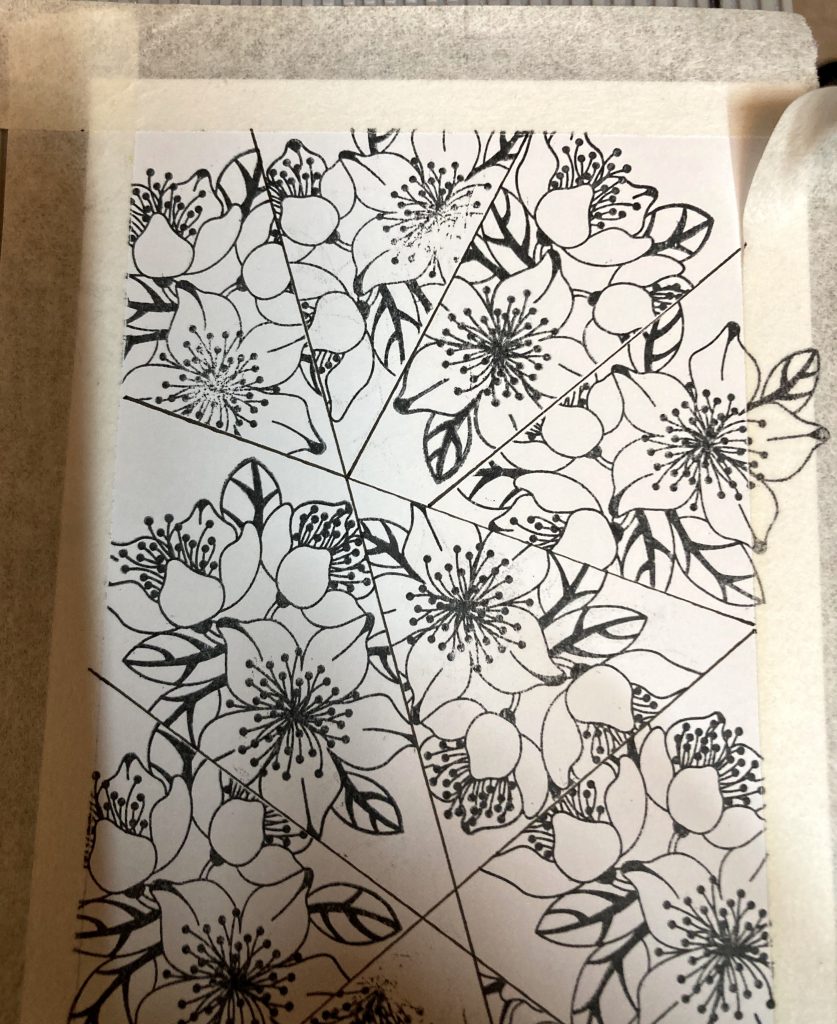
Step 3. Pencil in two straight lines from top to bottom using a Pergamano ruler.
Step 4. Add some random horizontal lines, then trace them all with a black Micron pen.
Step 5. Isolate each cell with sticky notes (or masking tape) and stamp the main image from Tina’s Celebrate Your Day in the uncovered void.
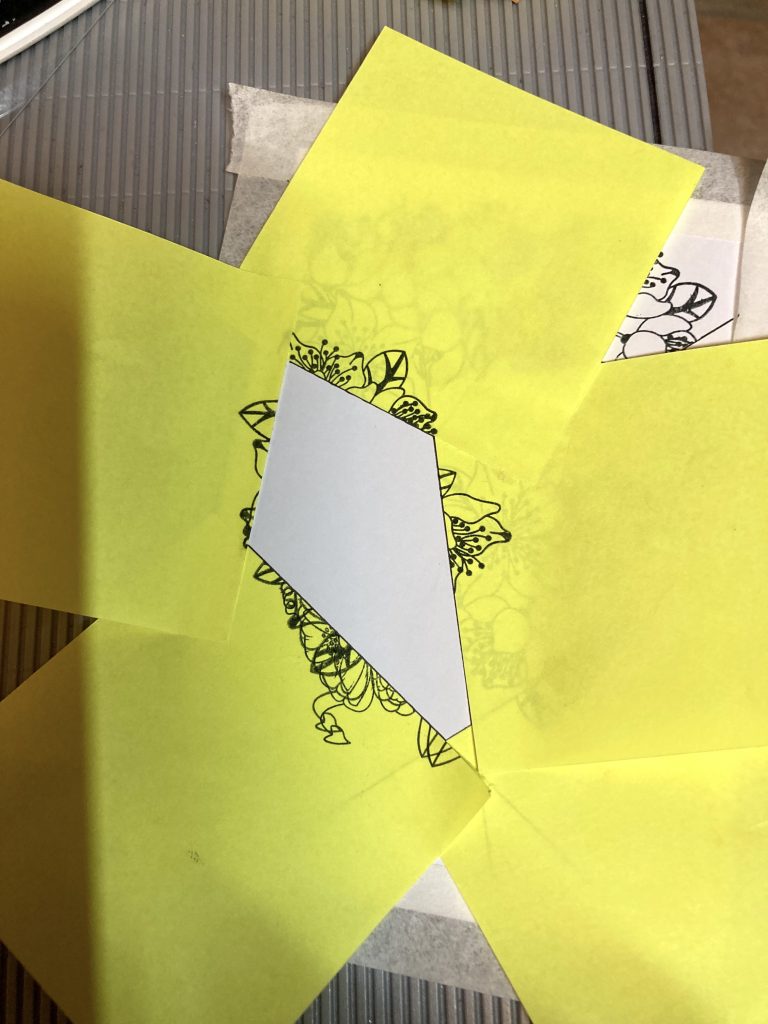
Step 6. Repeat until all areas are filled.
Step 7. Colour the flowers with Polychromos, beginning with 131 – Medium Flesh.
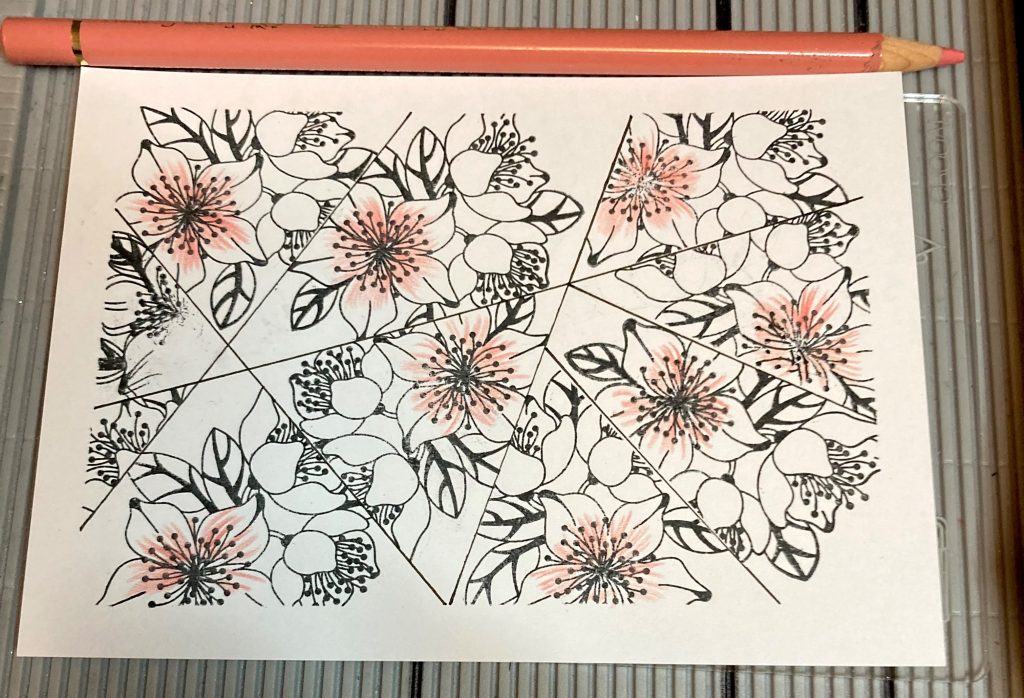
Step 8. Continue with 129 – Pink Madder.
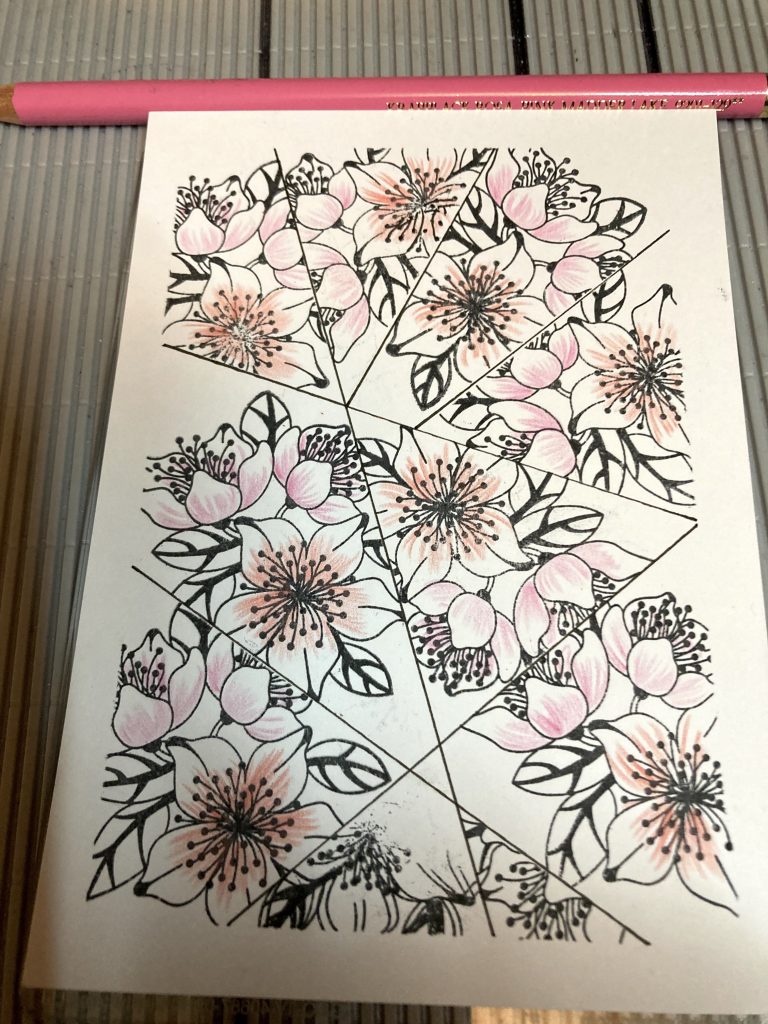
Step 9. 125 – Middle Purple Pink
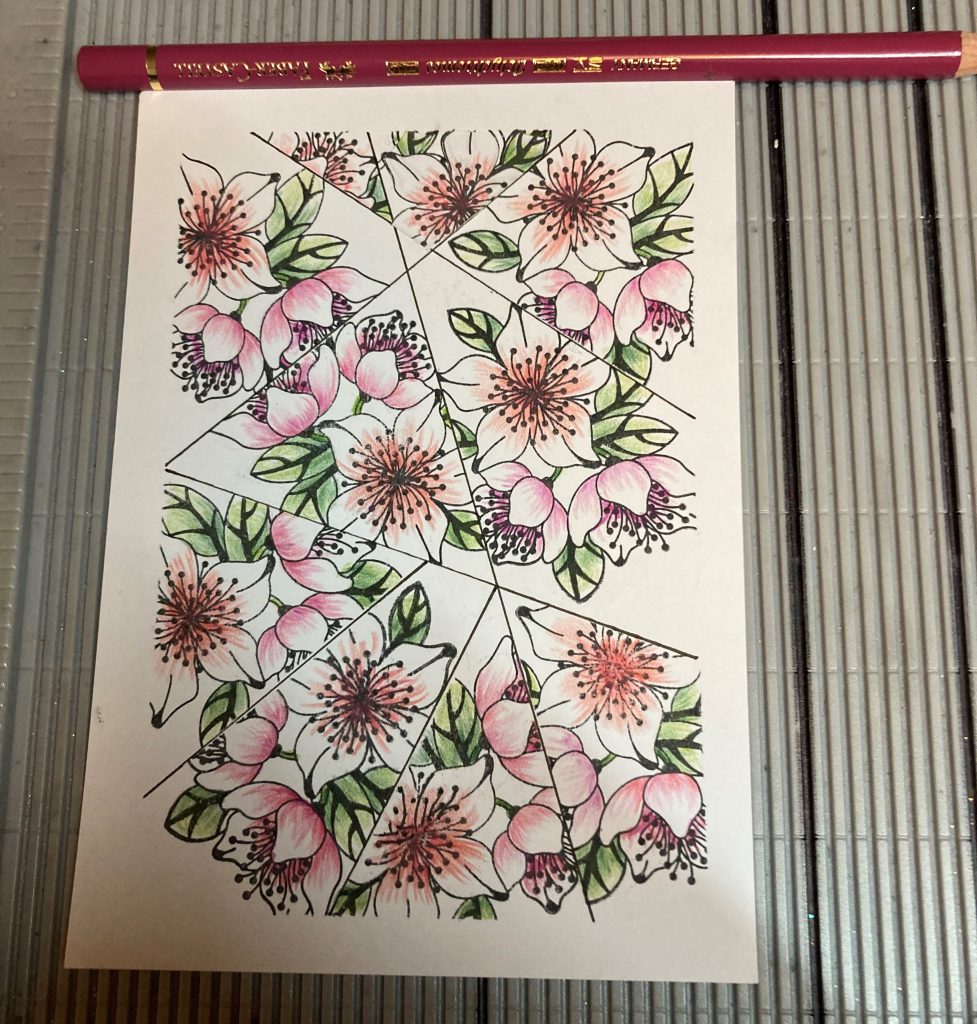
Step 10. Then 168 – Earth Green Yellowish, and 165 – Juniper Green on the leaves.
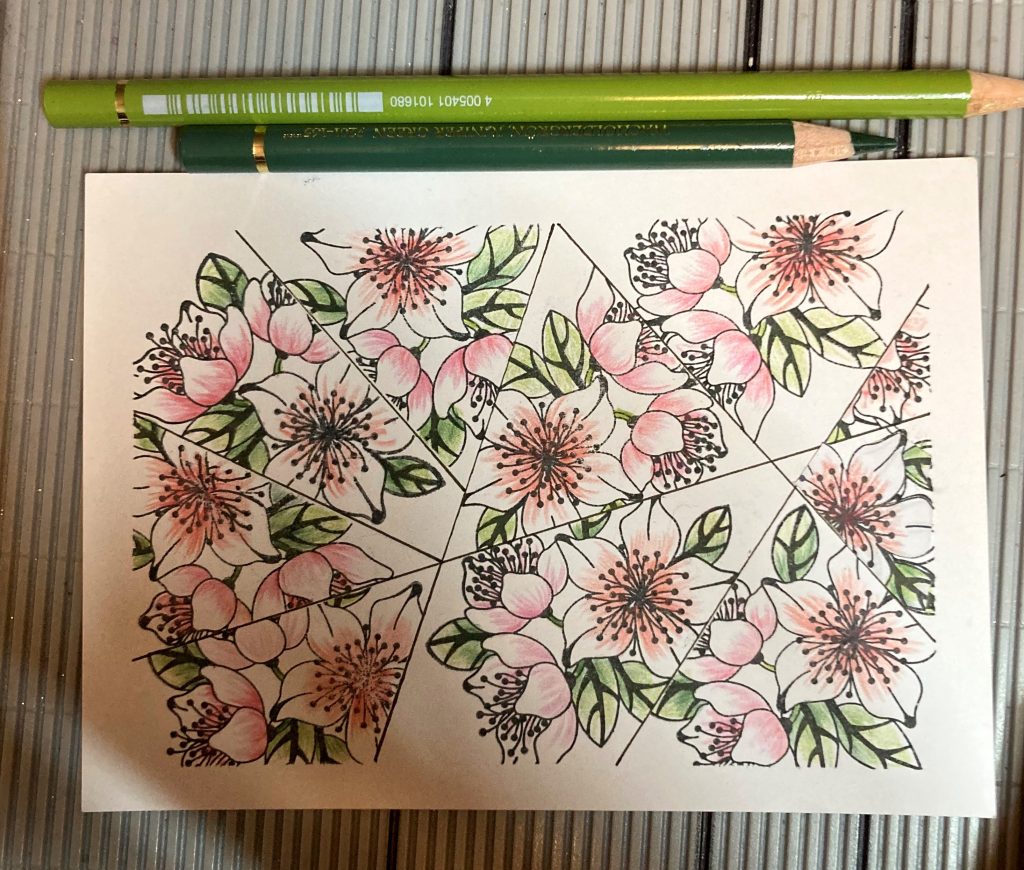
Step 11. Lastly, colour all remaining exposed areas of the petals with 102 – Cream

Step 12. Outline the perimeter of the stamped edges with a black Micron pen – Straight lines or wavy lines – the choice is yours!

Step 13. Mat and layer onto your chosen Clarity Designer Topper from Toscana set, black card and finally attach to the Clarity card blank. Trim. Your project is complete!
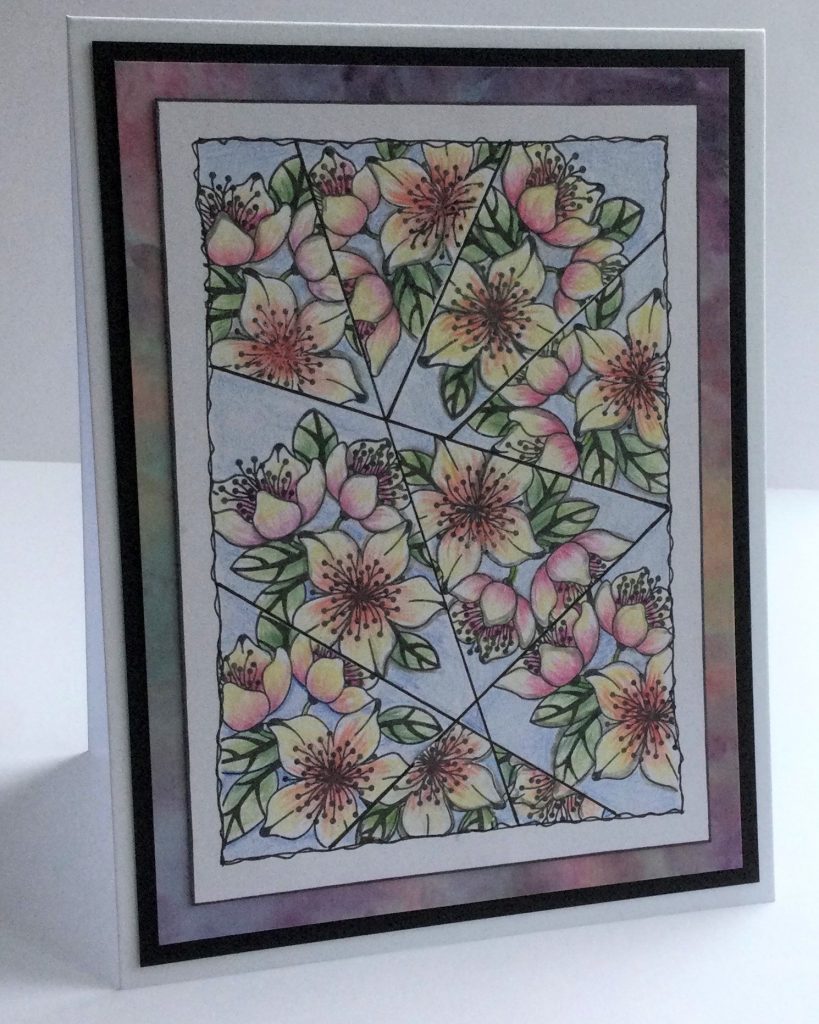
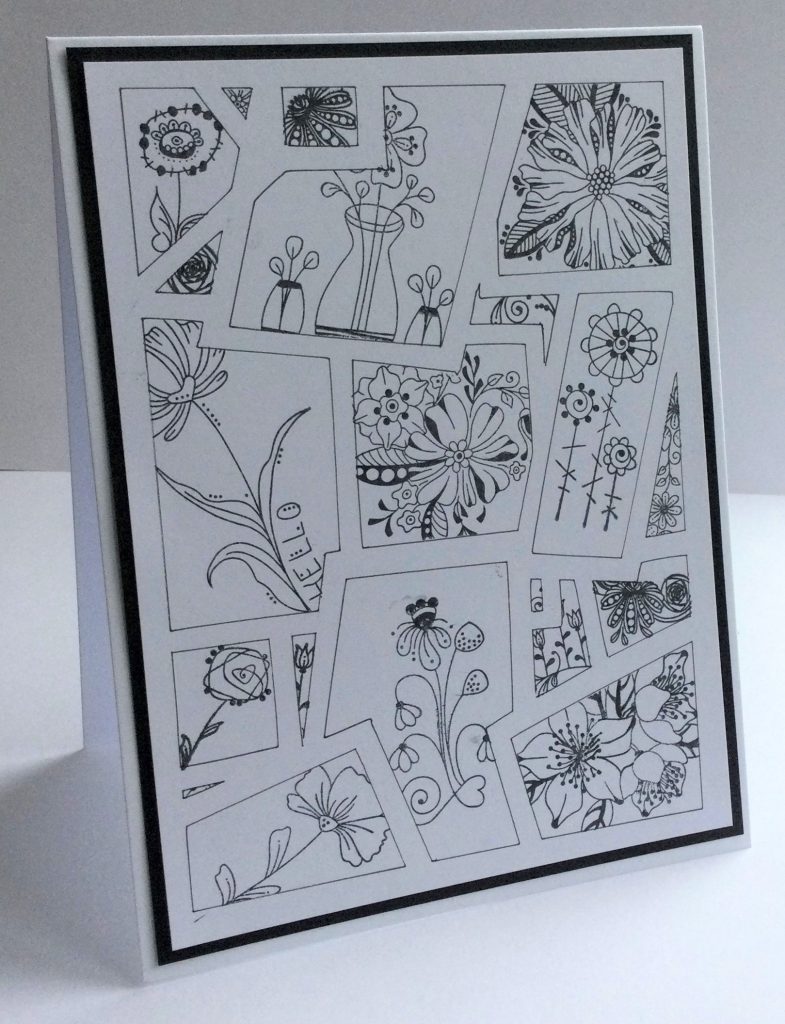
Here are two alternatives using a selection of KISS by Clarity – Tina’s Complete Flowers A6 & A7 stamp collection…

What a fabulous inky/stampy step-by-step project. Thanks, Shelagh! That is wonderful. We appreciate you sharing your tips and techniques with us.
Everything that Shelagh has used in this particular project can be found on the Clarity website, HERE.
Don’t forget that we’re having a Parchment Party! To celebrate ahead of Gray Friday! Up to 60% off.
Sales last until we run out of stock.

Explore HERE.
Aside from that, we have a reeeeally busy week ahead. Let’s have a look…
Monday 13th November:
In The SHAC with Barbara – 10am Live on Facebook and YouTube
Tuesday 14th November:
Groovi Tuesday with Paul – 10am Live on Facebook and YouTube
Wednesday 15th November:
One Day Special with Barbara & Paul on Create & Craft – 6pm & 9pm
Thursday 16th November:
One Day Special with Barbara & Paul on Create & Craft – 10am & 2pm
New & Exclusive with Paul on Create & Craft – 4pm & 8pm
In the SHAC with Barbara – 7pm Live on Facebook and YouTube
Friday 17th November:
New & Exclusive with Paul on Create & Craft – 8am
Craft Along with Paul – 7pm – Live on Facebook/YouTube
Saturday 18th November:
Get Groovi with Tina Cox on Create & Craft – 1pm & 5pm
Hope to see you there!
Travel gently, friends.
Lotsa love, Grace & Shelagh xoxo
Clarity – The Home of Art, Craft, and Well-Being.
Fantastic project, thank you Shelagh for your time, and all your tips. Have a great rest of the weekend everyone xx
Many thanks to you all for taking time to comment. Greatly appreciated. X
Gorgeous work Shelagh. Thank you xxx
That’s a fabulous project, thank you so much. May well be going off to have a little play xx
Just love these cards, especially the last one that looks like puzzle pieces. I think the first time I used Clarity stamps at a workshop we did a project similar to this using overlapping/masked postage stamps!
Thank you Shelagh for a fabulous step by step. It makes the stamp look so different & a larger card from a smaller stamp. My list of ”to try” projects is growing but I will do it. Just need to get a wriggle on with my Christmas card completion – I have a lot of WIP’s !! I always thought Retirement would mean there would be hours to try & fill but somehow there doesn’t seem to be enough hours in the day !!
Have a good week everyone x
Wow I remember Barbara showing how to do these when I first found her ,brilliant I will have a go again thankyou xx
What a lovely project Shelagh! Will definately have a try at doing one.
Wow Shelagh amazing definitely one for the to try list thank you for sharing
Fab project, thank you, wouldn’t have thought about doing this ! X
For once I have the right stamp and pencils. Will definitely give this a go. It opens up new ideas for other stamps that I have too. Great project for my friend and I at our next crafting session. Thankyou.
That’s just brilliant Shelagh! Thanks for the inspiration!
Great step by step Shelagh, thank you. x
Great Shelagh, thank you.
Beautiful project Shelagh. Always love your designs, so different. Thank-you x x
Fantastic project especially with the variations. Thank you! X