Clarity Matters Blog Tutorial: How To Blend Inks Using Stencil Brushes
Hello hello! Grace here.
I hope this finds you safe, warm and enjoying your Sunday morning!
We are joined today by the insanely talented, Jane Telford. She has kindly put together an Inky/Stampy step-by-step blog for us! I’ll hand you over to our teacher…

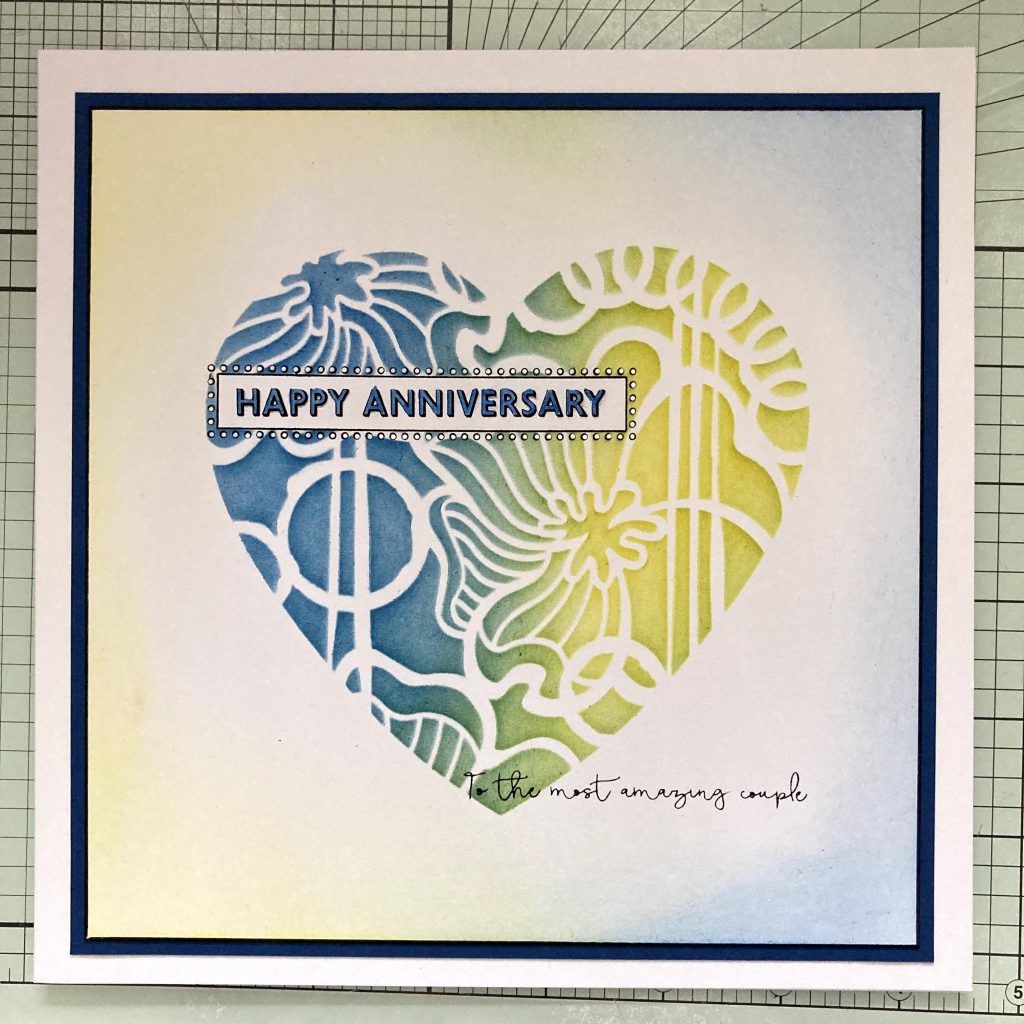
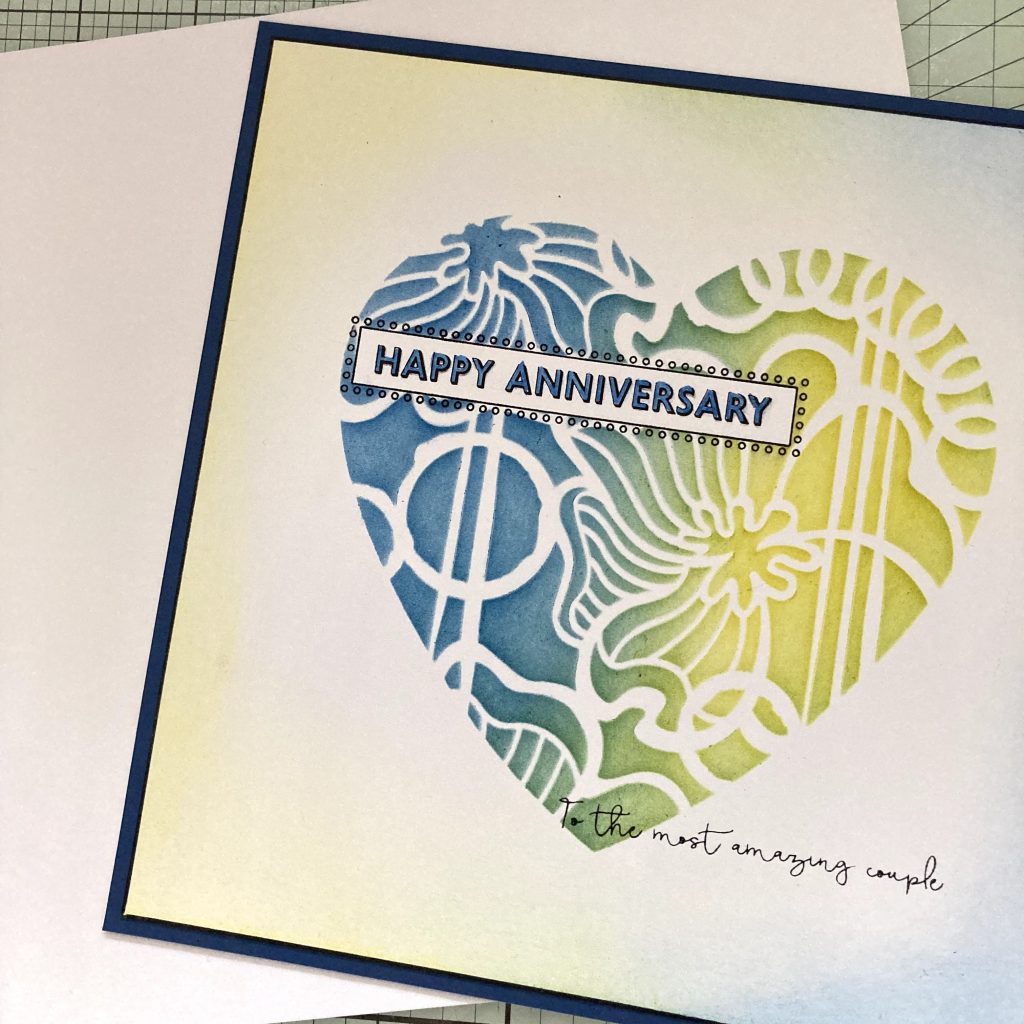
How to create a quick anniversary card and blend inks together
I needed to make an anniversary card and these days I seem to have less and less time available to make cards, so quick and easy is key! So here is a card using one of the New Design Club stencils. I used the colours that they had had at their wedding but you could do this in any colour combination.
Ingredients
New Design Stencil Club Back Issue #92 Grunge Heart (STE-BA-00929-A5)
Happy Anniversary Occasions Sentiments (STA-WO-11639-A6)
Patterned Panel Stamps (STA-PA-11642-A5)
7×7 Stencil Card (ACC-CA-30095-77)
Low Tack Tape (ACC-AD-31211-XX)
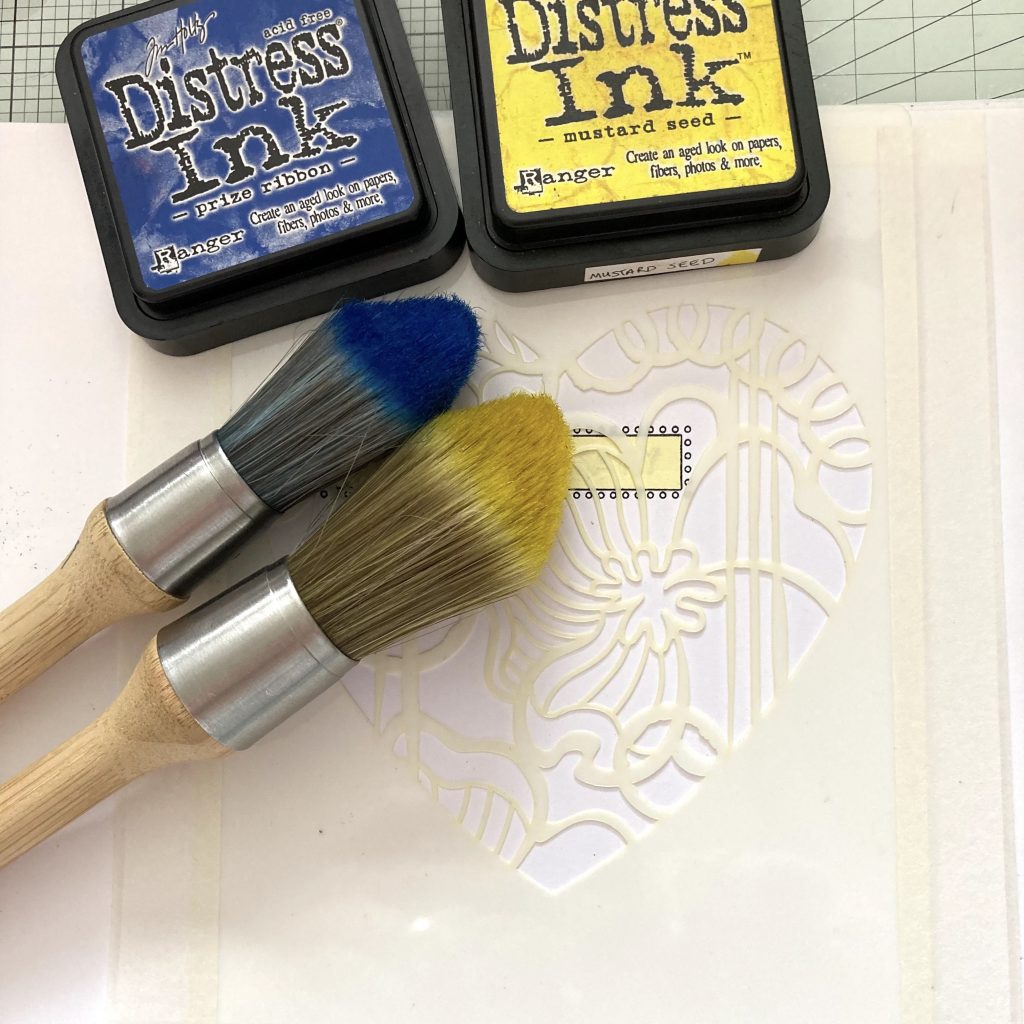
Distress Ink Pad -Prize Ribbon (INK-AR-50510-XX)
Distress Ink Pad – Mustard seed (INK-DP-50089-XX)
Archival Ink Pad – Jet Black (INK-AR-50030-XX)
Clarity Stencil Brushes (Set Of 4) (ACC-BR-30006-XX)
8×8 Card Blank (ACC-CA-30620-88)
Indian Summer Companion Paper (ACC-CA-31338-88)
Fine Paint Brush (PER-BR-70044-XX)
White Posca Pen (Fine) (POSCAWHITEFINE)
A4 Paper
Black Sharpie Pen
Sticky Notes
Pencil
Method
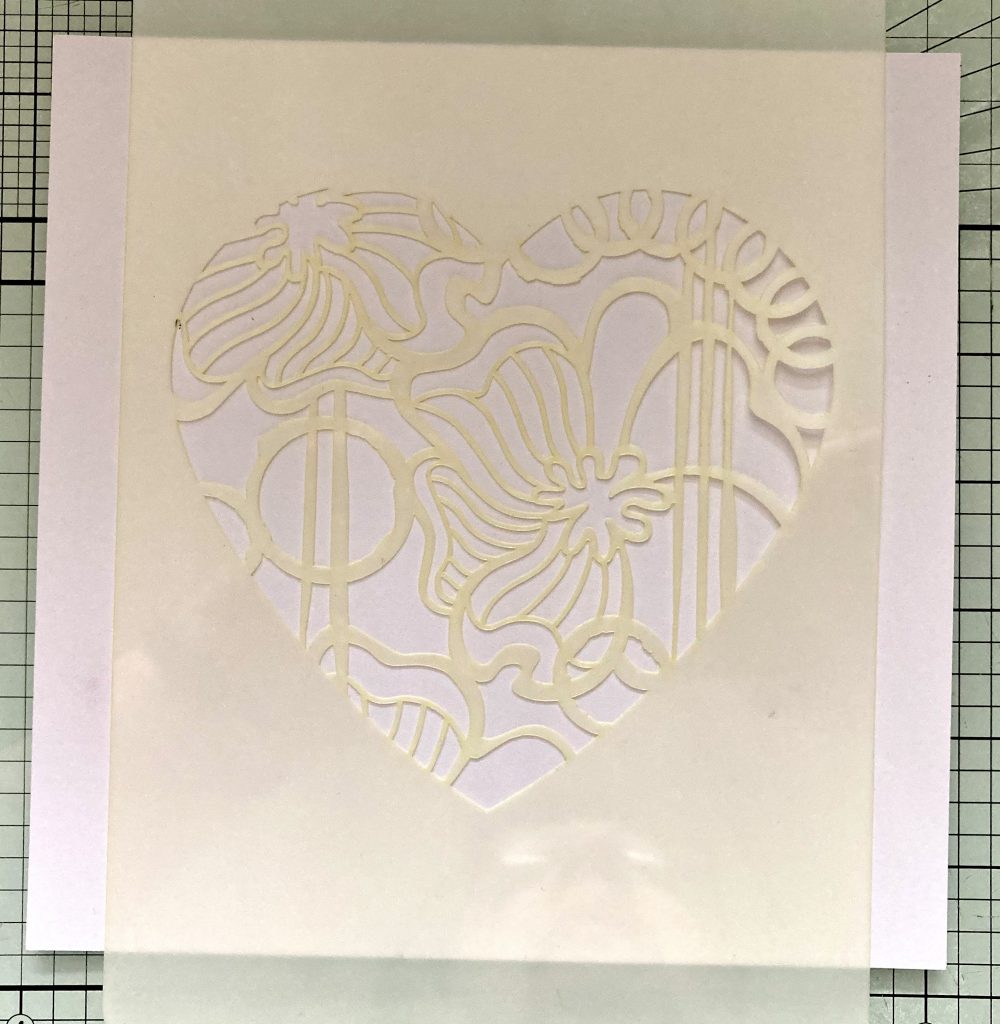
Step 1. Take a piece of Stencil card and position the stencil so the heart is in the middle.
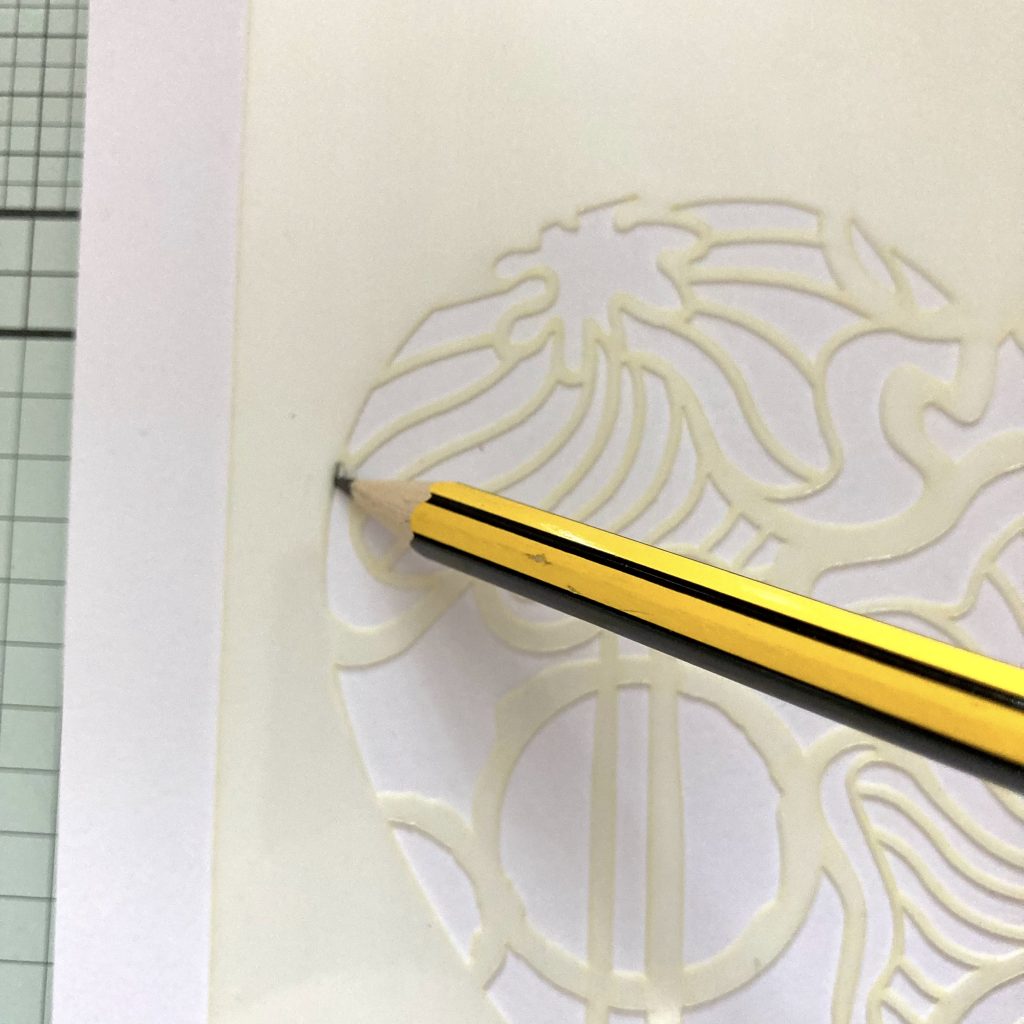
Step 2. Use a pencil to make a small mark where your sentiment is to go and lift the stencil off the card.
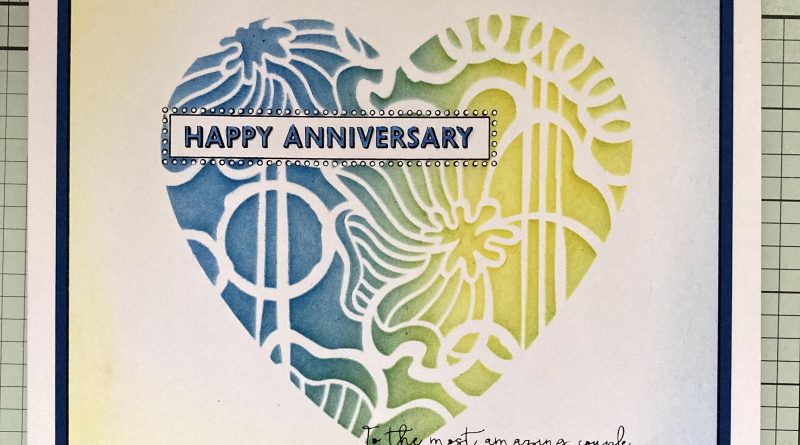
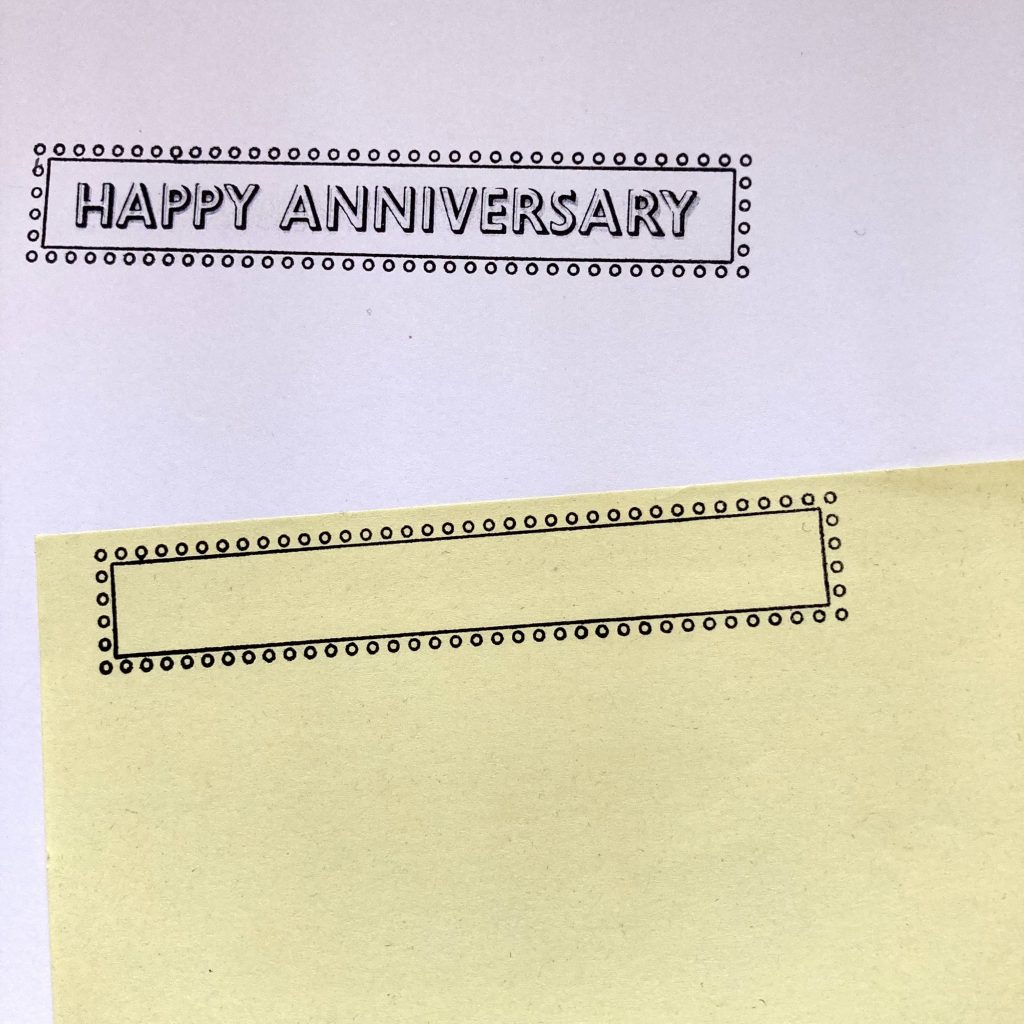
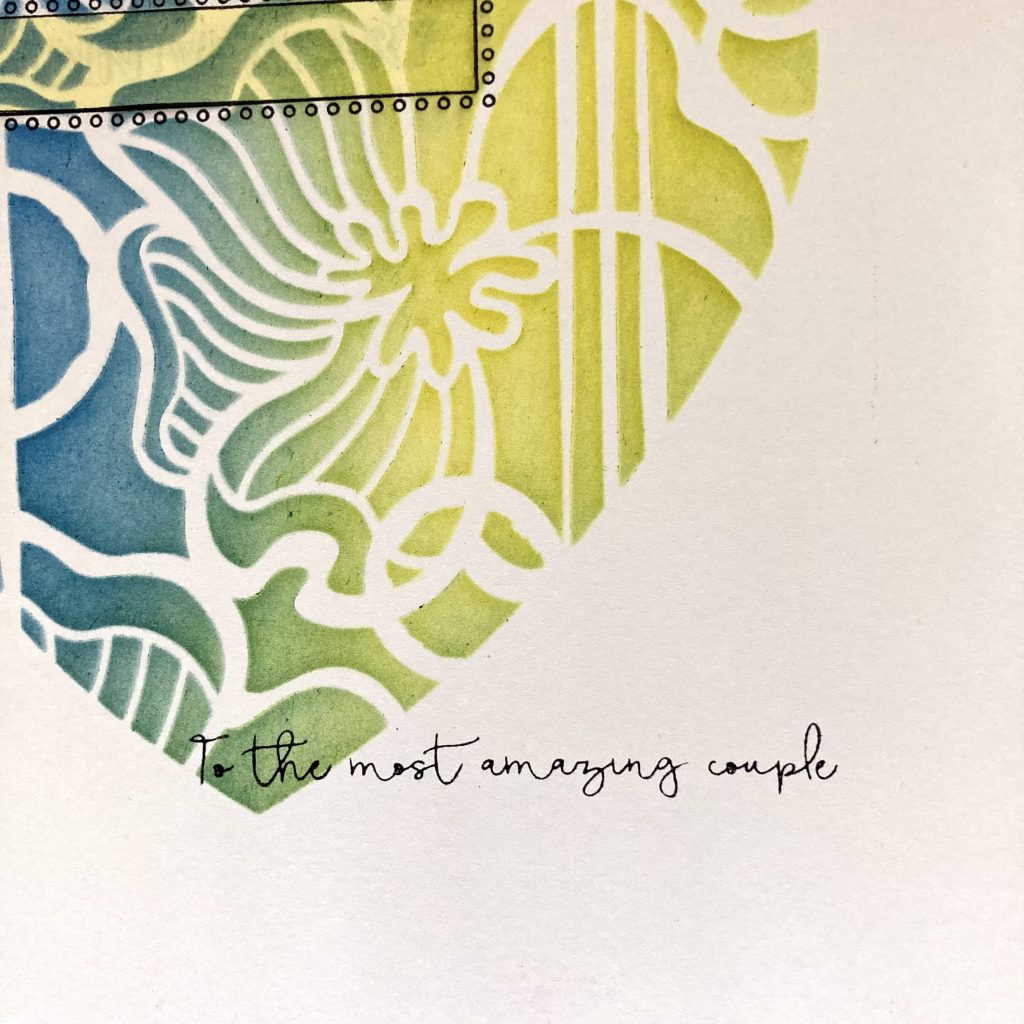
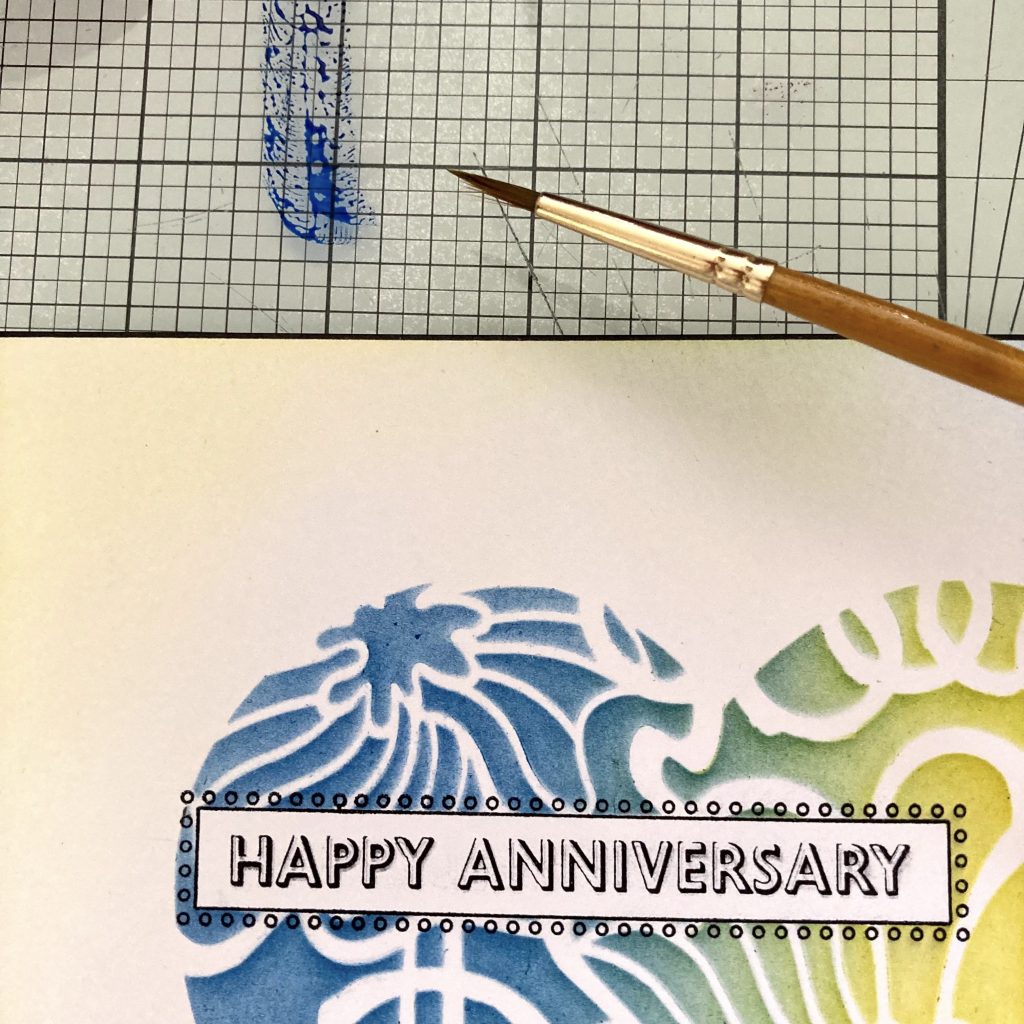
Step 3. Using black archival ink, stamp the panel box into place then add the sentiment.
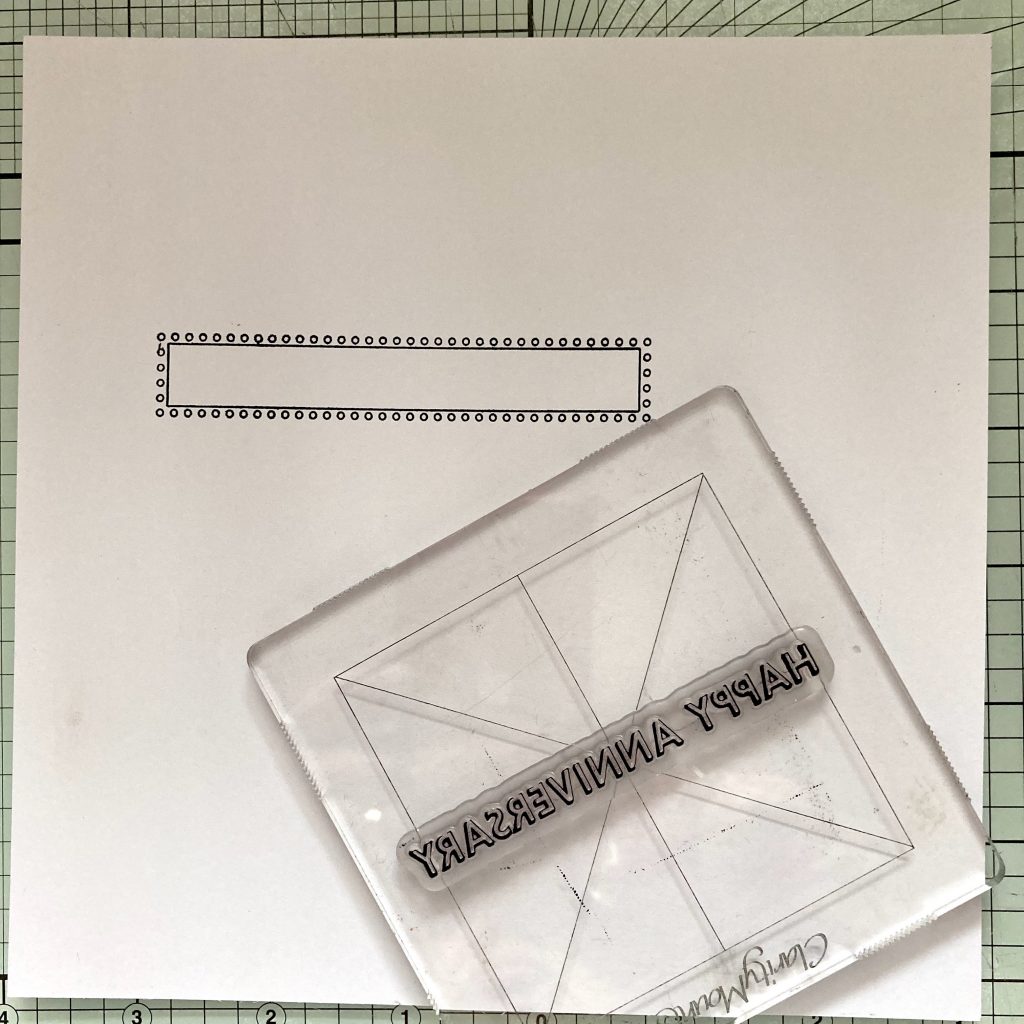
Step 4. On a sticky note, stamp the panel box again making sure it is over the sticky end of the note. Cut it out on the line. Don’t worry about the dots as we’ll deal with those later.
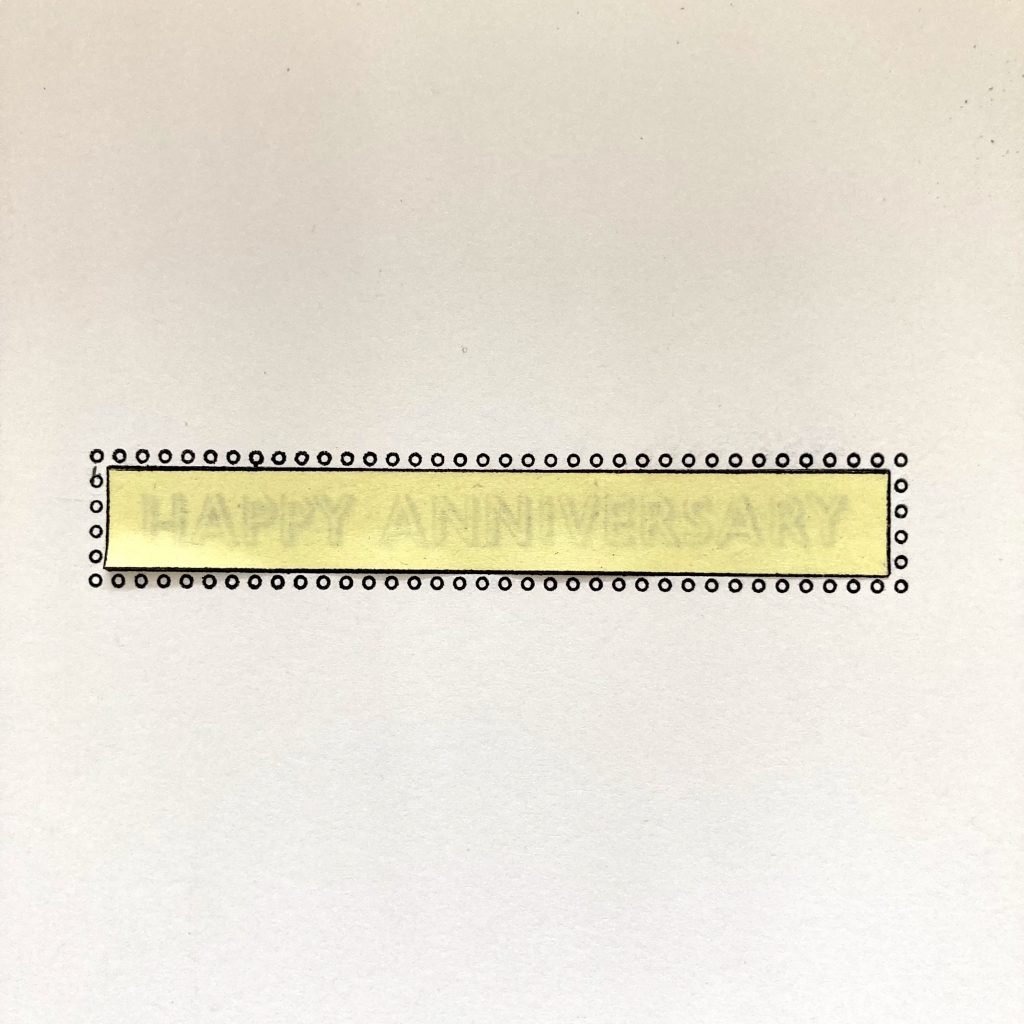
Step 5. Cover over the sentiment with the mask you have made.
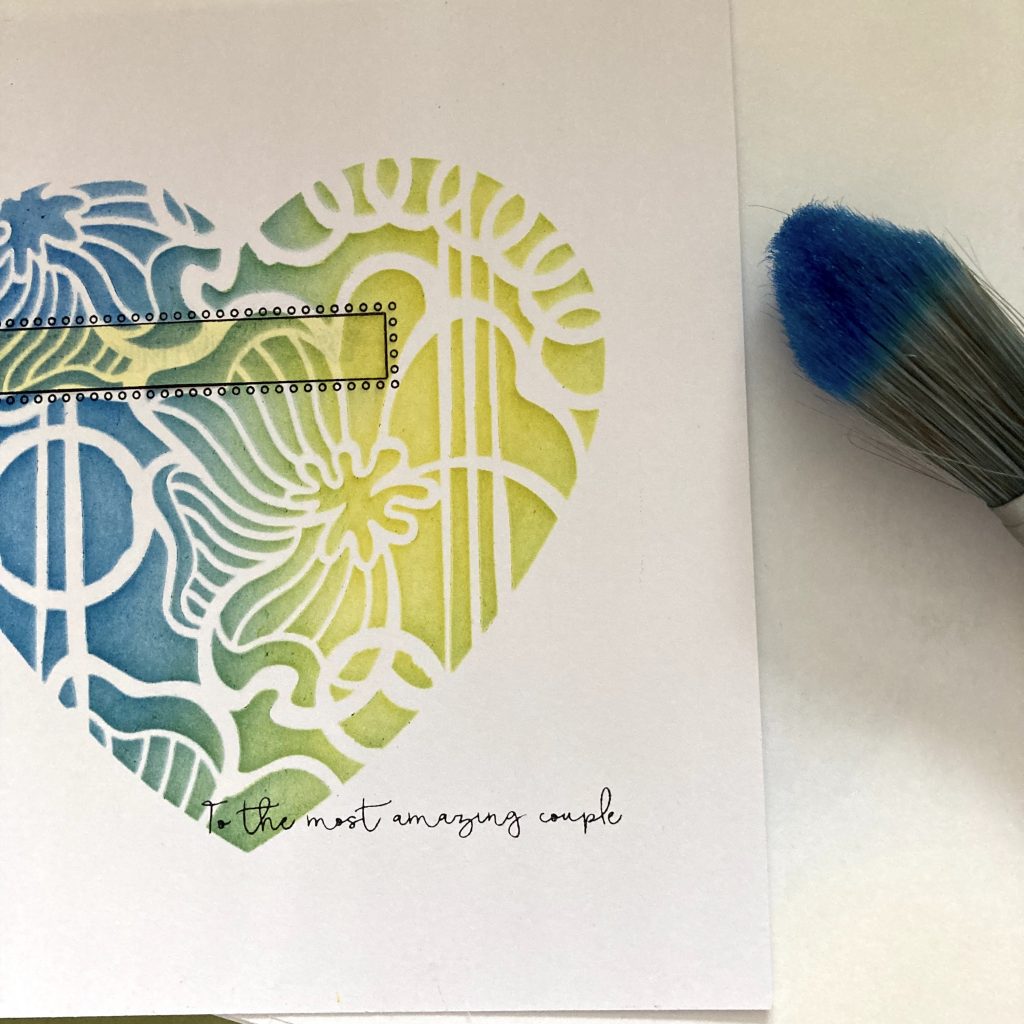
Step 6. Now place the stencil back into position and use low tack tape to cover the edges of the card and keep the stencil in place.
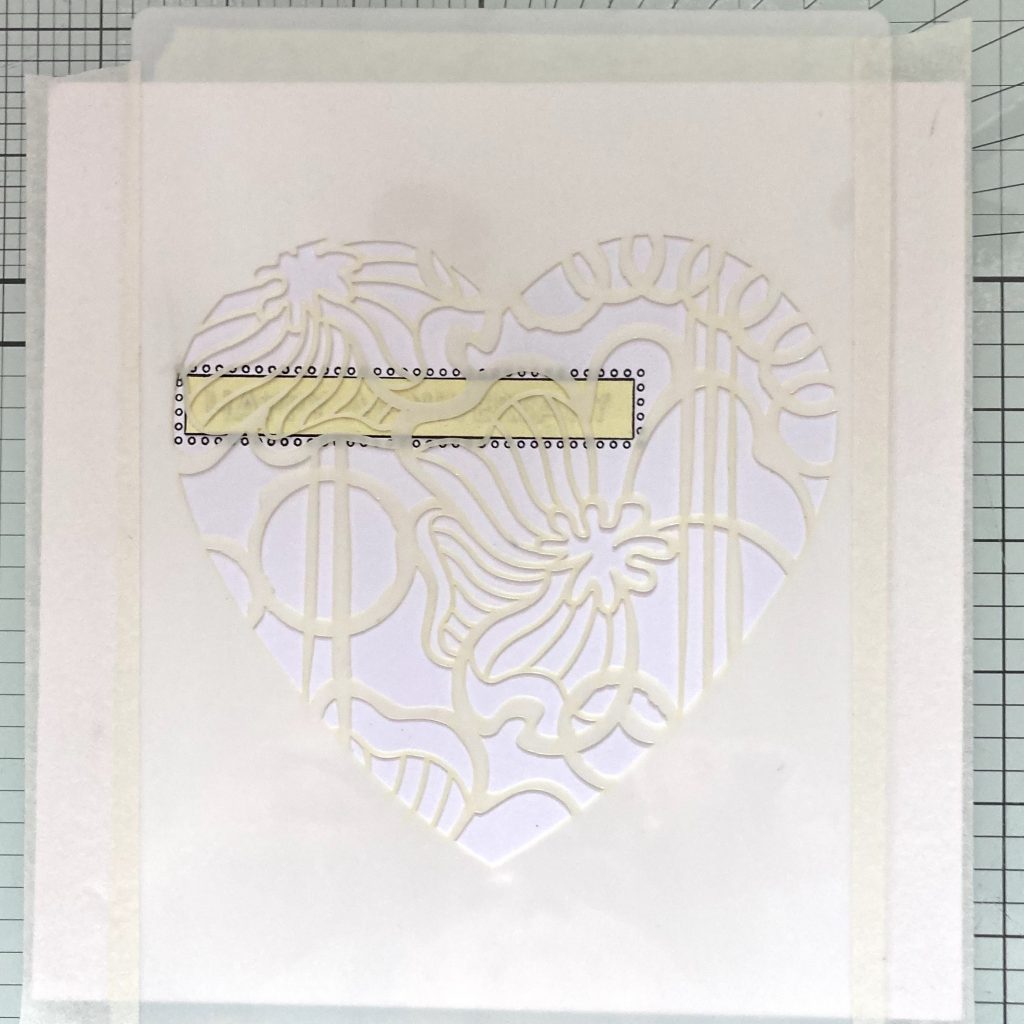
Step 7. Using the stencil brushes, start to add ink to the two halves of the heart. Continue until you have the depth of colour you want and the ink has blended in the centre to create a good blend of the two colours.
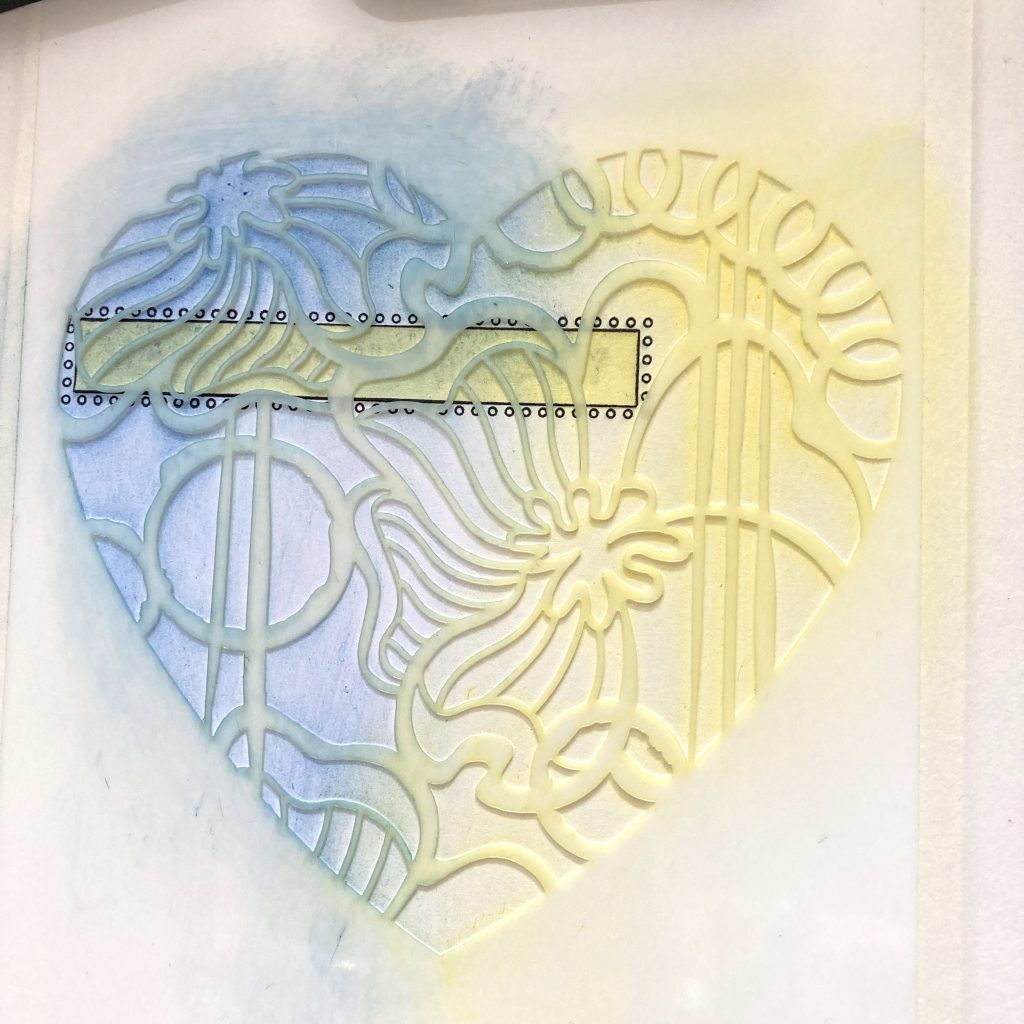
Step 8. Add a little of the blue to the edges of the yellow half but leave the centre part of this half a nice bright yellow.
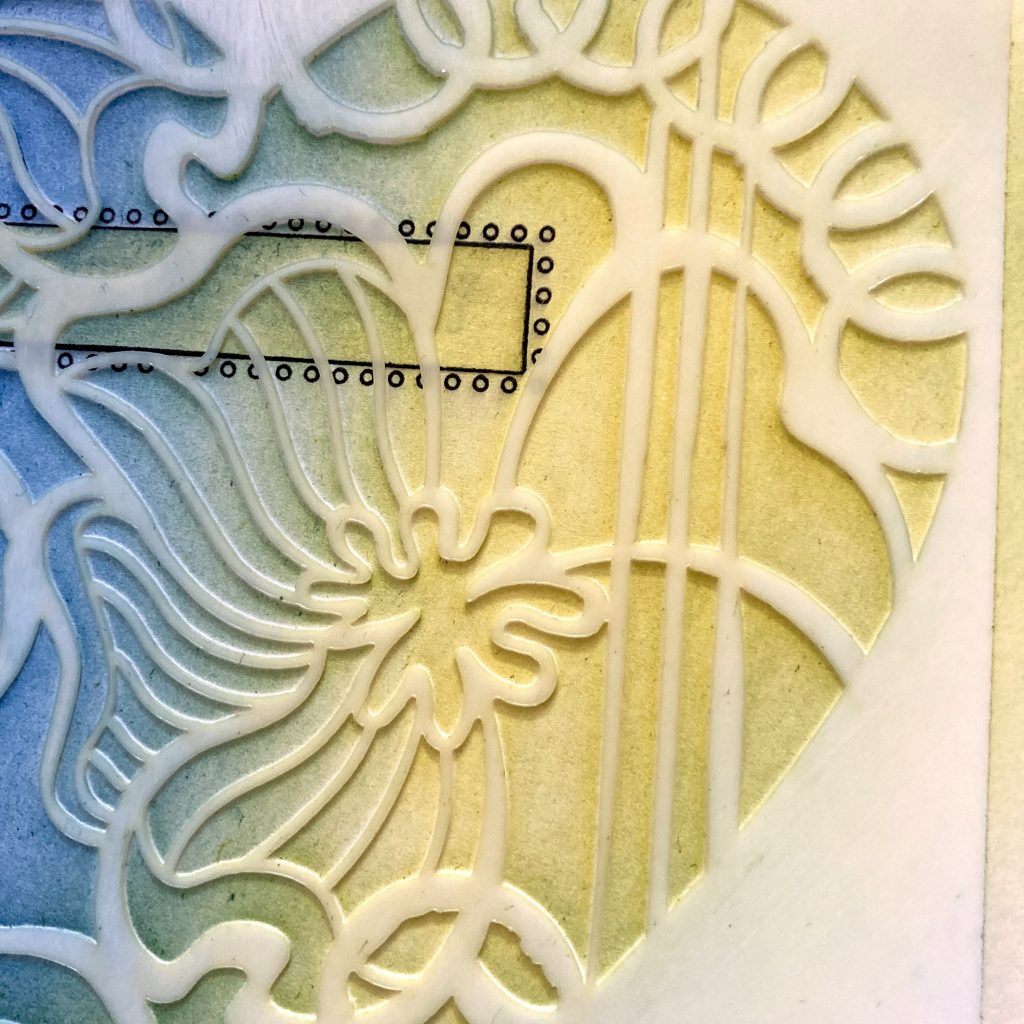
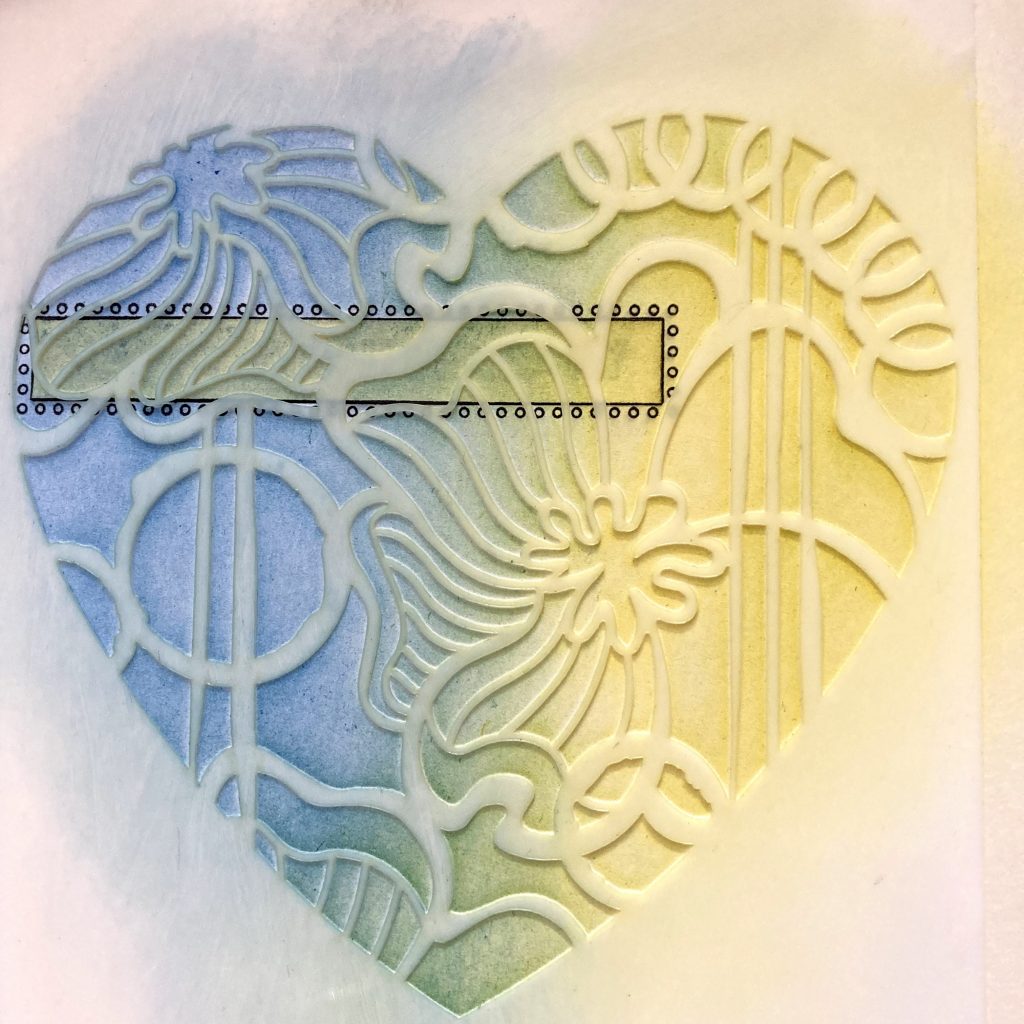
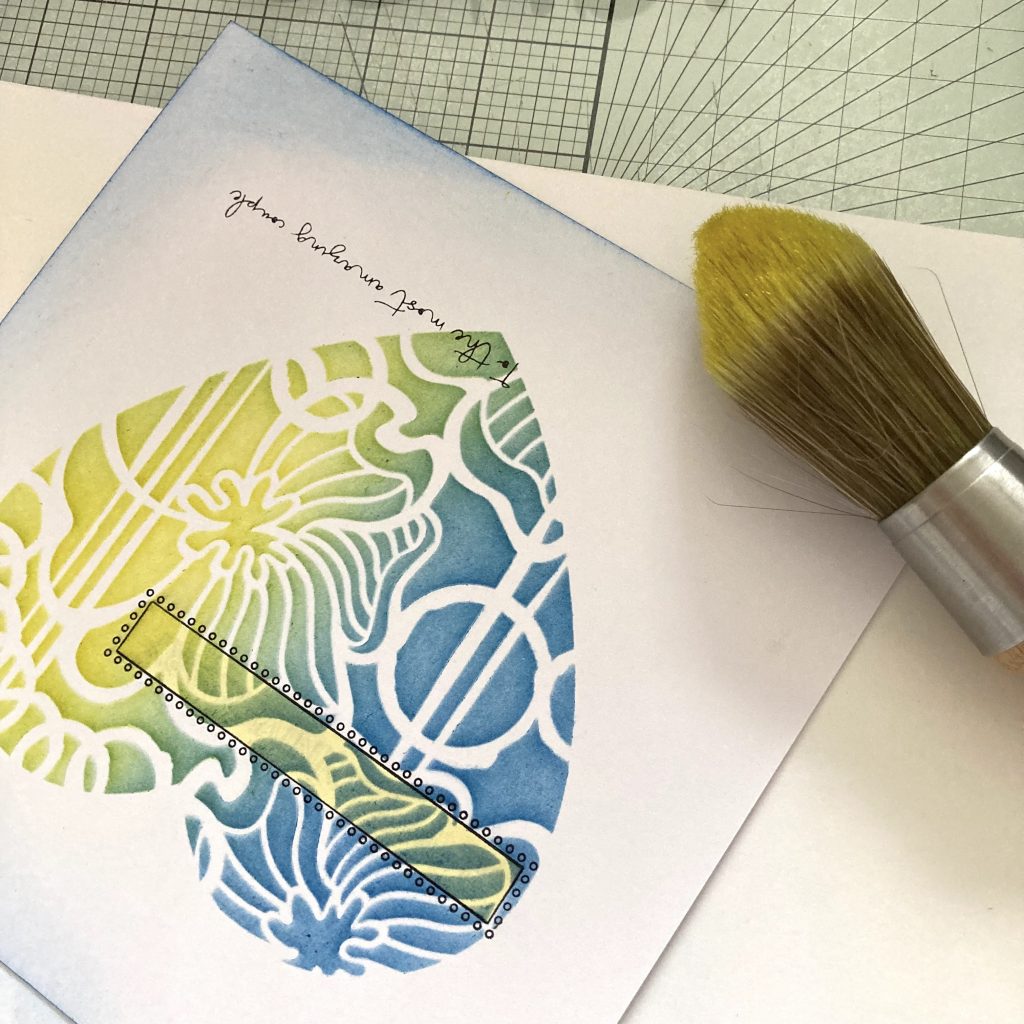
Step 9. Remove the stencil but leave the mask in place.

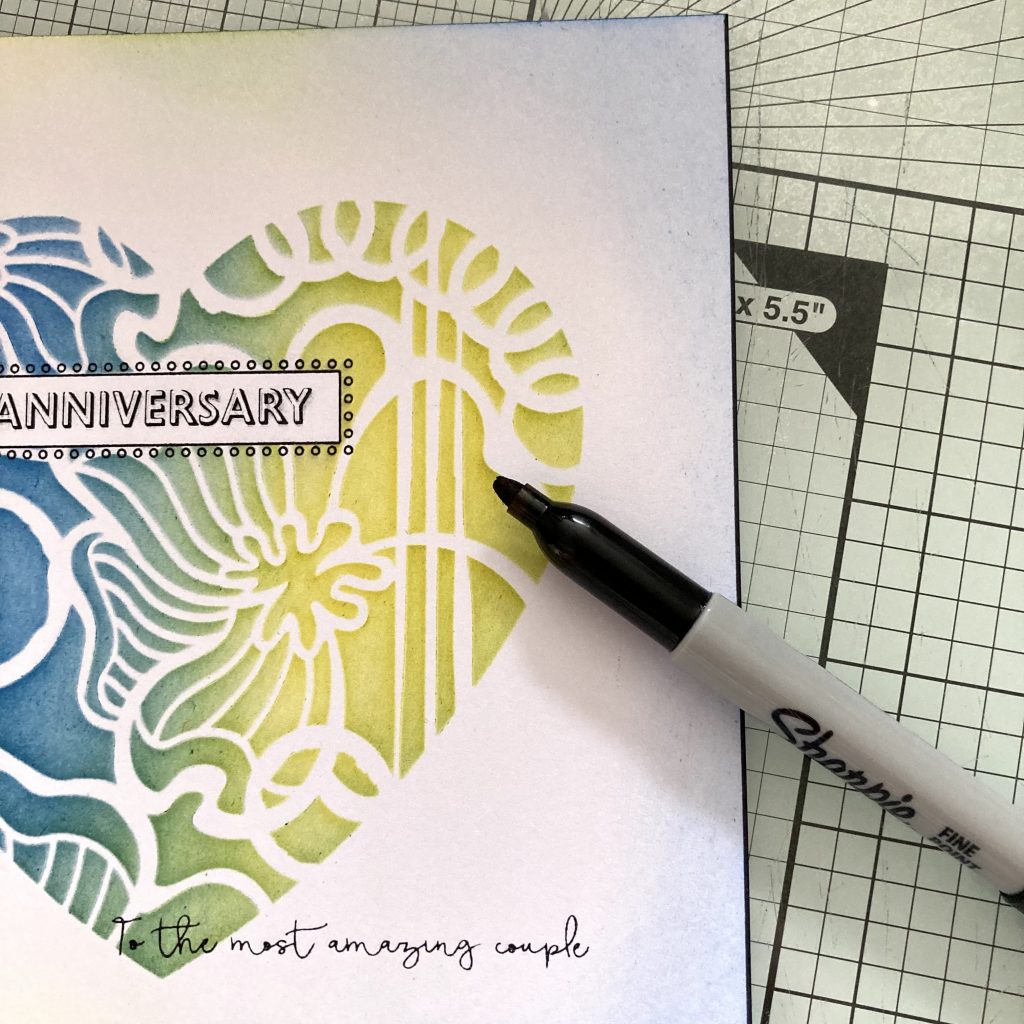
Step 10. Stamp the other part of the sentiment into place at the bottom right of the heart. (Pic 12)
Step 11. Using the blue ink brush, add a light covering of ink to the outer edge of the card on the side where the heart is yellow.
Step 12. Now lightly brush the other side of the outer edge with yellow ink overlapping the colours at the top and bottom of the card where they meet.
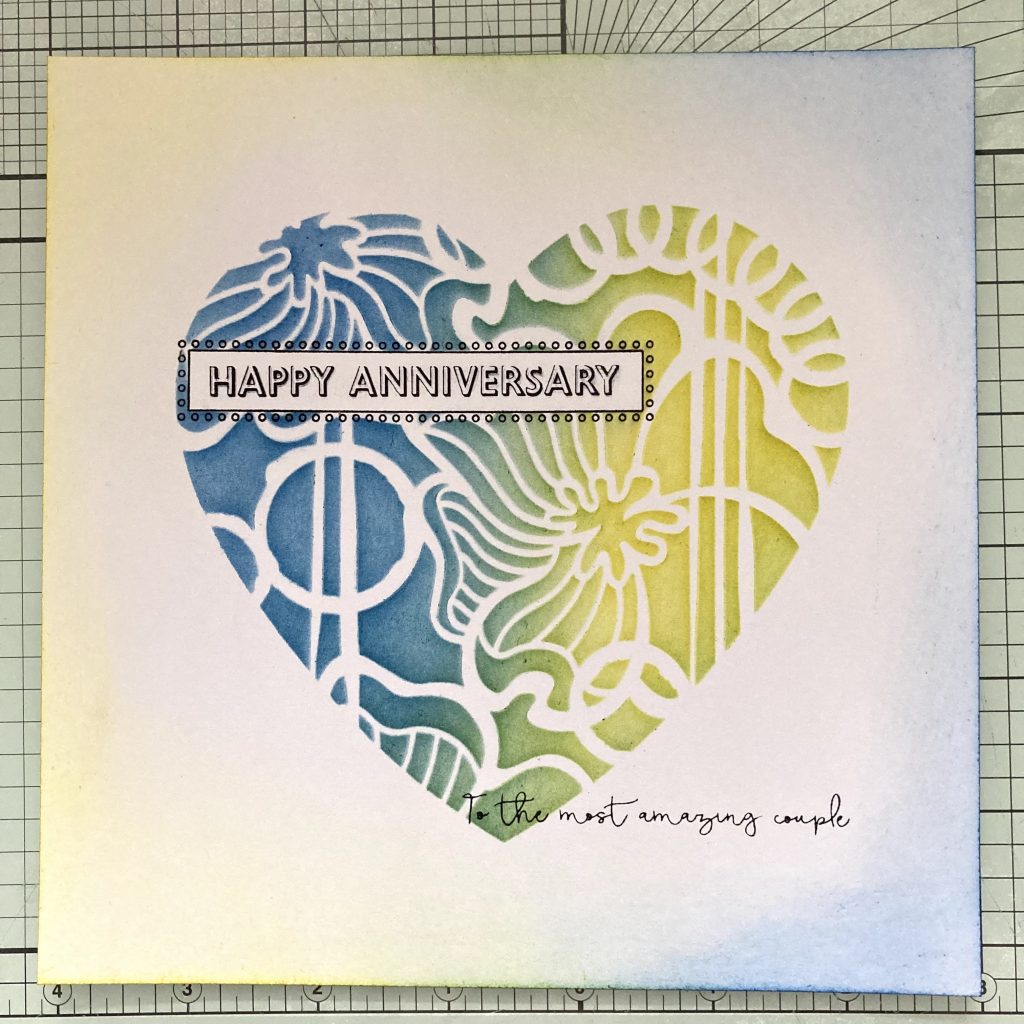
Step 13. Edge the card with a black Sharpie pen.
Step 14. Put a small amount of the blue ink on your mat. Add a few drops of water and use a damp brush to pick up the colour to fill in the sentiment.
Step 15. Cut a piece of the dark blue companion paper to 18cm x 18cm and stick the topper onto it evenly. Adhere to the front of an 8×8 card blank.
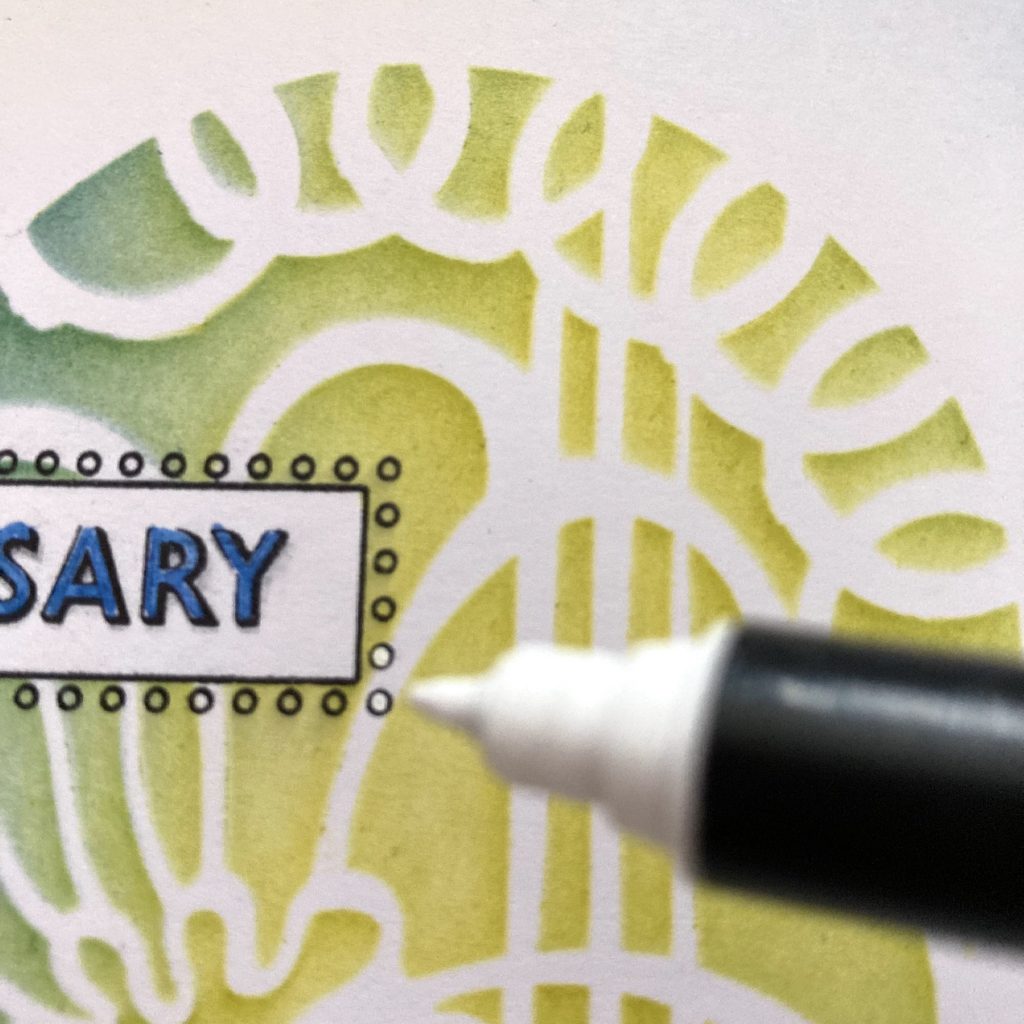
Step 16. Use the white posca pen to whiten the dots.
Leave to dry and you have finished your project.
What a STUNNING inky/stampy project. Thanks, Jane! That is fabulous. We appreciate you sharing your tips and techniques with us.
Everything that Jane has used in this particular project can be found on the Clarity website, HERE.
Oooh good news! Yay! We have a show this afternoon on Create and Craft.
Make sure to join us at 3pm this afternoon 🙂
What else do we have going on in the week ahead? It’s a busy one! Let’s have a look…
Sunday 5th November:
Crafting with Clarity with Barbara on Create & Craft – 3pm-5pm
Monday 6th November:
In The SHAC with Barbara – 10am Live on Facebook and YouTube
Tuesday 7th November:
Groovi Tuesday with Paul – 10am Live on Facebook and YouTube
Thursday 9th November:
The Pergamano Show with Tina Cox on Create & Craft – 11am & 3pm
In the SHAC with Barbara – 7pm Live on Facebook and YouTube
Hope to see you there!
Travel gently, friends.
Lotsa love, Grace & Jane xoxo
Clarity – The Home of Art, Craft, and Well-Being.
Thank you Jane and Grace, Love this design, I will certainly make this card.
Grace, thank you for passing on my contact details to Bernie Hayes, I have now joined her Craft Club in Lane End village hall.
Love Janet Cummings
Hi Grace & Jane, thank you for bringing us another great project. Stampy/inky is a nice change from Groovi & can be done in lots of colourways. Even the sentiment could be changed – its having the step by step that helps us to get started on filling that piece of white card.
Nice sunny day here but hope those down south are not getting to battered with the bad weather that was forecast. Stay SHAC xx
Love this Jane and the colours are so fresh they draw the eye in. One I’ll definitely be doing xxx
Morning Grace and Jane.
YES! Thank you. Just what I need. I’m not a stamper/ stenciller and for some reason joined both clubs last year. Had a dabble, but this has set me on the right path.
Thank you so much Jane. I’ll look forward to having a go. X x X
That’s lovely. It’s amazing how the white dots make all the difference! Thank you Jane & Grace.
Thank you so much for this Jane & Grace, it’s lovely & so well explained.
Brilliant step by step Jane – love the colours!
Great step by step demo, thank you Jane and Grace. xx
Love this project – so simple and fresh! Thanks so much Jane and Grace.